

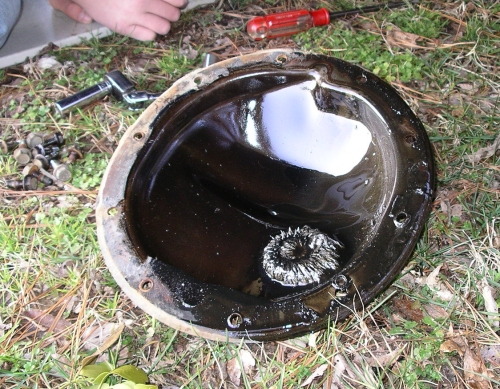
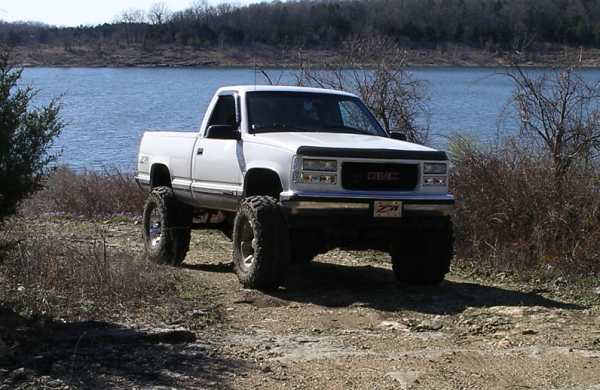
Clint finally blew his 10 bolt rear 1/2
ton axle to pieces in February of 2005.
We all knew it would happen sooner or later with the 37 inch tires, but the
poor axle did live longer than expected. As with most 10 bolts, the G80
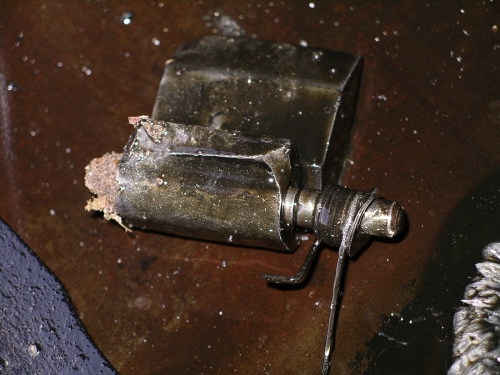
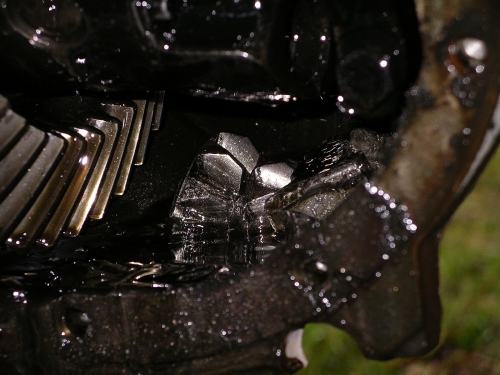
Gov Lock blew to pieces and took everything else with it, including
several teeth from the pinion!
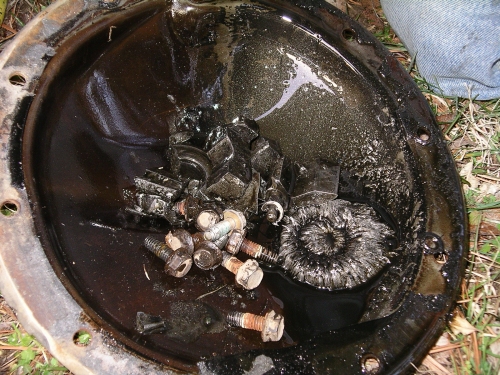
So what do you do when something breaks
like this? Upgrade!
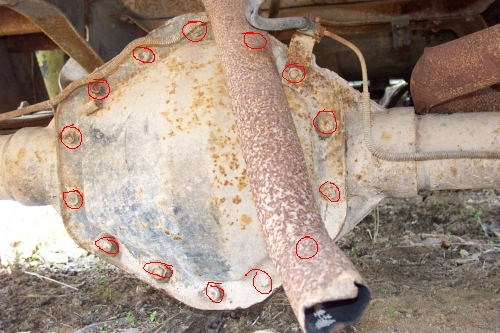
One of the most popular rear axles of all time is the Chevy/GM 14
bolt full floating rear axle. It has a 10.5" ring gear and is 8 lug.
There is a 6 lug version but it's a semi-floater and 9.5" ring gear.
These axles can be found in most 70's and 80's model 3/4 ton
trucks. Just look for 8 lugs and the full floating axles, then you
can count the number of bolts holding the differential cover on
to make sure this is the axle you want.
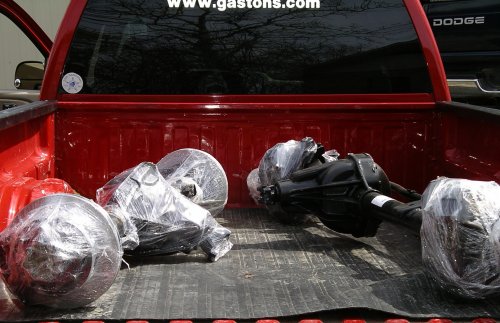
Not having any experience with
installing gears, we opted to have
an axle builder get a 14 bolt setup for us. While he was doing the
gears and putting in a Detroit locker, he also put on disc brakes
and replaced all parts that had any use. Figuring that at some point
Clint will waste his IFS also, we went ahead and had a front axle
built too. There will be more on that swap at a later date. These
axles have 5.13 gears as well which helps compensate for the
larger tires.
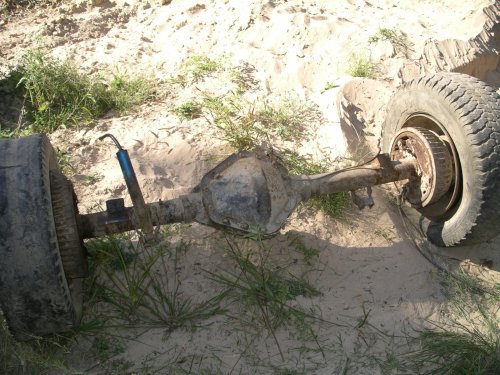
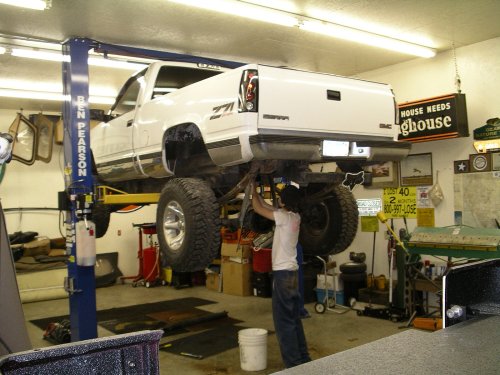
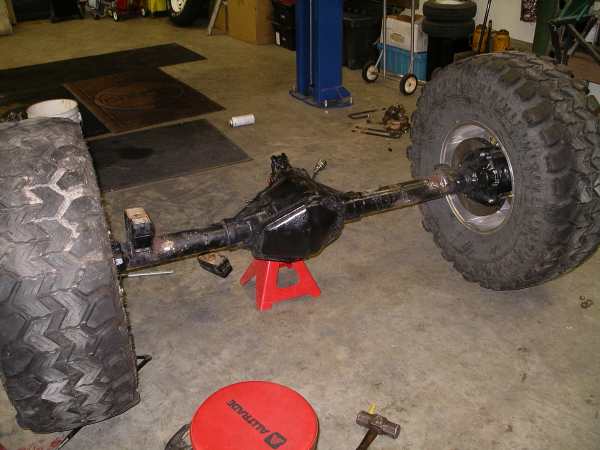
As soon as the axles arrived, Clint put
the truck up on the lift
and started removing his trashed 10 bolt axle.
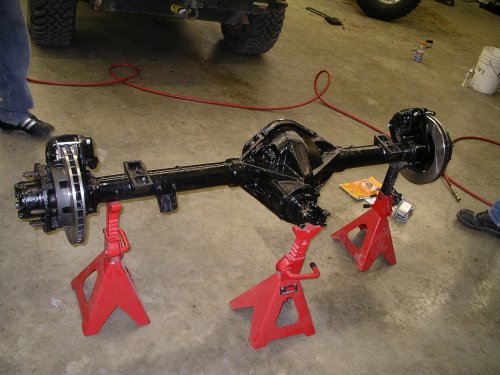
Here is the rear axle removed and awaiting the new 14 bolt.

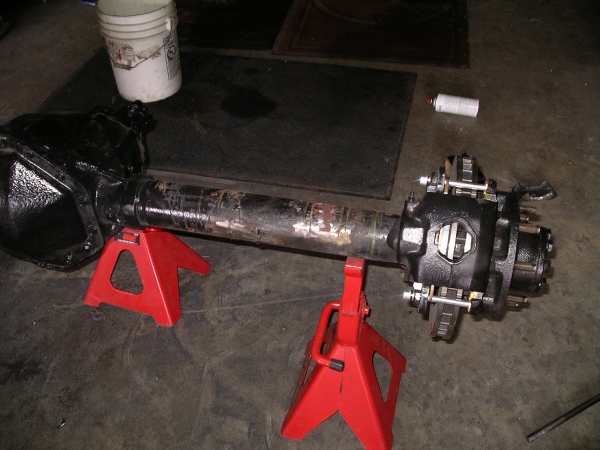
To make the 14 bolt fit Clint's truck,
he had to cut off the stock
spring perches and shock mounts and put new ones on in
different locations. The 88-98 trucks have the leaf springs
set further apart (wider) than the older trucks. Removing the
spring perches was the hardest part of this entire process!
It took forever to get them off. Clint used cutoff wheels, a
plasma cutter, and finally a torch to get the plates off and
then grinded the metal down.
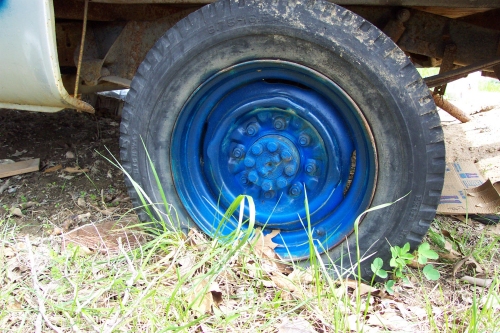
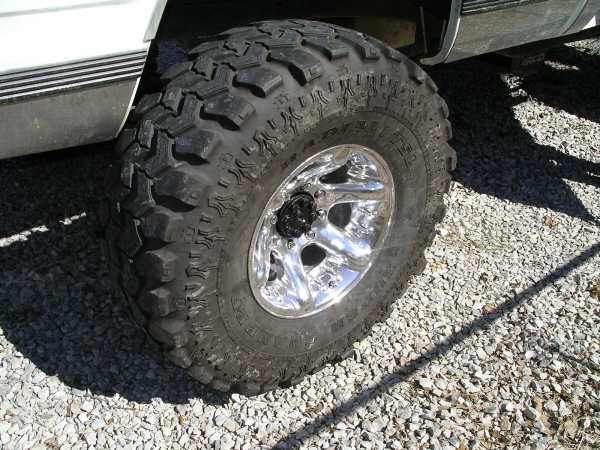
Other parts needed for this swap are some 8 lug wheels,
a conversion U joint (Precision #447 in this case), new
brake lines, and in some cases you will need to shorten
the rear driveshaft, but we did not have to with a 6 inch
lift. You need new U bolts as well because the axle tube
is 3 3/8" and the 10 bolt is, uh, smaller than that.
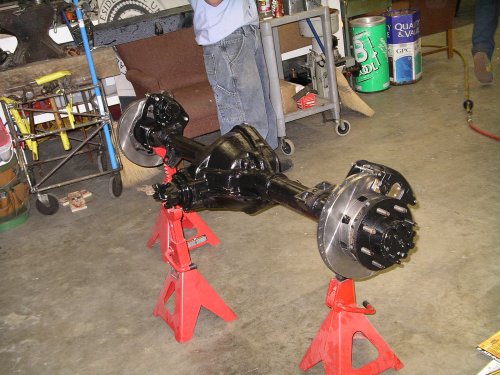
Here is the axle ready for the new mounts.
The spring perches have been tacked into
place after setting the truck
down on the axle to make sure everything was measured correctly.
We also chose to rotate the pinion angle up a couple of degrees to
help with the driveshaft angle, and we did this simply by moving
the spring perches to a more forward position, thus causing the
pinion to point up when the axle was bolted down.
After bolting the axle up with some
5/8" U bolts and utilizing some
new U bolt plates that mount on top of the springs instead of below
the axle, Clint tacked his shock mounts into place and also relocated
them. He raised them up higher than they would normally be to help
with ground clearance and also offer a little more droop out of his
suspension before bottoming out.
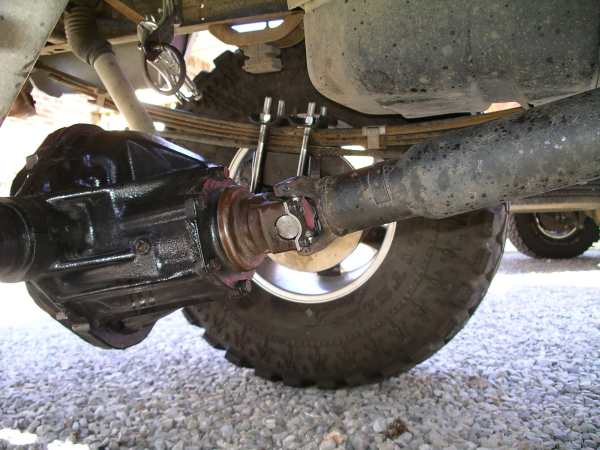
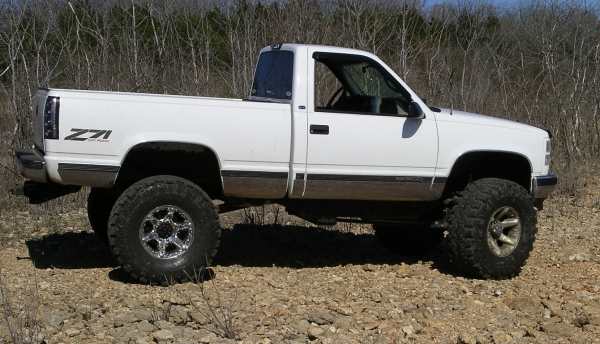
Here you can see the pinion angle is perfect! You
want it slightly low
because when you give the truck some gas, the pinion rotates up.
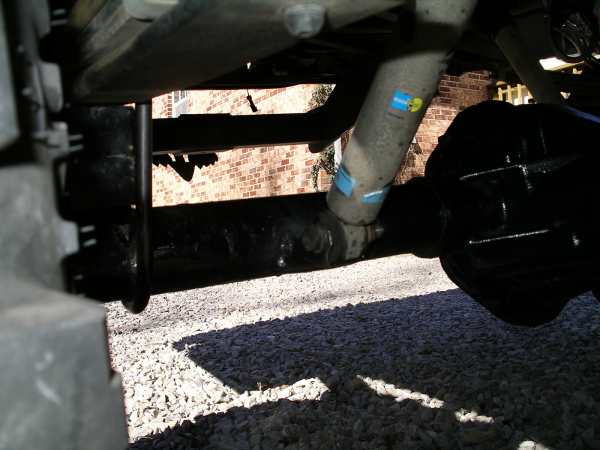
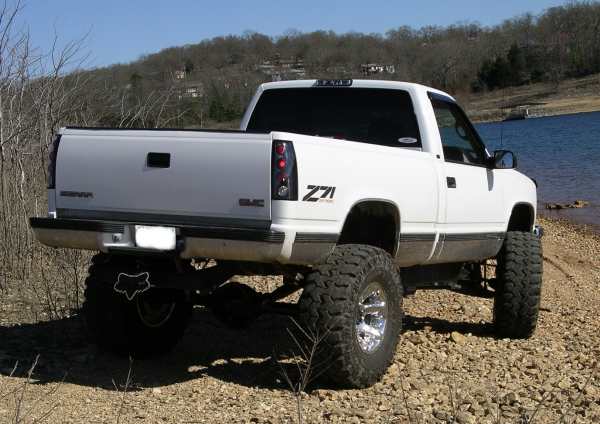
This is the passenger side shock mount welded on.
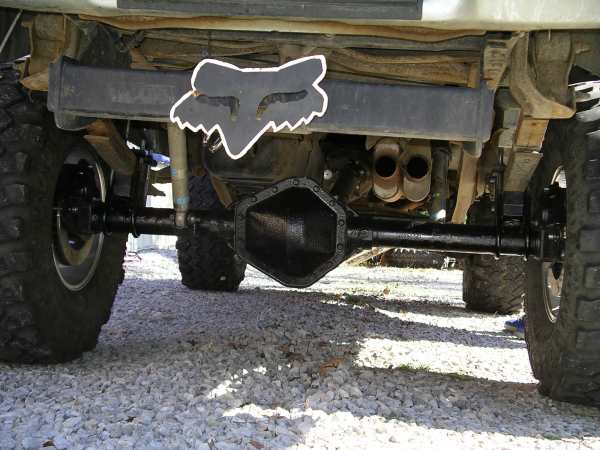
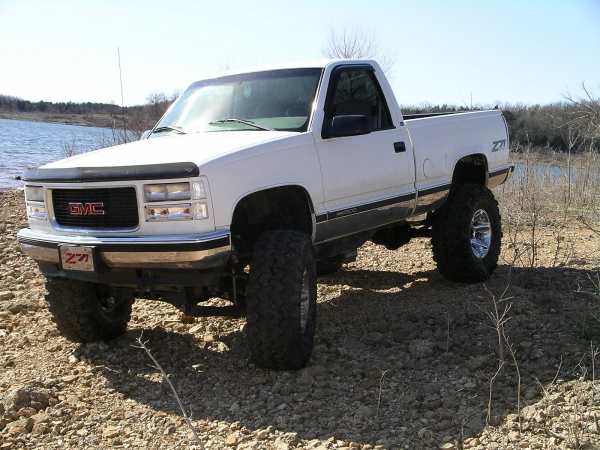
The finished product!
Copyright: Danny
Gaston, 2005
Last Updated: April 03, 2005