A fence is only as good as its posts. Set them right and you won’t be fixing a leaning line in a few years.
Quick answer Call 811 first. Dig a hole about three times the post’s width (12 inches for a 4-inch post) and about 1/3 of the post’s total length deep, plus 6 inches for gravel. Tamp in 6 inches of gravel, brace the post plumb, fill with fast-setting concrete to 3 to 4 inches below grade, add about a gallon of water per 50-pound bag, and wait 4 hours before loading it.
Tools & materials
- Rot-resistant post (pressure-treated wood or galvanized steel)
- Post-hole digger or auger, shovel
- Gravel or crushed stone
- Fast-setting concrete mix (50-lb bags)
- Level, two 2×4 braces, stakes, screws and a drill
- Bucket for water
- Eye protection, gloves and a dust mask
Steps
- Call 811 (in Arkansas, Arkansas 811) before you dig. Utilities have two full working days to mark their lines. Know where your property line is, too.
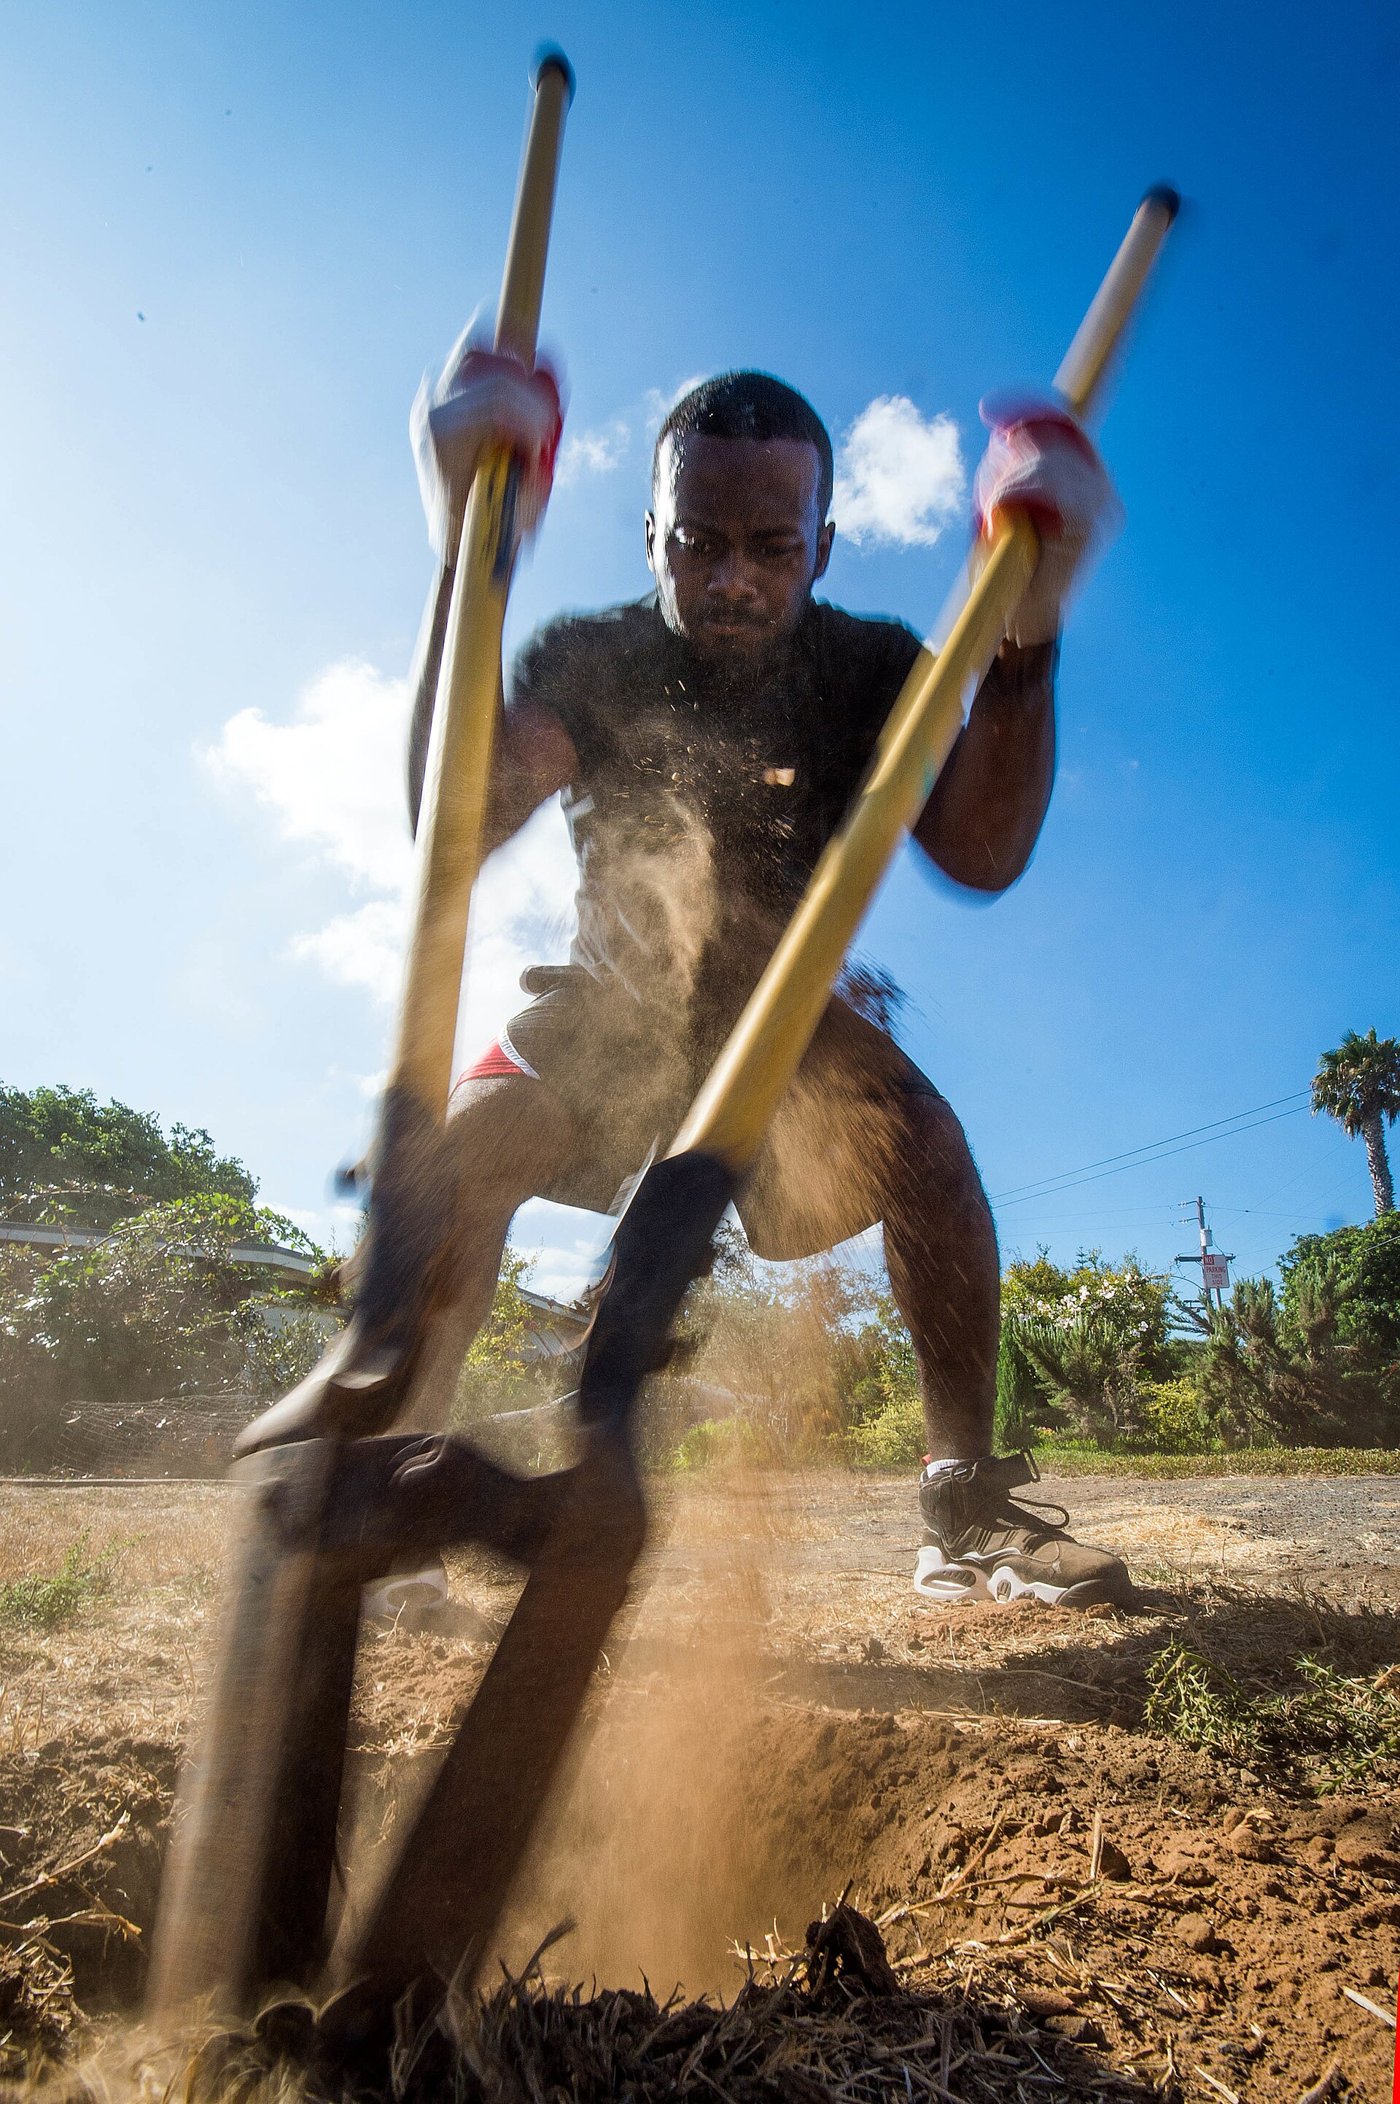
- Dig the hole about three times as wide as the post, and about 1/3 of the post’s total length deep, plus 6 inches. Example: for a 6-foot fence, an 8-foot post goes about 32 inches in the ground, so dig about 38 inches. Use a tube form in loose or sandy soil.
- Add gravel. Pour about 6 inches of gravel or crushed stone in the bottom and tamp it level. It drains water away from the post’s end.
- Set and brace the post. Stand it in the hole, screw braces to two adjacent sides, and stake the other ends of the braces.
- Plumb it. Check two adjacent sides with a level, adjust, and fasten the braces to the stakes.
- Add concrete. Pour dry fast-setting mix around the post to 3 to 4 inches below the ground. For holes deeper than 2 1/2 feet, fill and water in layers of no more than 2 1/2 feet.
- Add water. Pour about 1 gallon of water per 50-pound bag and let it soak in. Recheck plumb right away.
- Let it set. It sets in roughly 20 to 40 minutes. Wait about 4 hours before hanging rails or putting heavy loads on it, and longer when it’s cooler than 72°F.
- Finish. Backfill the top with soil or sod, sloped away from the post so water runs off.
Safety: Wear eye protection, nitrile gloves and a dust mask when working with dry concrete mix. Hand-dig near any marked utility lines.