Welcome to djgaston.com

Category: Comfort Food

Printable classics, kitchen basics and cast iron.

Crispy Oven Fries

Homemade fries disappear fast around here. These come out crispy without a fryer.

Quick answer Cut russet potatoes into sticks, soak them in cold water at least 30 minutes, then dry them completely. Toss with oil and spread in a single layer with space between them on a hot, oiled sheet pan. Roast at 425°F (dark pans) to 450°F (light pans), flipping once halfway, until golden. Salt right away.
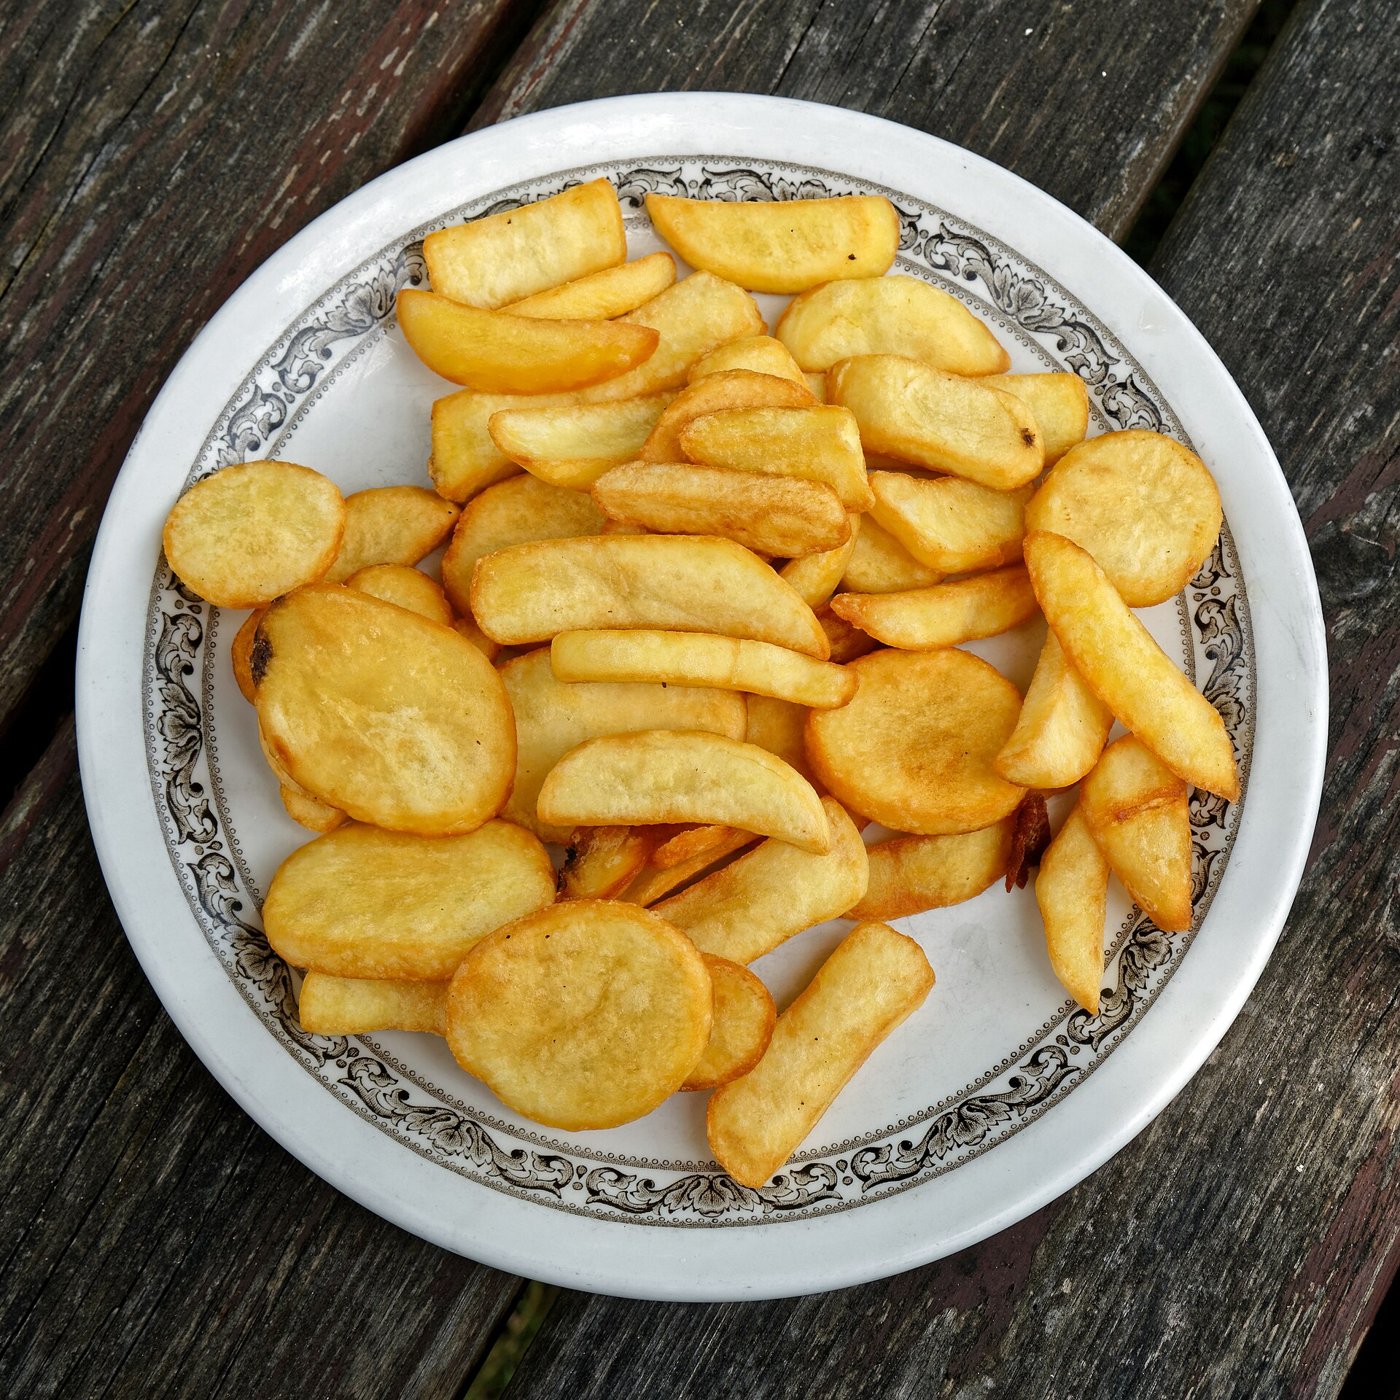
Crispy Oven Fries
Photo: Acabashi / Wikimedia Commons, CC BY-SA 4.0
Ingredients

  • 3 large russet potatoes (about 2 3/4 to 3 pounds), peeled or not
  • 3 to 4 tablespoons high-heat oil (peanut, sunflower, avocado or vegetable)
  • Salt
  • 2 large sheet pans

Directions

  1. Cut the potatoes into sticks. About 1/2 inch wide (pinky size) cooks faster; about 3/4 inch wide (thumb size) makes thick-cut fries.
  2. Soak them in a bowl of cold water for at least 30 minutes, up to overnight in the fridge. This pulls out starch so they crisp.
  3. Heat the oven to 425°F if your pans are dark, 450°F if they’re light. Put the oil on the sheet pans, tilt to coat, and put the pans in to heat.
  4. Dry them well. Drain, rinse, and pat bone-dry with towels. Wet potatoes steam instead of crisping.
  5. Optional for thick fries: boil the sticks in salted water about 5 minutes, just until a knife tip goes in but they hold their shape, then drain and let dry.
  6. Spread them out. Carefully pull out the hot pans, add the potatoes, turn each once to coat with oil, and space them apart in a single layer. Crowded fries come out soggy.
  7. Roast about 20 minutes, flip once, and roast until golden-brown at the edges. Thin fries take about 20 minutes total; thick ones 30 to 40.
  8. Salt them as soon as they come out, and serve hot.
Safety: The oiled pans are very hot. Kids stay back while you add the potatoes and flip them.
Buttermilk Pancakes from Scratch

Saturday morning pancakes are a tradition worth keeping.

Quick answer Whisk 2 cups flour, 2 tablespoons sugar, 1 teaspoon baking powder, 1 teaspoon baking soda and 1/2 teaspoon salt. Whisk 2 cups buttermilk, 1 or 2 eggs and 2 tablespoons melted butter. Stir together until just combined (lumps are fine), rest 10 to 15 minutes, and cook 1/4 cup at a time on a medium-hot griddle until bubbles form, then flip.
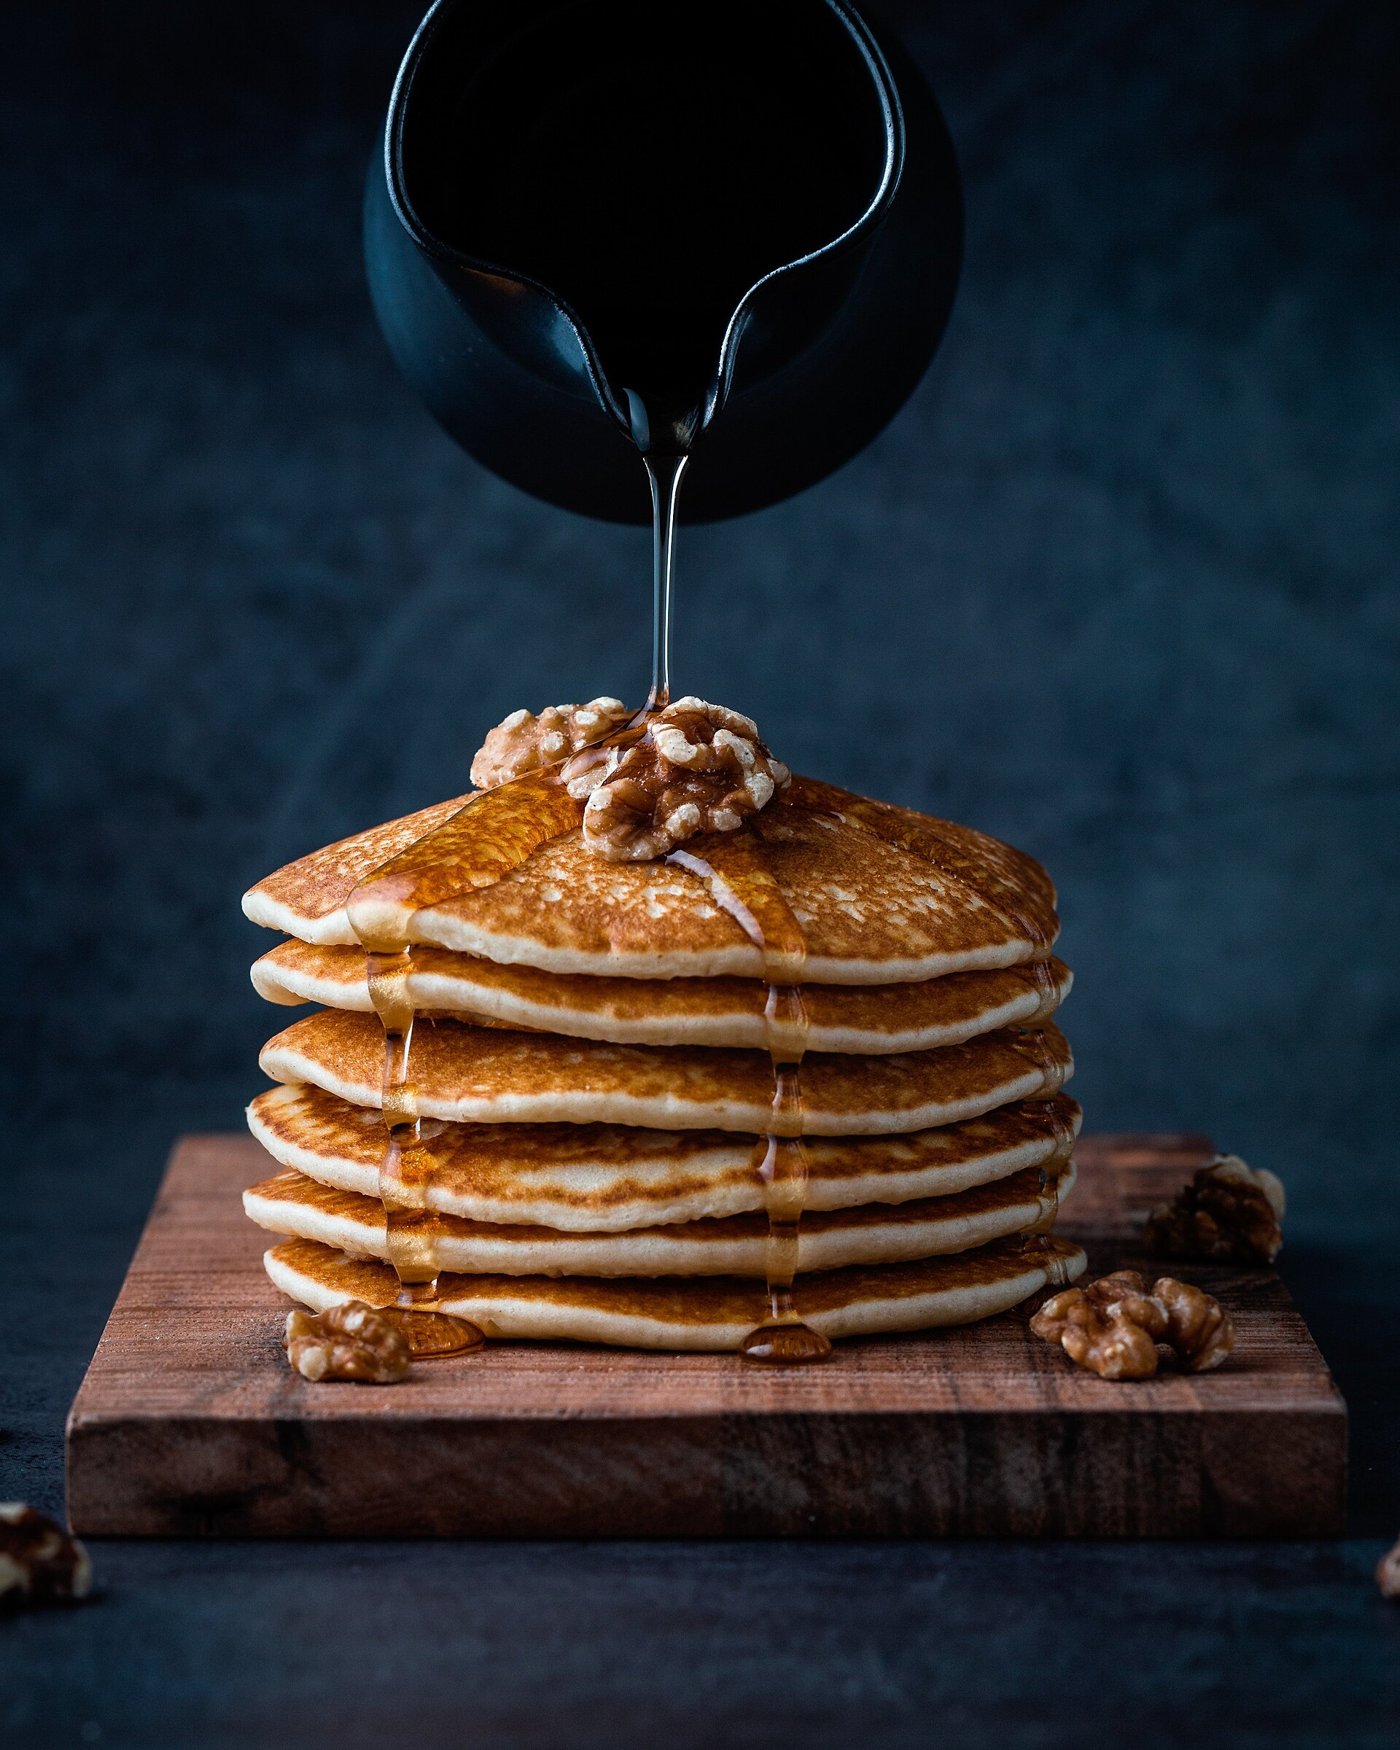
Buttermilk Pancakes from Scratch
Photo: Mae Mu / Wikimedia Commons, CC0
Ingredients

  • 2 cups all-purpose flour
  • 2 tablespoons sugar
  • 1 teaspoon baking powder
  • 1 teaspoon baking soda
  • 1/2 teaspoon salt
  • 2 cups buttermilk
  • 1 or 2 large eggs
  • 2 tablespoons melted butter, plus butter or oil for the pan
  • 1 teaspoon vanilla (optional)

Directions

  1. Mix the dry ingredients in a large bowl.
  2. Mix the wet: whisk the egg(s), then the buttermilk, melted butter and vanilla, in another bowl.
  3. Combine by pouring the wet into the dry and stirring just until mixed. Some lumps are fine; overmixing makes flat, tough pancakes.
  4. Rest the batter 10 to 15 minutes. If it’s too thick to pour, thin with a little more buttermilk.
  5. Heat the pan. Heat a skillet over medium (or medium-low for cast iron) or a griddle to about 350°F, until a drop of water skitters across it. Grease lightly.
  6. Cook 1/4 cup of batter per pancake until bubbles form on top and the bottom is golden, about 1 to 2 minutes. Flip and cook 1 to 2 minutes more.
  7. Serve right away, or keep warm in a 200°F oven while you finish the batch.
Safety: Keep kids back from the hot griddle and the handle turned in.

Tips

Leftovers freeze well. Freeze them the same day and reheat in a low oven or the toaster.

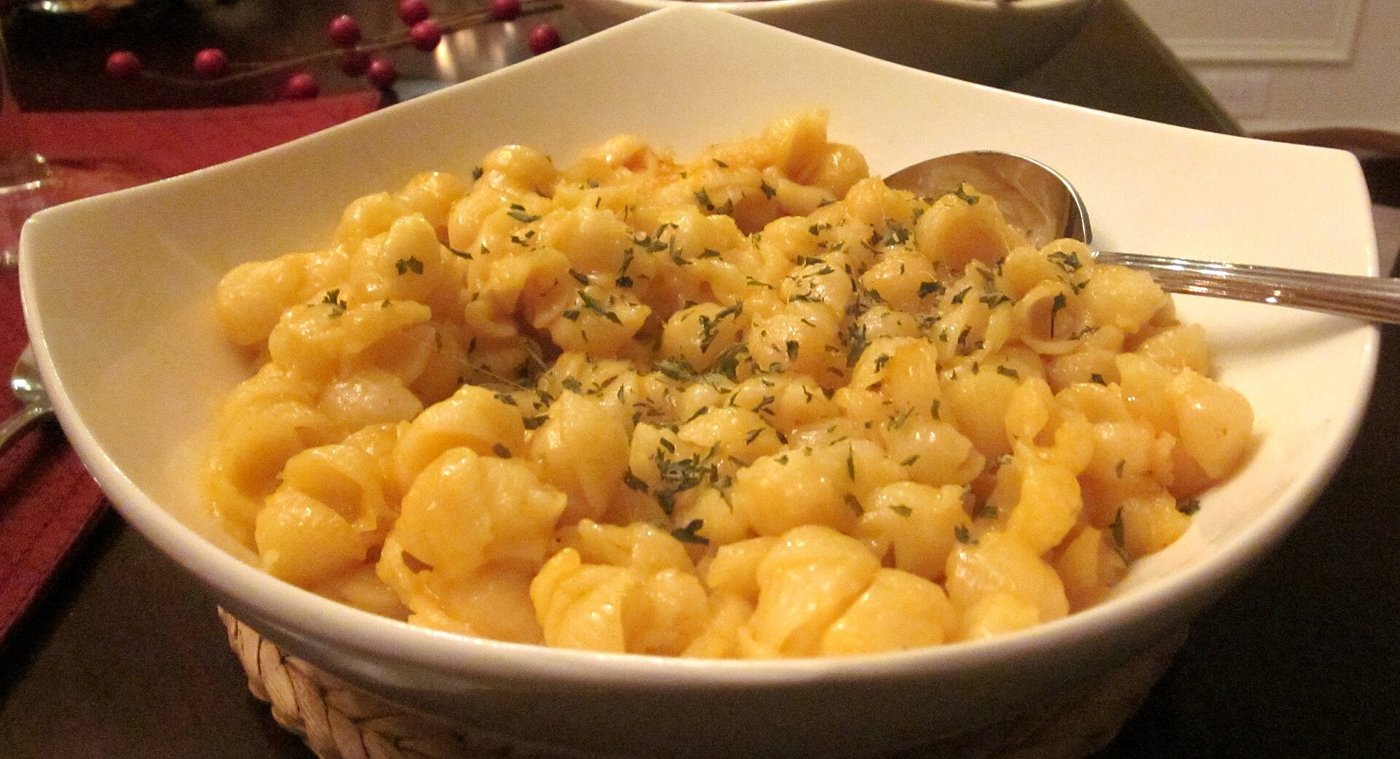
Homemade Stovetop Mac and Cheese

My boys would eat mac and cheese every night if I let them. This one beats the box.

Quick answer Cook 8 ounces of elbow macaroni. In the same pot, melt 2 tablespoons butter, whisk in 2 tablespoons flour for a minute or two, then slowly whisk in 2 cups milk and simmer until it thickens. Off the heat, stir in about 2 cups shredded cheddar until smooth. Toss with the pasta, loosening with a splash of pasta water.
Homemade Stovetop Mac and Cheese
Photo: Sumeet Jain from San Francisco, USA / Wikimedia Commons, CC BY-SA 2.0
Ingredients

  • 8 ounces elbow macaroni (about 2 cups dry)
  • Salt for the pasta water
  • 2 tablespoons butter
  • 2 tablespoons all-purpose flour
  • 2 cups whole milk
  • About 2 cups (8 ounces) shredded cheddar, sharp or mild
  • 2 ounces cream cheese, in small pieces (optional, extra creamy)
  • 1/2 teaspoon salt and a pinch of black pepper
  • A little mustard powder or paprika (optional)

Directions

  1. Cook the pasta in a big pot of salted boiling water according to the package. Save about 1 cup of the cooking water, then drain.
  2. Make the base. In the same pot over medium heat, melt the butter. Whisk in the flour (and mustard powder or paprika, if using) and cook, whisking, 1 to 2 minutes.
  3. Add the milk slowly, whisking so it doesn’t lump. Add the salt and pepper. Bring to a simmer and cook, whisking often, until it thickens enough to coat a spoon.
  4. Add the cheese. Take the pot off the heat. Stir in the cheddar (and cream cheese, if using) a handful at a time until smooth.
  5. Combine. Stir in the macaroni. If it’s too thick, add pasta water a splash at a time. Taste and adjust the salt.
Safety: Let it cool a minute before serving little ones; cheese sauce holds a lot of heat.

Tips

Shred cheese from a block if you can. Pre-shredded cheese doesn’t melt as smoothly.

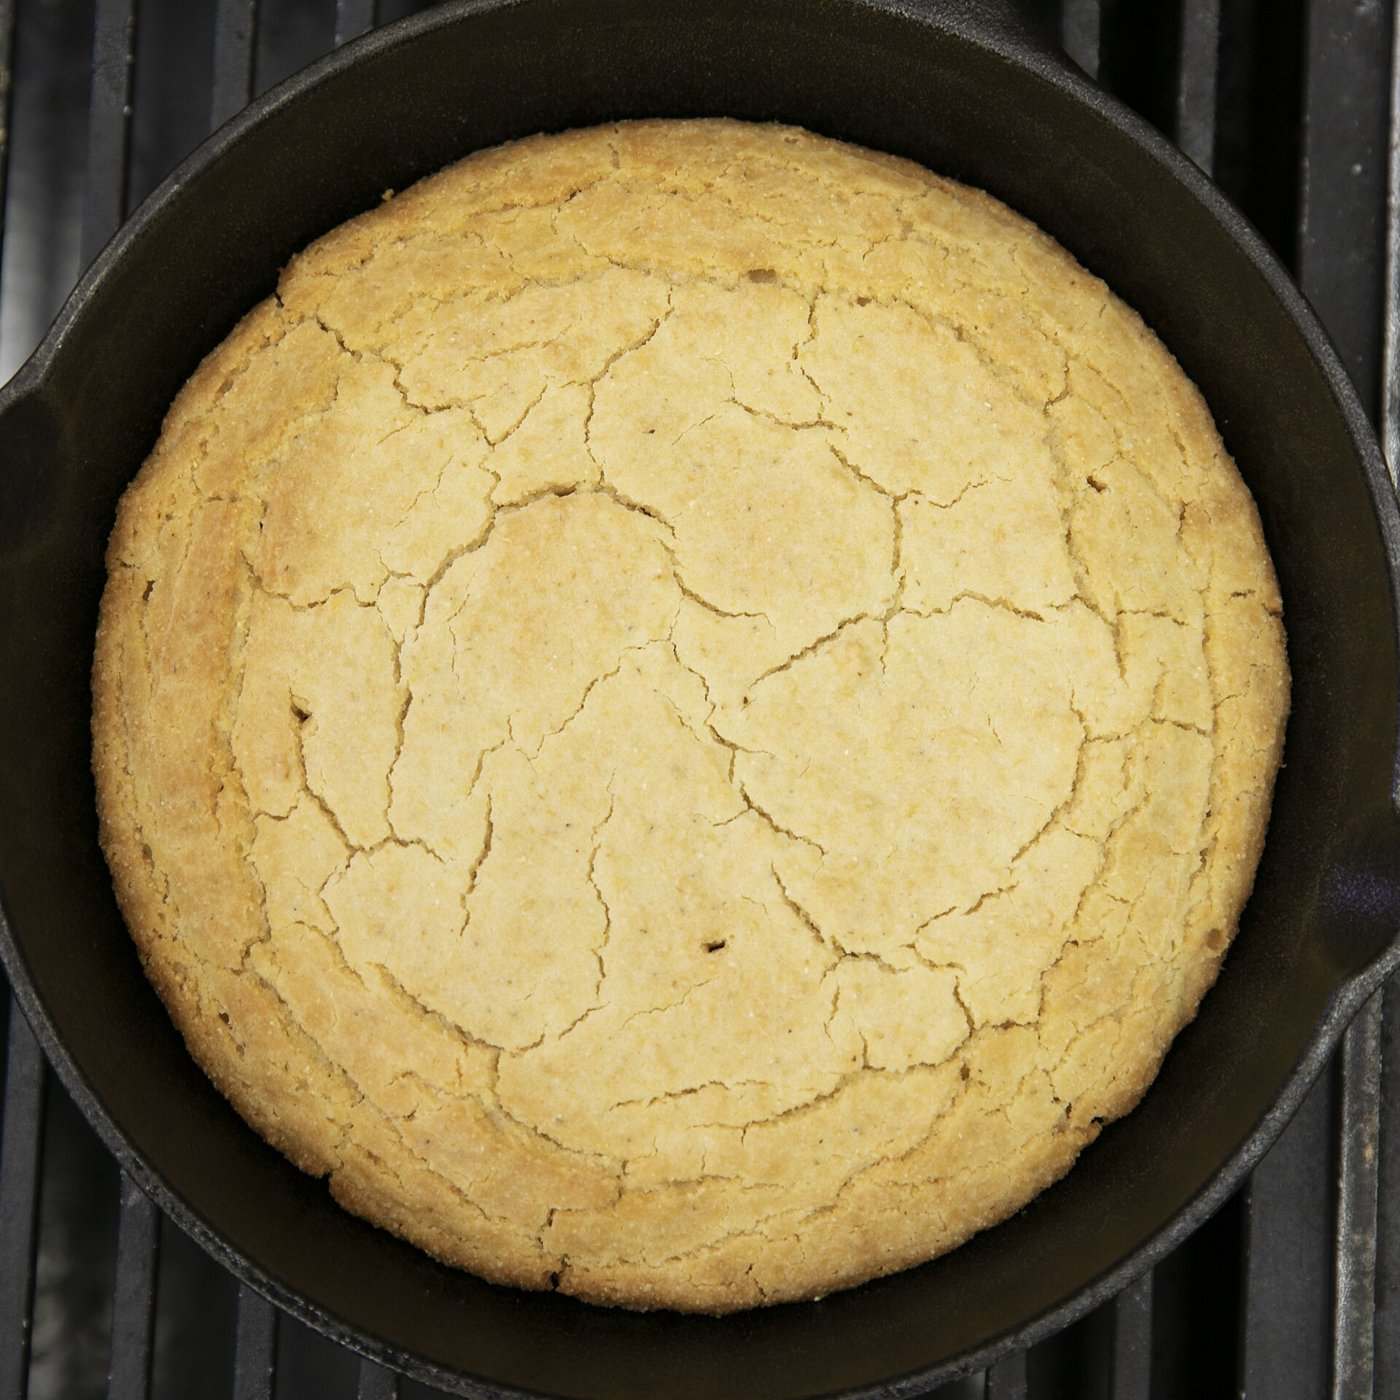
Cast-Iron Skillet Cornbread

Cornbread belongs in a cast-iron skillet. That crispy edge is the best part.

Quick answer Heat a 10-inch cast-iron skillet in a 450°F oven. Mix 2 cups cornmeal with baking powder, baking soda and salt. Whisk 1 1/2 cups buttermilk with 2 eggs. Melt butter or bacon drippings in the hot skillet, stir most of it into the batter, pour the batter in, and bake 20 to 25 minutes until golden and a toothpick comes out clean.
Cast-Iron Skillet Cornbread
Photo: Alabama Extension / Wikimedia Commons, CC0
Ingredients

  • 2 cups fine yellow or white cornmeal
  • 1 1/2 teaspoons baking powder
  • 1/2 teaspoon baking soda
  • 1 teaspoon salt
  • 1 tablespoon sugar (optional)
  • 1 1/2 cups buttermilk
  • 2 large eggs
  • 4 tablespoons butter or bacon drippings
  • A 10-inch cast-iron skillet

Directions

  1. Heat the skillet. Put the empty skillet in the oven and preheat to 450°F.
  2. Mix the dry ingredients: cornmeal, baking powder, baking soda, salt and sugar if using.
  3. Mix the wet. In another bowl whisk the buttermilk and eggs. Stir in the dry ingredients just until combined. Don’t overmix.
  4. Melt the fat. Put the butter or drippings in the hot skillet in the oven for a minute until melted. Pull the skillet out carefully and swirl to coat the bottom and sides.
  5. Combine and pour. Pour most of the hot fat into the batter, stir quickly, and pour the batter into the skillet. It should sizzle.
  6. Bake 20 to 25 minutes, until the edges are golden-brown and a toothpick in the center comes out clean.
  7. Serve warm, turned out crust-side up, with butter, honey, or a bowl of beans.
Safety: That skillet comes out of a 450°F oven. Use a thick, dry oven mitt every time you touch it, and warn the kids.

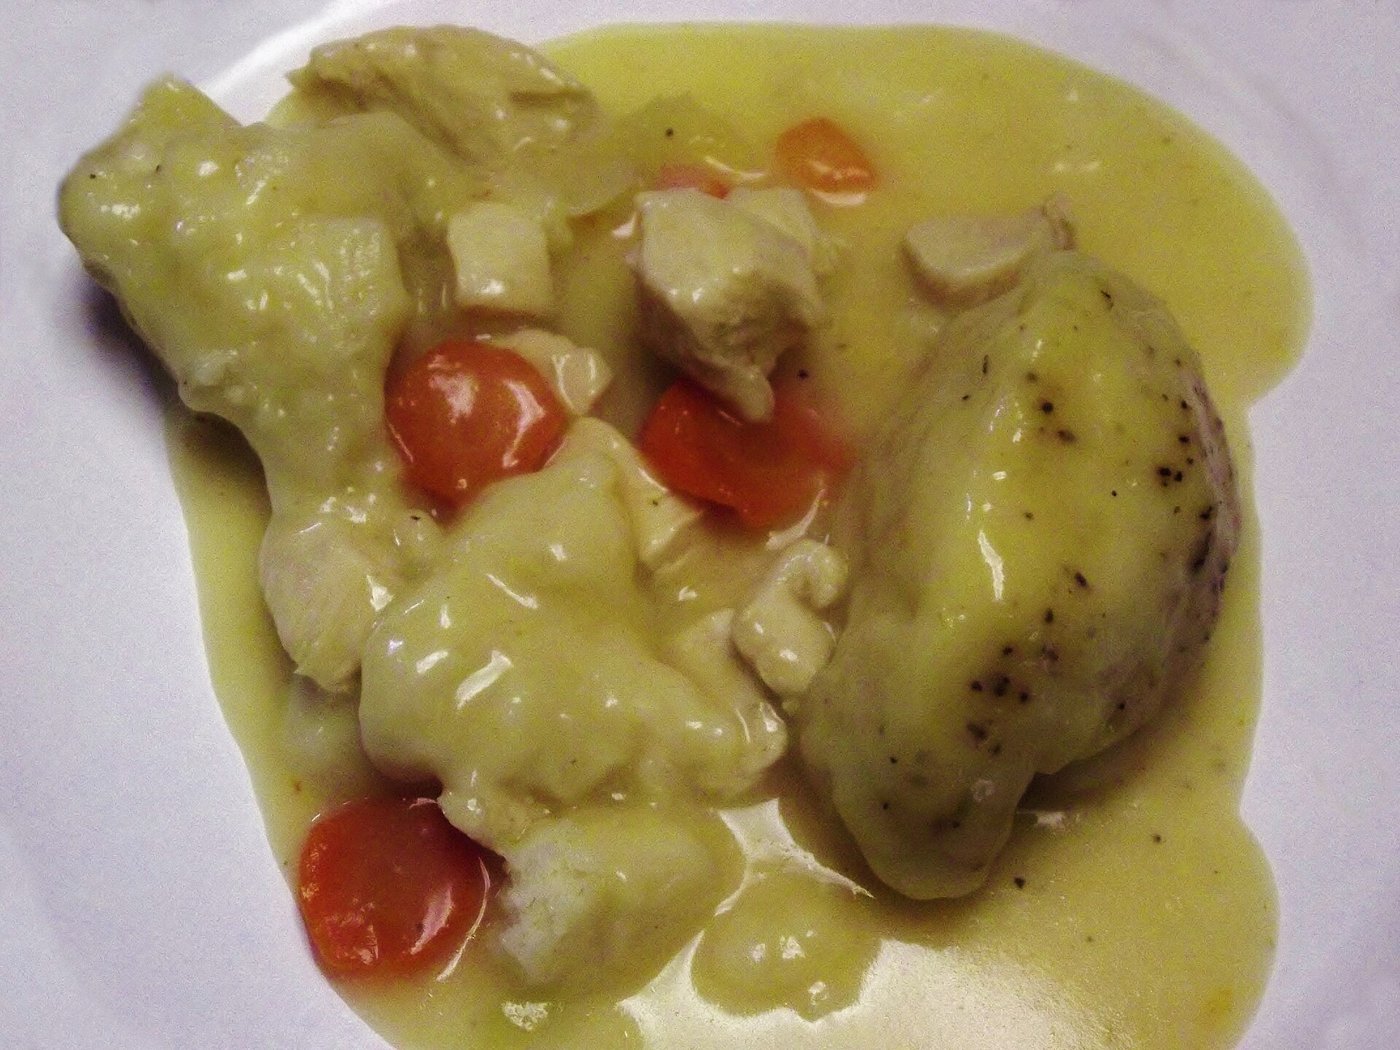
Crock-Pot Chicken and Dumplings

Chicken and dumplings on a cold night is hard to beat.

Quick answer Put a thawed whole chicken in a 6-quart slow cooker with water or broth and cook on LOW about 4 to 8 hours, until the thickest part of the thigh hits 165°F. Lift it out, pull the meat off (toss the skin and bones), and stir it back into the broth. Cut a can of refrigerated biscuits into pieces, drop them in, and cook on HIGH about 60 to 90 minutes, until no longer doughy in the middle.
Crock-Pot Chicken and Dumplings
Photo: Amadscientist / Wikimedia Commons, CC BY-SA 3.0
Ingredients

  • 1 whole chicken, 4 to 5 pounds, fully thawed, giblets removed (not rotisserie or precooked)
  • Chicken broth or water (see step 2)
  • 1 teaspoon salt and 1/2 teaspoon black pepper, plus more to taste
  • 1 can (8-count) refrigerated biscuits
  • 2 tablespoons butter (optional)
  • Optional vegetables: 1 onion, chopped; 1 to 2 ribs celery, sliced; 2 carrots, sliced
  • A 6-quart slow cooker and a food thermometer

Directions

  1. Start clean and cold. Wash your hands and the cooker. Keep the chicken in the fridge until you’re ready, and make sure it’s completely thawed. Never start a frozen chicken in a slow cooker.
  2. Load the cooker. If you’re using vegetables, put them in the bottom first (they cook slower than the meat). Set the chicken on top, breast side up, sprinkle with the salt and pepper, and add broth or water so the chicken is sitting well down in liquid but the lid still closes easily. Don’t fill past your cooker’s fill line.
  3. Cook. Cover and cook on LOW about 4 to 8 hours, depending on the size of the bird and your cooker. If you can, run it on HIGH for the first hour, then switch to LOW. Keep the lid on; lift it only to check doneness.
  4. Check the temperature. The chicken is done when a food thermometer in the thickest part of the thigh, not touching bone, reads at least 165°F. Check the breast too. The meat should be falling off the bone.
  5. Pull the meat. Lift the chicken onto a big platter or cutting board (it will want to fall apart). Let it cool enough to handle, then pull or slice the meat off. Throw away the skin and bones. Fish out any small bones that stayed in the broth.
  6. Return the meat. Stir the chicken back into the broth, add the butter if using, and taste for salt and pepper. Turn the cooker to HIGH.
  7. Make the dumplings. Open the biscuits, press each one a little flatter, and cut each into quarters or strips.
  8. Cook the dumplings. Drop the pieces in over the top and spoon some broth over them. Cover and cook on HIGH about 60 to 90 minutes, stirring gently once or twice, until a piece from the middle is cooked through and not doughy.
  9. Serve hot, with extra black pepper.
Safety: Cook poultry to at least 165°F, measured with a food thermometer. If the power goes out while you’re away, throw the food out even if it looks done. Refrigerate leftovers in shallow covered containers within 2 hours, and reheat them on the stove or in the microwave to 165°F, not in the slow cooker.

Good to know

Slow cookers vary, so use the times as a guide and the thermometer as the final word. A 6-quart cooker is a good fit for a 4- to 5-pound chicken.

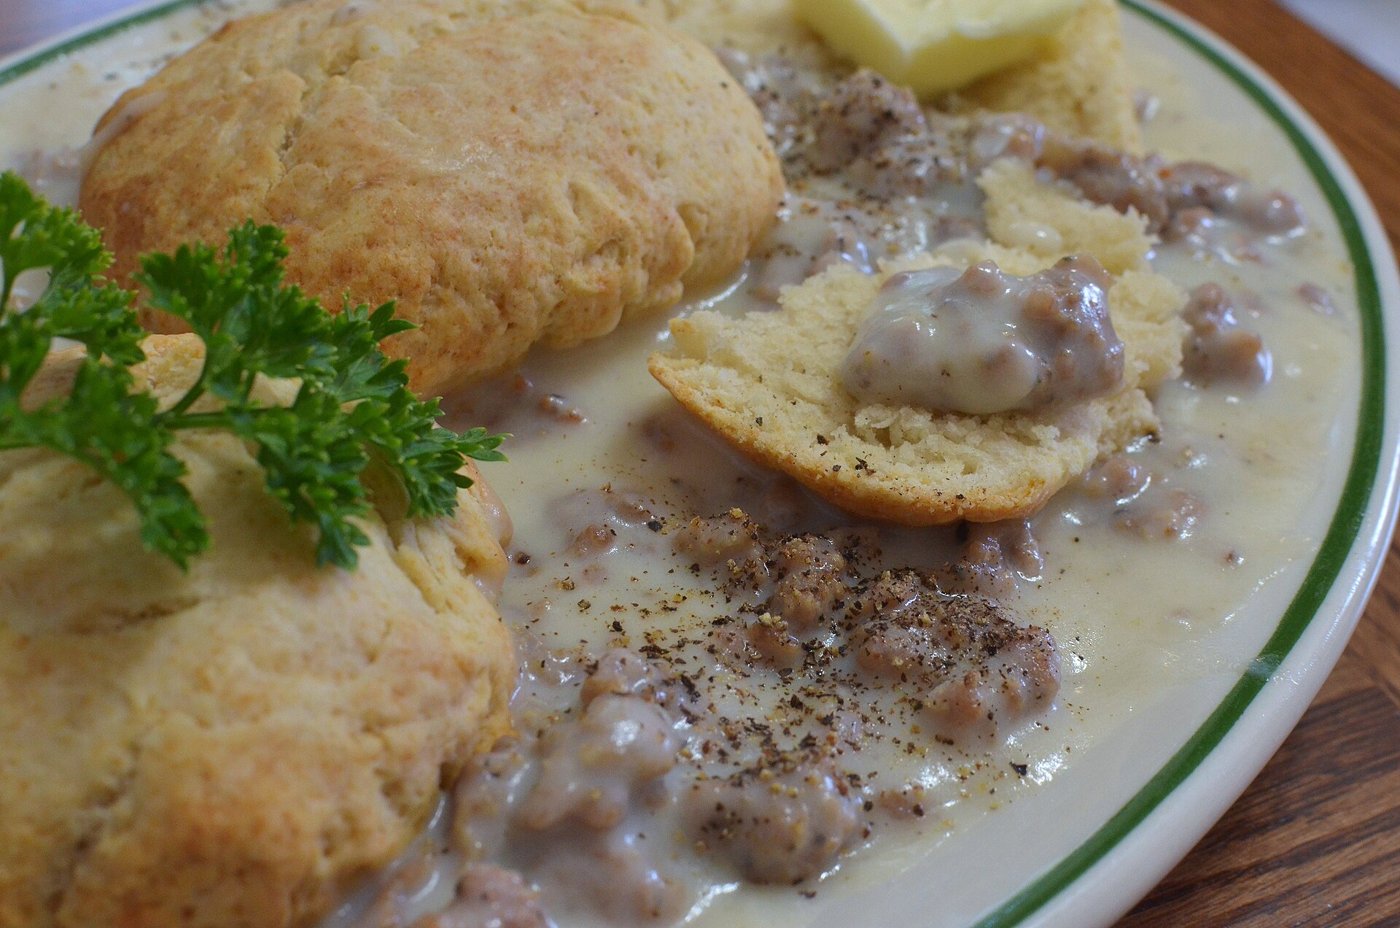
Biscuits and Sausage Gravy

Biscuits and gravy is about as close to perfect as breakfast gets.

Quick answer Biscuits: 2 cups flour, baking powder, a little soda and salt, cold butter worked in, 3/4 cup buttermilk; pat, fold, cut, and bake at 450°F about 15 minutes. Gravy: brown 1 pound of bulk sausage, stir 1/4 cup flour into the drippings, whisk in 2 cups of milk, simmer until thick, and pepper it generously. Makes about 8 biscuits; serves 4.
Biscuits and Sausage Gravy
Photo: jeffreyw / Wikimedia Commons, CC BY 2.0
Ingredients

  • Biscuits: 2 cups all-purpose flour (spooned and leveled), plus more for dusting
  • 2 teaspoons baking powder
  • 1/4 teaspoon baking soda
  • 1 teaspoon salt
  • 1 teaspoon sugar (optional)
  • 6 to 7 tablespoons cold unsalted butter, sliced
  • 3/4 cup cold buttermilk, plus a little for brushing
  • Gravy: 1 pound bulk pork breakfast sausage
  • 1/4 cup all-purpose flour
  • 2 cups whole milk
  • Salt and plenty of black pepper

Directions

  1. Heat the oven to 450°F and line a baking sheet with parchment.
  2. Mix the dry ingredients for the biscuits in a bowl. Work in the cold butter with your fingertips until there are still pea-size pieces. Those make the flaky layers.
  3. Add the buttermilk and stir just until a shaggy dough forms. Don’t overwork it.
  4. Pat and fold. On a floured board, pat the dough into a rectangle, fold it in thirds like a letter, and pat it out about 3/4 inch thick.
  5. Cut rounds with a 2 1/2-inch cutter and set them on the pan, close together for soft sides or an inch apart for crisp ones. Press the scraps together and cut more. Brush the tops with buttermilk.
  6. Bake about 15 minutes, until lightly browned.
  7. Meanwhile, brown the sausage in a 10- to 12-inch skillet over medium heat, breaking it up, until no pink remains (160°F).
  8. Make the roux. Leave about 2 tablespoons of fat in the pan with the sausage (pour off extra). Sprinkle in the flour and stir it around about 3 minutes.
  9. Add milk a little at a time, whisking, and scrape up the browned bits. Bring to a simmer and cook a few minutes until thick. Thin with a splash more milk if needed.
  10. Season with salt and lots of black pepper. Split the biscuits and spoon the gravy over.
Safety: Cook pork sausage to 160°F. Keep little hands back from the hot skillet and grease.

Tips

Measure flour by spooning it into the cup and leveling it; scooping packs it in and makes dry biscuits. Lightly browned is the goal, not dark.

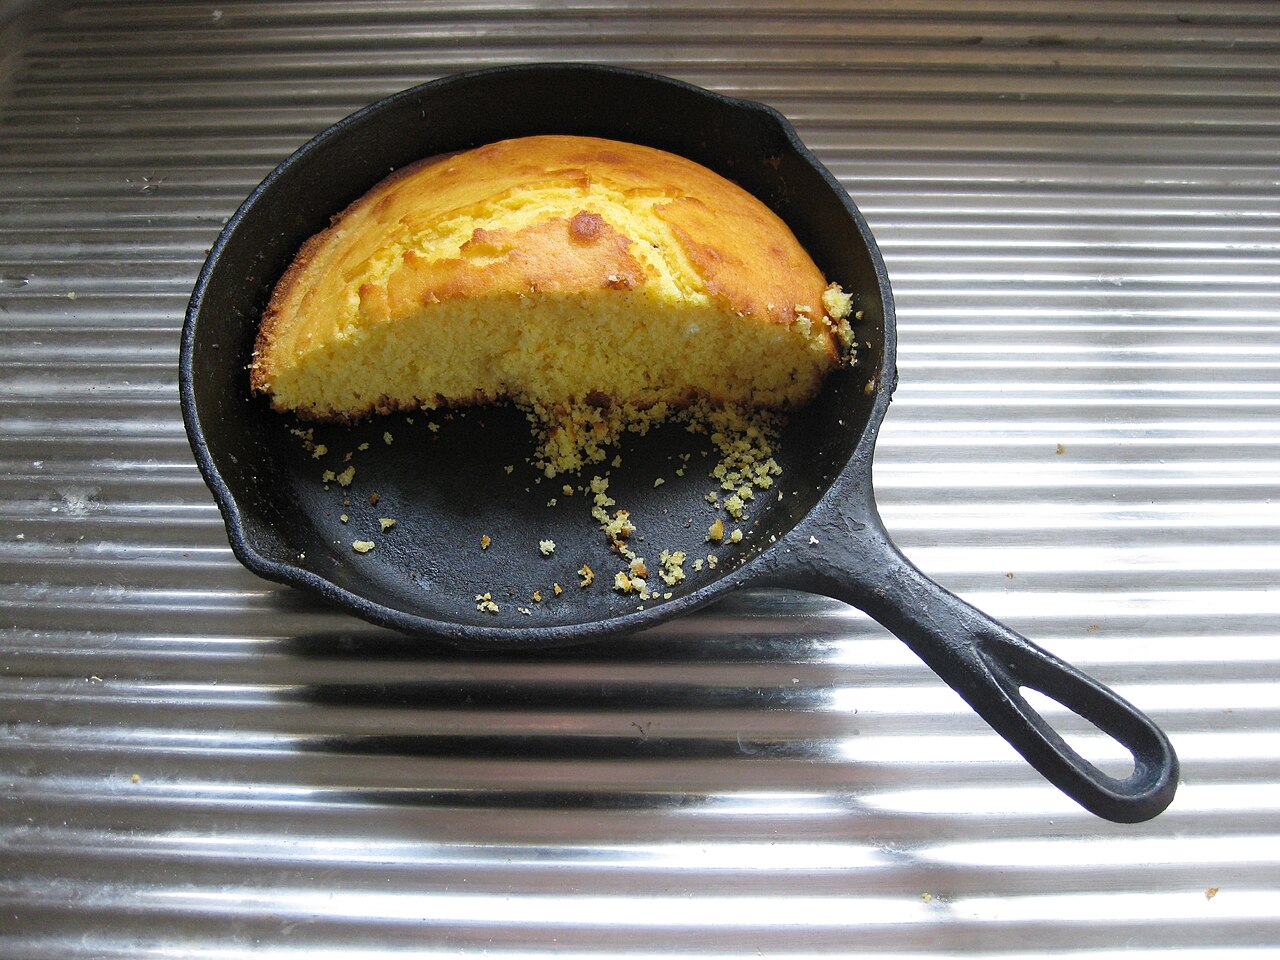
How to Restore and Season Cast Iron

I love cast iron. A rusty skillet isn’t ruined; it’s just waiting for a little attention.

Quick answer Scrub off the rust with steel wool, wash and dry it completely, then wipe on a very thin coat of cooking oil. Bake it upside down at 450–500°F for one hour, then let it cool in the oven. Repeat if it still looks dull.
How to Restore and Season Cast Iron
Photo: Douglas P Perkins (Douglaspperkins (talk)) / Wikimedia Commons, CC BY 3.0
Tools & materials

  • Steel wool or a rust eraser
  • Dish soap, warm water, stiff brush
  • Vegetable oil, shortening or another high-smoke-point oil
  • Lint-free cloth or paper towels
  • Aluminum foil

Steps

  1. Scour all the rust off, inside and out, down to bare gray iron.
  2. Wash with warm soapy water and scrub. (Soap is fine on cast iron.)
  3. Dry it right away with a towel, then set it on a warm burner for a few minutes to drive off every bit of moisture.
  4. Rub a small amount of oil over every surface, including the handle and bottom. Then wipe it off as if you made a mistake. It should look barely shiny, not wet. Too much oil turns sticky.
  5. Put foil on the lower rack to catch drips. Set the pan upside down on the upper rack.
  6. Bake at 450–500°F for 1 hour. Turn off the oven and let the pan cool inside.
  7. Repeat 2–3 times for a fresh restoration. Then cook something fatty (bacon, cornbread) to build it up.
How to Restore and Season Cast Iron
Photo: Taylorderek / Wikimedia Commons, CC BY-SA 4.0
Safety: Seasoning at high heat can smoke. Run the vent fan and open a window.

Everyday care

Wash, dry right away, wipe on a whisper of oil while it’s warm, and store dry. Don’t soak it or put it in the dishwasher.

Perfect Hard-Boiled Eggs (Printable)

This is my go-to way to make hard-boiled eggs. Simple, and it just works.

Quick answer Put the eggs in a pot and cover them with cold water by an inch. Bring it to a boil, take it off the heat, cover, and let them stand 12 minutes for large eggs (15 for extra-large). Then put them straight into ice water for about 10 minutes.
Perfect Hard-Boiled Eggs (Printable)
Photo: 3steph14 / Wikimedia Commons, CC BY-SA 4.0
Tools & materials

  • Eggs (large)
  • Saucepan with lid
  • Bowl of ice water
  • Slotted spoon

Steps

  1. Lay the eggs in a single layer in the pot. Add cold water to cover by about 1 inch.
  2. Bring to a full boil over high heat.
  3. Turn off the heat, cover, and set a timer: 12 minutes for large eggs, 15 for extra-large.
  4. Move the eggs to ice water (or run cold water over them) and chill about 10 minutes.
  5. To peel, crack all over on the counter and start at the wide end where the air pocket is. Peeling under running water helps.
Safety: Refrigerate hard-cooked eggs within 2 hours and use them within a week.

Why it works

Coasting in hot water instead of hard-boiling cooks the eggs evenly without the green-gray ring around the yolk. The ice bath stops the cooking.