Welcome to djgaston.com

Category: Outdoors

Camping, fire, trails, yard and woods.

Basic Knots Everyone Should Know

Every kid should learn a few good knots. They come in handy more than you’d think.

Quick answer Square knot: ties two ends of the same size rope together (right over left, then left over right). Two half hitches: tie a rope to a post or ring. Clove hitch: a quick hitch around a pole. Taut-line hitch: an adjustable loop for tent lines. Bowline: a loop at the end of a rope that won’t slip or tighten.
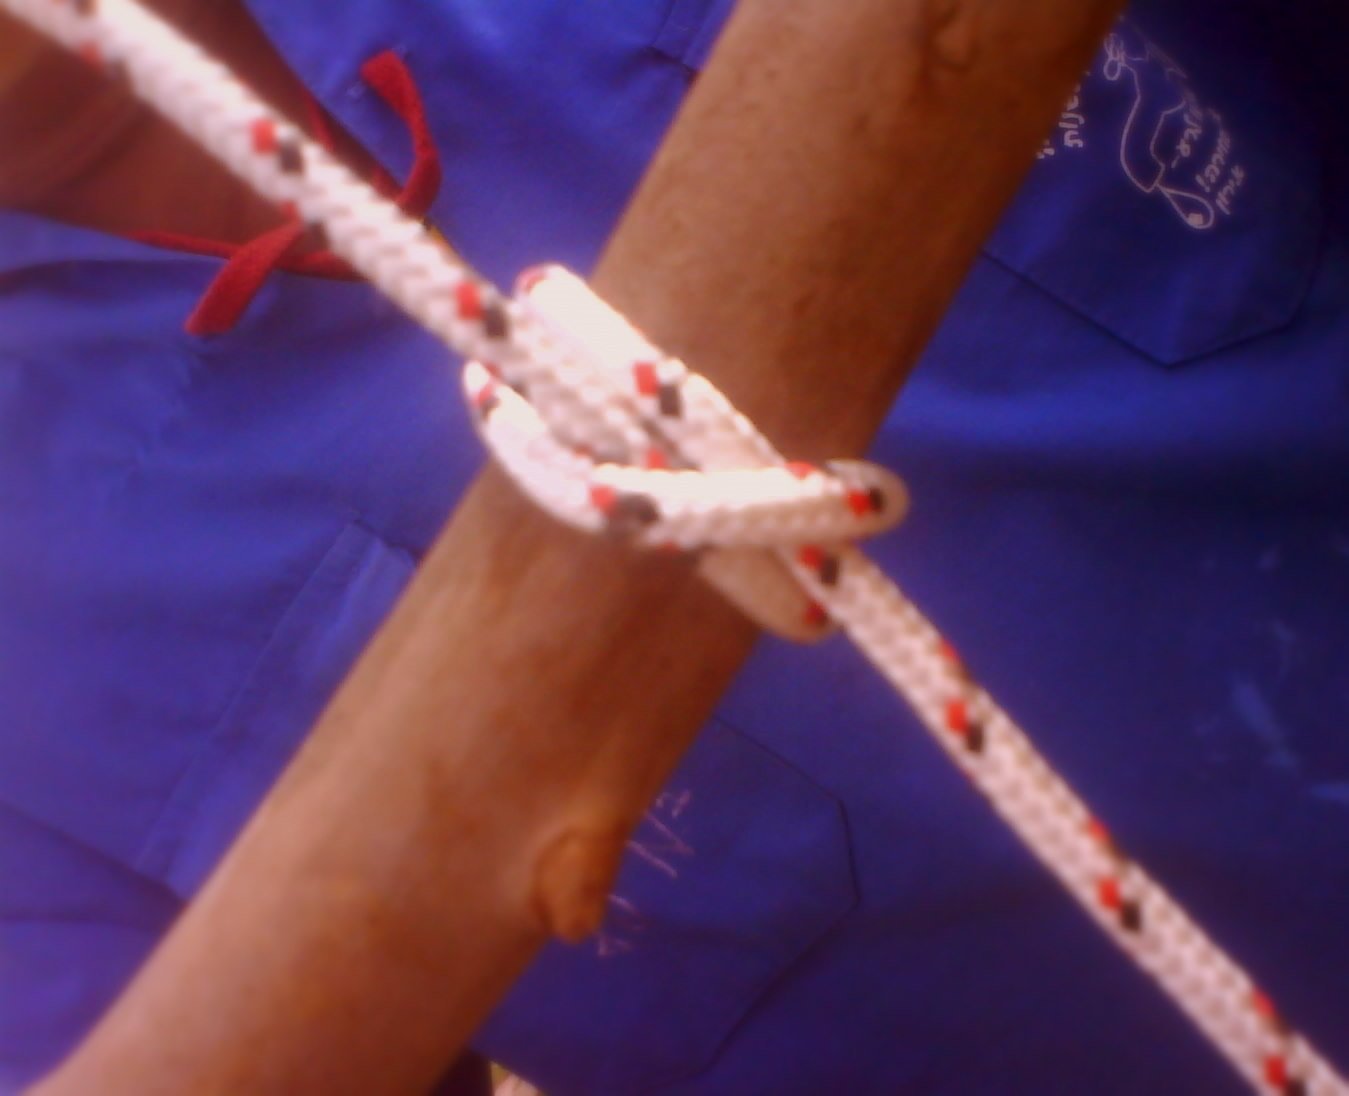
Basic Knots Everyone Should Know
Photo: Matanya (uploader) / Wikimedia Commons, Public domain
Tools & materials

  • A few feet of rope or paracord to practice with
  • A pole, post or chair leg

The knots

  1. Square knot (joining two ends of the same size). Pass the right end over and under the left. Then pass the end that’s now on the left over and under the right. “Right over left, left over right.” Don’t trust it for heavy or critical loads.
  2. Two half hitches (tie off to a post or ring). Pass the end around the post. Bring it over and around the standing part and back through the loop it made. Repeat the same way to make the second half hitch, and snug it up.
  3. Clove hitch (around a pole). Wrap the end around the pole, cross over the first wrap, wrap around again, and tuck the end under that last crossing. Pull both ends tight.
  4. Taut-line hitch (adjustable tent line). Pass the rope around a stake. Wrap the end twice around the standing part, inside the loop. Then wrap it once more around the standing part outside the loop and pull tight. Slide the knot to tighten or loosen the line; it holds under tension.
  5. Bowline (a fixed loop that won’t slip). Make a small loop in the standing part. Bring the end up through the loop (“the rabbit comes out of the hole”), around behind the standing part (“around the tree”), and back down through the small loop (“back down the hole”). Hold the end and the loop and pull the standing part to tighten.
Safety: Never trust a knot you just learned for climbing, lifting or holding a person. That takes rated gear and real training.
Venomous Snakes of Arkansas and the Ozarks: How to Tell, What to Do

With boys running around outside, knowing which snakes to leave alone is just part of living in Arkansas.

Quick answer Arkansas has six venomous snakes: copperhead, cottonmouth, timber rattlesnake, western pigmy rattlesnake, western diamondback rattlesnake and the rare Texas coral snake. Give every snake room and don’t handle it. If someone is bitten, call 911 or get to a hospital fast. No cutting, sucking, tourniquets or ice.
Venomous Snakes of Arkansas and the Ozarks: How to Tell, What to Do
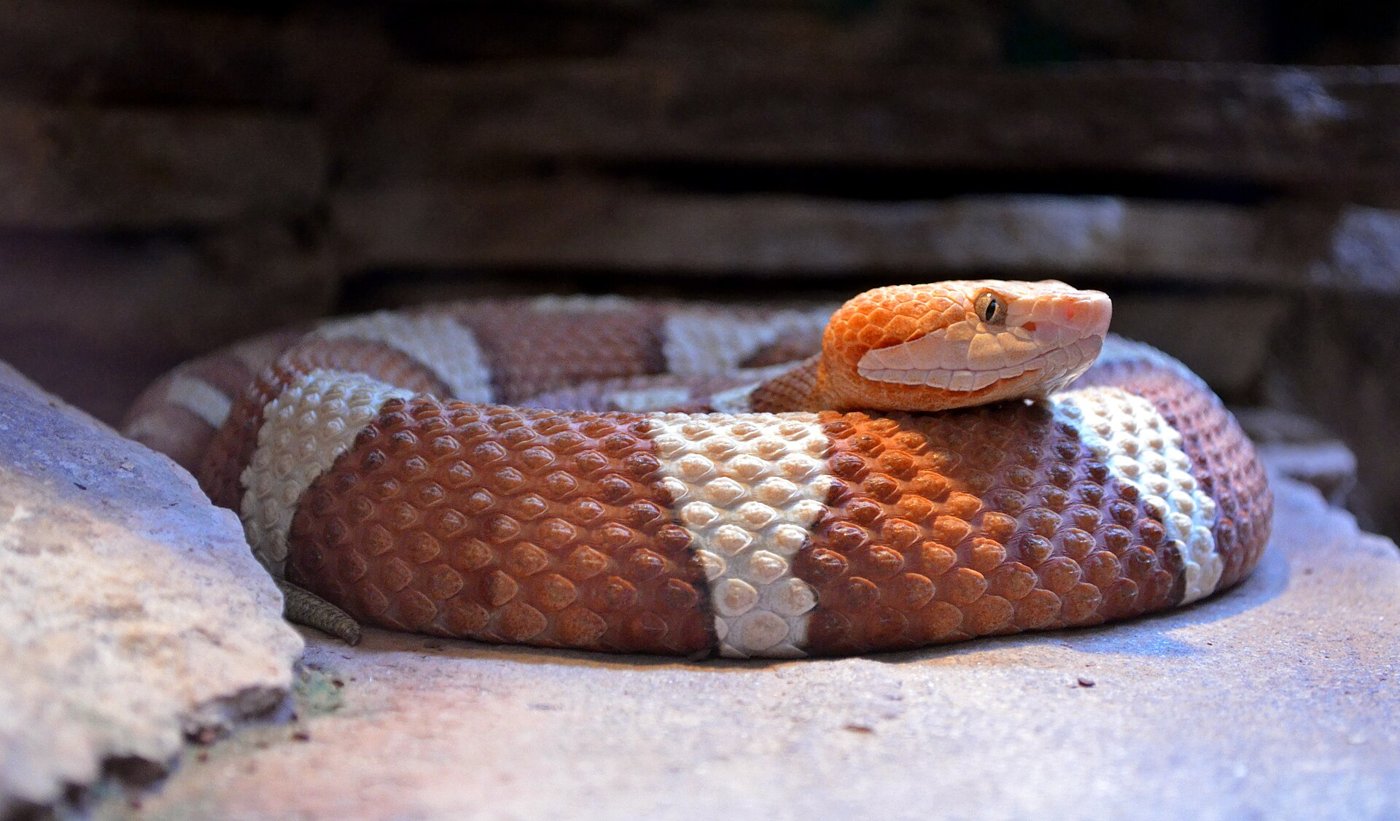
Photo: Selbymay / Wikimedia Commons, CC BY-SA 3.0
What helps

  • Boots and long pants in brush and tall grass
  • Leather gloves for moving brush, rocks or wood piles
  • A flashlight at night
  • A phone for a photo (from a safe distance) and to call for help

Know them, avoid them, and what to do after a bite

  1. Copperhead (statewide). Tan to coppery with darker brown hourglass bands. From the side, the half-hourglass looks like a Hershey’s Kiss. Adults are about 1.5 to 3 feet. Young ones have a bright yellow tail tip. Great camouflage in leaf litter, so watch where you step and reach.
  2. Cottonmouth, or water moccasin (statewide, near water). Thick-bodied, dark brown to nearly black as an adult, with a dark stripe through the eye. When bothered it may gape and show the white inside of its mouth. Young ones are boldly banded with a yellowish-green tail.
  3. Timber rattlesnake (statewide). Gray, yellowish or light brown with dark, jagged crossbands, often a rust-colored stripe down the back, and a solid dark “velvet” tail ending in a rattle.
  4. Western pigmy rattlesnake (statewide). Small and gray with black blotches and a rust-colored stripe down the back. The rattle is tiny and can be hard to hear.
  5. Western diamondback (west-central Arkansas). Brown and tan diamond-shaped blotches and a black-and-white banded “coon tail” before the rattle. Found on rocky, open hillsides.
  6. Texas coral snake (rare, southwest Arkansas). Red, yellow and black bands that go all the way around, with red touching yellow and a black snout. Some harmless snakes, like milk snakes, have red, black and yellow bands too, so look but don’t touch.
  7. Don’t rely on eye shape. Coral snakes have round pupils. And if you’re close enough to see a snake’s pupils, you’re too close.
  8. Avoid bites. Snakes are most active at dawn and dusk and in warm weather. Stay out of tall grass and leaf piles when you can, and don’t reach into wood piles or under rocks with bare hands. Rattlesnakes can strike a third or more of their body length, and they don’t always rattle first.
  9. If someone is bitten: get away from the snake, keep calm and call 911 or have someone drive you to a hospital. Don’t drive yourself. Take off rings and watches before swelling starts. Keep the bitten limb in a comfortable, neutral position. Wash the bite with soap and water and cover it with a clean, dry dressing. Mark the edge of the swelling on the skin and write the time next to it.
Safety: Do NOT cut the bite, suck out venom, use a tourniquet, ice it, soak it, or give alcohol or pain relievers like aspirin or ibuprofen. Don’t try to catch or kill the snake, and never handle a dead one or a severed head. Snap a photo from a safe distance if you can.

Good to know

Most snakes you’ll meet in Arkansas are harmless: only six of the state’s native species are venomous. Leave them be and they’ll usually leave you be.

How to Start (and Put Out) a Campfire Safely

A good campfire is half the reason to go camping. Doing it right means the woods are still there next time.

Quick answer Check fire restrictions first. Use an existing fire ring if there is one, at least 15 feet from tents and brush, with a 10-foot cleared circle. Light dry tinder, add kindling, then logs. Keep it small. To put it out: drown, stir, drown again, and feel. If it’s too hot to touch, it’s too hot to leave.
How to Start (and Put Out) a Campfire Safely
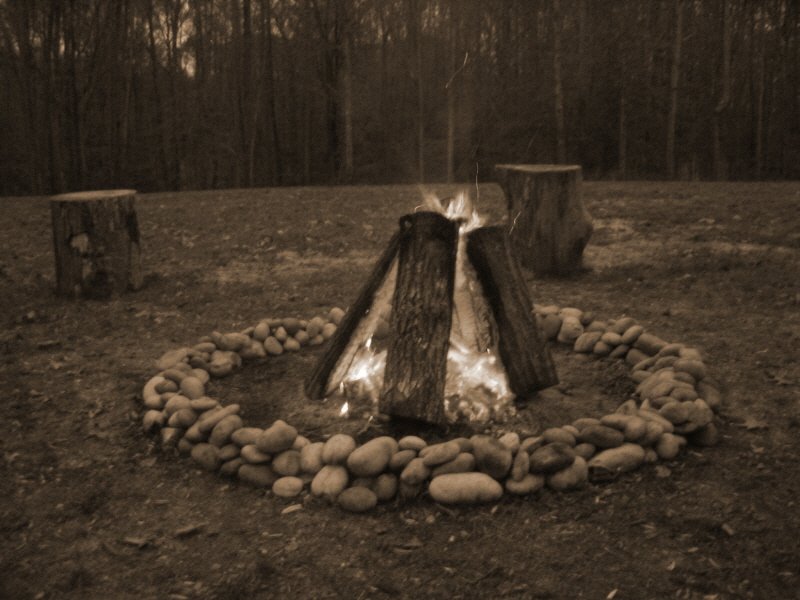
Photo: Jancarrow (uploader) / Wikimedia Commons, Public domain
Tools & materials

  • Bucket of water and a shovel (have them ready before you light)
  • Tinder: dry leaves, grass, pine needles, small twigs
  • Kindling: sticks smaller than about 1 inch around
  • Firewood: larger dry pieces
  • Matches or a lighter
  • A phone, in case you need to call 911

Steps

  1. Check the rules. Search “fire restrictions” plus your county or park, or call the campground. Don’t build a fire where it’s banned, or when it’s dry or windy.
  2. Pick the spot. Use an existing fire ring or rock circle if there is one. Otherwise choose a flat, open spot out of the wind, at least 15 feet from tents, brush and low branches, with open sky overhead (at least three times the height of the flames).
  3. Prep the pit. Clear a circle at least 10 feet across down to bare ground. With no ring, dig a pit about a foot deep and circle it with rocks.
  4. Gather wood. Pick up dead, dry sticks and wood off the ground. Don’t cut live trees or branches; green wood won’t burn anyway.
  5. Build it. Pile tinder in the center. For cooking, lean kindling over it like a teepee or a lean-to. For a longer-lasting fire, stack kindling around it log-cabin style or crisscross it on top.
  6. Light it. Light the tinder with a match or lighter. Never use gasoline or other flammable liquids. Blow gently at the base, then add kindling and larger pieces a little at a time.
  7. Tend it. Keep it small. Somebody watches it the whole time, and kids and dogs stay back. Don’t burn trash, cans, glass, batteries or aerosol cans.
  8. Put it out: drown. Pour lots of water on it until the hissing stops. Don’t just cover it with dirt or sand.
  9. Stir. Stir the ashes and embers with the shovel, and scrape partly burned sticks and logs.
  10. Drown again, then feel. Add more water and keep stirring until everything is cool. Hold the back of your hand close over the ashes. If you feel any heat, keep going.
Safety: If the fire gets out of the pit or embers land in the grass, call 911 right away. Never leave a fire unattended, not even for a few minutes.

Good to know

Abandoned or poorly put-out campfires are a major cause of wildfires. Pack out everything you brought in and leave the site as good as you found it, or better.