Welcome to djgaston.com

Category: Vehicles

Tires, batteries, fluids and roadside basics.

How to Recover a Stuck Truck Safely

If you go off-road long enough, you’re going to get stuck. Getting unstuck without anybody getting hurt is the part that matters.

Quick answer Hook a stretchy recovery (snatch) strap to rated recovery points on both trucks, never to a hitch ball, tie-down or bumper, and never use a chain for a snatch. Drape a damper or heavy blanket over the middle of the strap, get everyone out and well back (at least 1.5 times the strap’s length, and never in line with it), agree on signals, then have the recovery truck take up the slack gently.
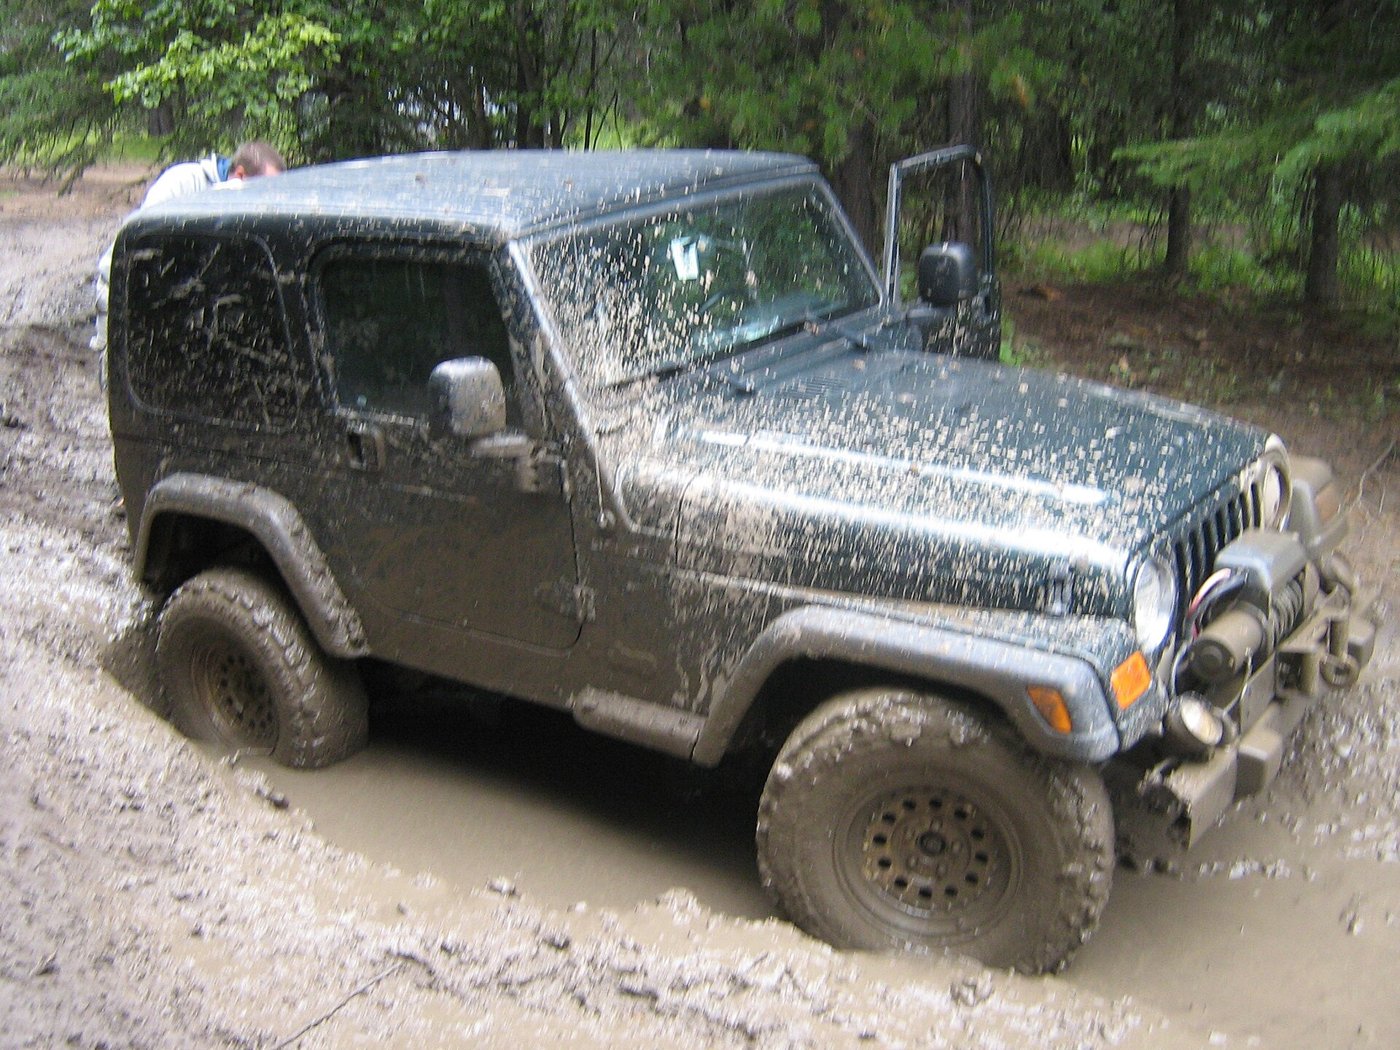
How to Recover a Stuck Truck Safely
Photo: dave_7 from Lethbridge, Canada / Wikimedia Commons, CC BY-SA 2.0
Tools & materials

  • Recovery strap rated for your trucks (not a tow strap)
  • Soft shackles or rated bow shackles
  • Recovery damper, heavy bag or blanket
  • Shovel
  • Gloves
  • Your owner’s manual (to find the recovery points)

Steps

  1. Stop and look. Figure out what’s holding you and where solid ground is. If it’s beyond your gear or skill, call a professional; that’s cheaper than an injury.
  2. Find rated recovery points. Check your owner’s manual for where your truck’s recovery points are, on both trucks. Tie-down loops, trailer hitch balls, bumpers and suspension parts are not recovery points. Hitch balls aren’t made for these loads and can snap off and fly like a bullet.
  3. Use the right strap. A recovery (snatch) strap stretches and stores energy, which eases the shock on both trucks. A tow strap or chain doesn’t stretch, so it shock-loads everything and can break something. Use a recovery strap with a minimum breaking strength of about two to three times the gross vehicle weight of the lighter truck. Never use a recovery strap for ordinary towing.
  4. Inspect it. Don’t use a strap that’s cut, frayed or damaged. A soaking-wet strap is weaker and stretches less.
  5. Connect it. Use a soft shackle or a load-rated bow shackle at each end. Soft shackles have no metal pin to turn into a projectile. If using a steel shackle, tighten the pin until it seats, then back it off about half a turn. Never join two straps with a shackle; if one breaks, the shackle becomes a missile.
  6. Line up. Put the recovery truck as straight in line with the stuck truck as possible, with the strap untwisted and a few feet of slack.
  7. Dampen it. Drape a recovery damper, heavy bag or blanket over the middle of the strap to knock it down if something lets go.
  8. Clear the area. Passengers out. Everyone stands at least 1.5 times the strap’s unstretched length away, and never in line with the strap or in the path of either truck.
  9. Agree on signals. Both drivers know who goes when, which way, and when to stop.
  10. Pull. The recovery truck eases forward to take up the slack and keeps going, letting the strap’s stretch do the work. The stuck truck drives gently at the same time. If it doesn’t come out, try again with a little more speed, not a lot. Avoid repeated hard jerks.
Safety: Recovery straps have killed people when hardware or recovery points let go. Rated points only, never a hitch ball or tie-down, never a chain for snatching, damper on, everybody well back.
How to Read a Tire Sidewall (and Pick the Right Pressure)

Tires are the only thing between your truck and the road. Worth knowing what the numbers on them say.

Quick answer Example: LT265/70R17 121S. LT = light truck tire (P = passenger). 265 = width in millimeters. 70 = sidewall height as a percent of the width. R = radial. 17 = wheel diameter in inches. 121 = load index. S = speed rating. For pressure, use the number on the tire placard in the driver’s door jamb or in your owner’s manual, checked cold. The number on the sidewall is the tire’s maximum, not the right pressure for your truck.
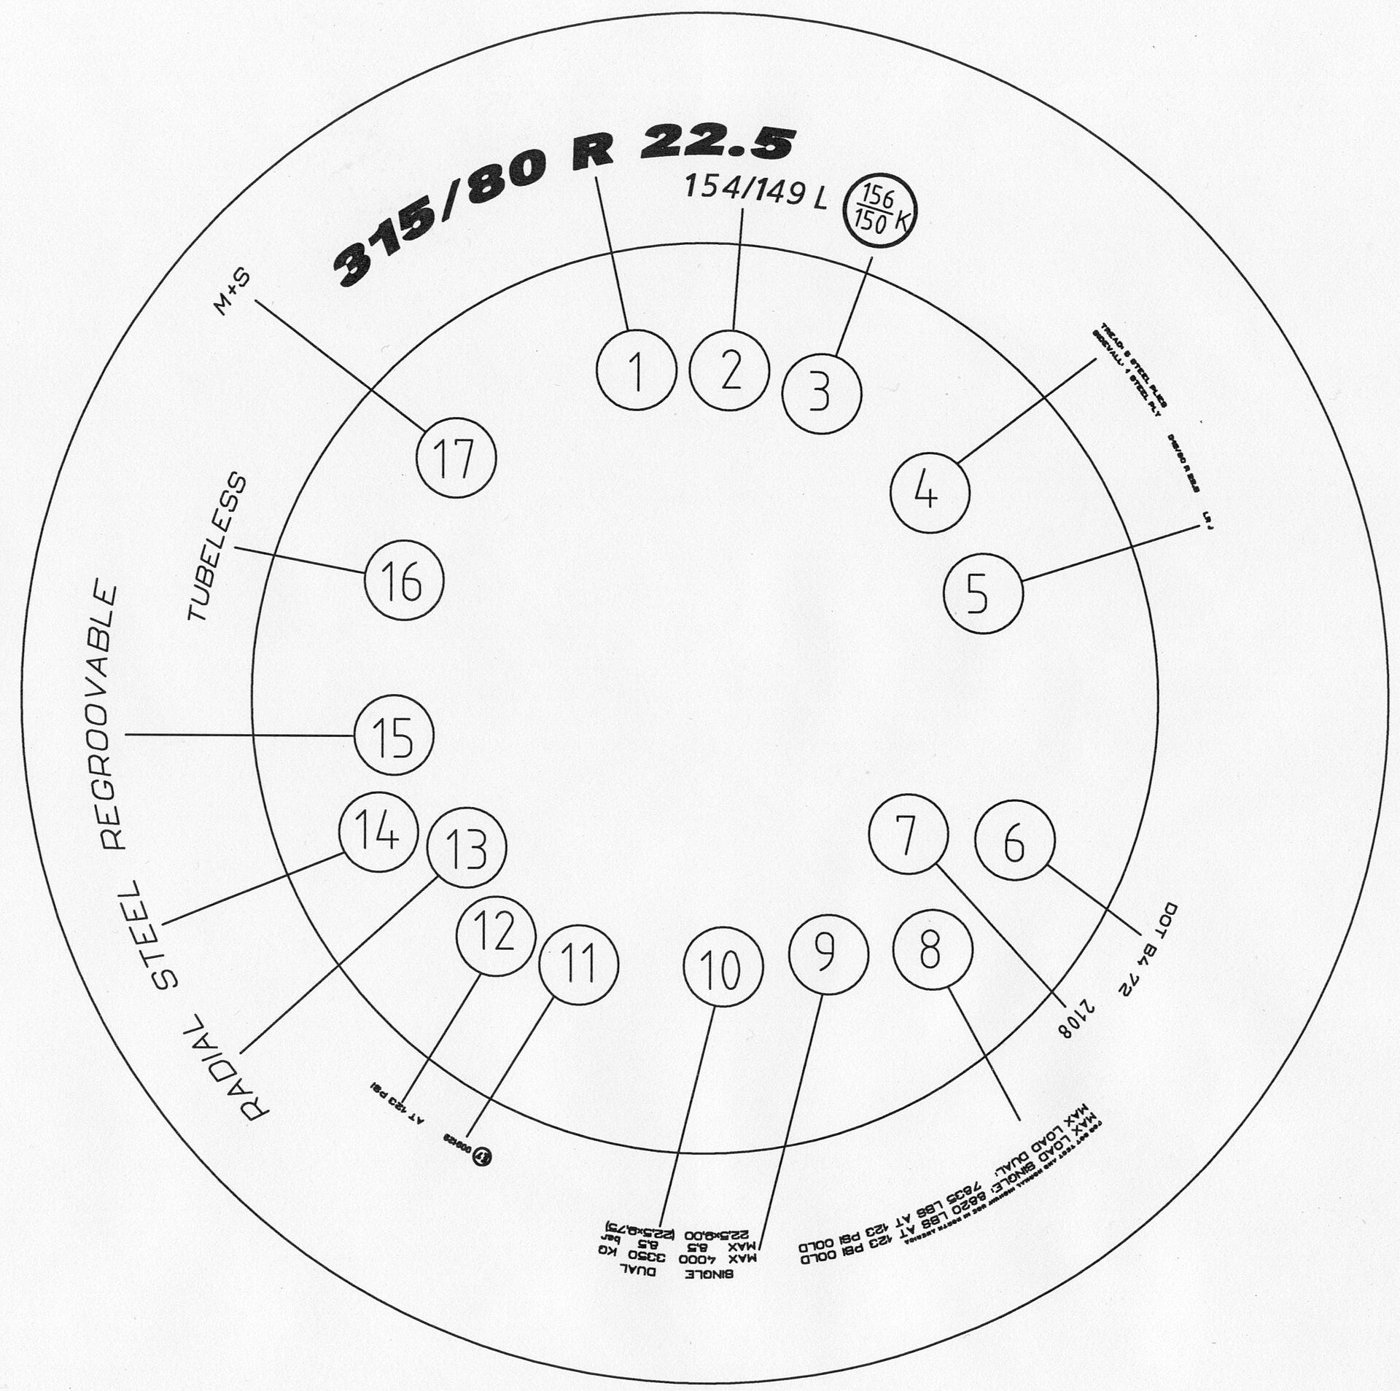
How to Read a Tire Sidewall (and Pick the Right Pressure)
Photo: Kifoc / Wikimedia Commons, Public domain
What you need

  • Tire pressure gauge
  • Your truck’s tire placard (driver’s door edge or door post) or owner’s manual

How to read it

  1. Find the size. It’s the biggest string of letters and numbers on the sidewall, like LT265/70R17.
  2. Tire type. A leading P means a passenger-car tire; LT means a light-truck tire.
  3. Width. The first number (265) is the tire’s width in millimeters.
  4. Aspect ratio. The number after the slash (70) is the sidewall’s height as a percentage of the width. Lower numbers mean a shorter sidewall.
  5. Construction. R means radial, which is what almost every modern tire is.
  6. Wheel size. The next number (17) is the wheel diameter in inches.
  7. Load index and speed rating. The code after the size (121S) is the load index (how much weight the tire can carry, from a chart) and the speed rating letter. Replacement tires should meet what your truck’s placard calls for.
  8. Age. Find the “DOT” code. Its last four digits are the week and year it was made: 2322 means the 23rd week of 2022.
  9. Right pressure. Look at the tire placard on the driver’s door edge or door post (or in the owner’s manual). That “recommended cold inflation pressure” is set by the vehicle maker for your truck. The “max press” on the sidewall is the most the tire should ever hold, not a target.
  10. Check it right. Check all tires, including the spare, at least once a month, when they’re cold: the truck hasn’t been driven for at least three hours. Add air until the gauge matches the placard.
Safety: Underinflated tires and overloaded vehicles are a major cause of tire failure. Don’t load past the weight limits on your placard.

How to Check and Top Off Your Truck’s Fluids

Five minutes under the hood now and then can save you a long walk home.

Quick answer Park on level ground with the engine off. Check oil on the dipstick (between the marks), coolant in the see-through reservoir (between MIN and MAX, engine cold), brake fluid in its reservoir (between MIN and MAX), power steering if your truck has a reservoir, and washer fluid. Top off only with the exact type your owner’s manual calls for, and never open a hot radiator cap.
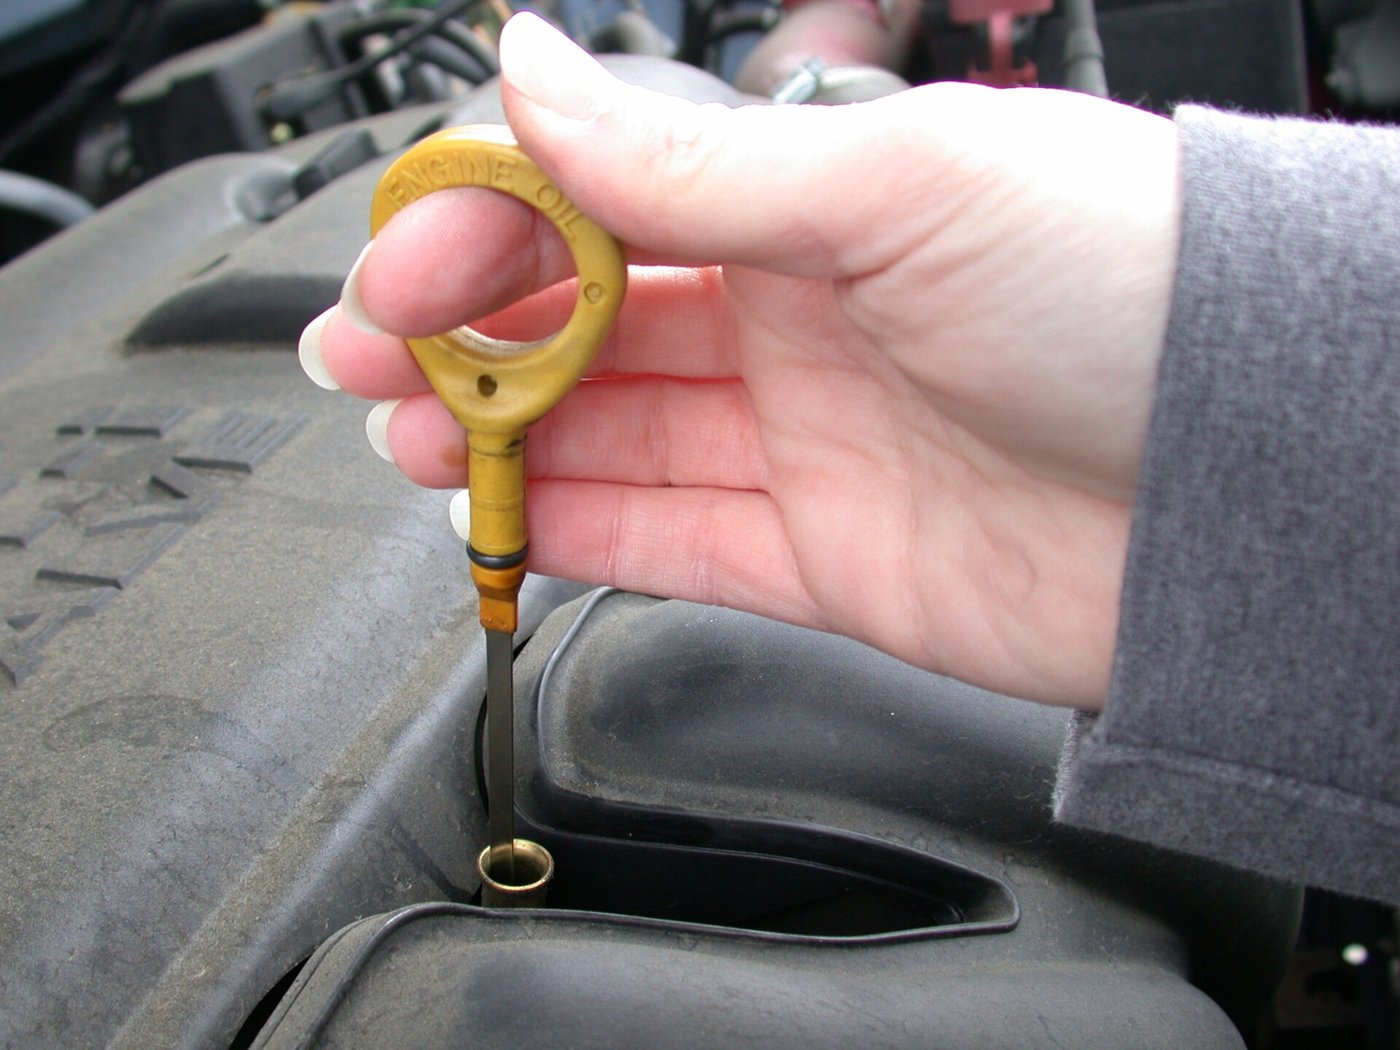
How to Check and Top Off Your Truck's Fluids
Photo: Dvortygirl / Wikimedia Commons, CC BY-SA 3.0
Tools & materials

  • Owner’s manual (fluid types and locations)
  • Clean rags or paper towels
  • Funnel
  • The correct oil, coolant, brake fluid and washer fluid for your truck
  • Safety glasses and gloves

Steps

  1. Set up. Park on level ground, engine off, parking brake on. Open the manual to the maintenance section; it shows where each fill point is and what fluid goes in it.
  2. Engine oil. Follow your manual on timing (some say check after the engine has sat for a while; some say warm it up, shut it off and wait a few minutes). Pull the dipstick, wipe it, push it all the way back in, pull it again and read it. The level should be between the low and full marks. If it’s at or near the low mark, add a little of the same type of oil through the filler cap, wait, and recheck. Don’t overfill.
  3. Coolant. Only with the engine cold. Look at the see-through overflow reservoir: the level should be between MIN and MAX. If it’s low, add the coolant type your manual specifies (usually a 50/50 mix of antifreeze and water) to the reservoir. If you’re adding coolant regularly, have it checked for a leak.
  4. Brake fluid. Wipe the reservoir cap clean before opening so dirt can’t fall in. Level should be between MIN and MAX. Add only the DOT type listed in the manual or on the cap, and don’t mix types. Fresh fluid is clear to amber; dark brown or black means it’s time to have it replaced.
  5. Power steering (if your truck has hydraulic power steering). Engine off. Check the reservoir’s markings or the dipstick on its cap, and top off with the fluid your manual specifies.
  6. Washer fluid. Fill the reservoir to the fill line with washer fluid, not plain water.
  7. Transmission and other fluids. Procedures vary a lot between trucks. Follow your owner’s manual or have a shop check them.
  8. Put every cap back on tight and close the hood until it latches.
Safety: Never remove a radiator or coolant reservoir pressure cap when the engine is hot; it can spray scalding coolant. Coolant is poisonous: wipe up spills and keep it away from kids and pets.

How to Test a Car Battery with a Multimeter

A cheap multimeter is one of the best tools you can own. Here’s how to use it on a battery.

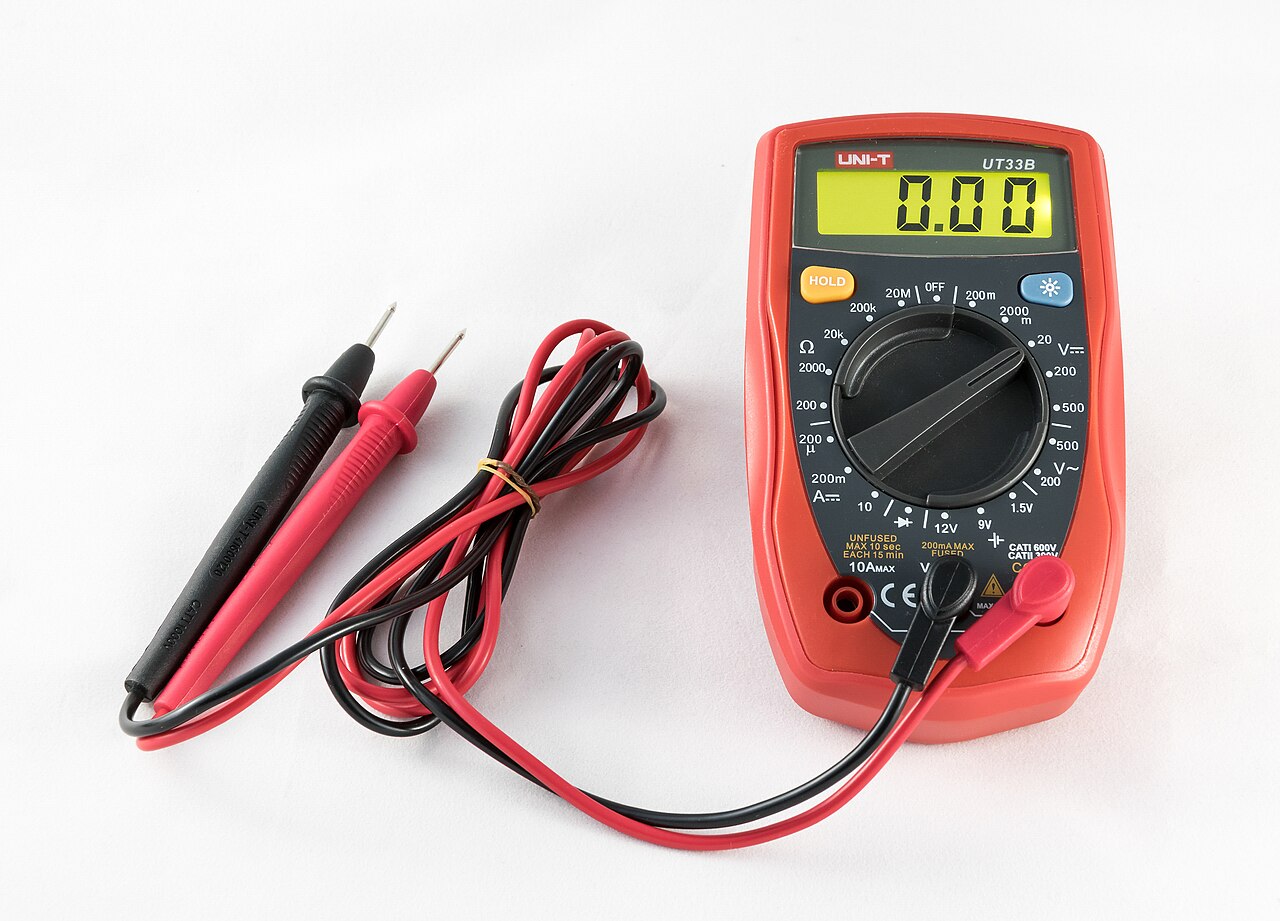
Quick answer With the engine off and everything shut off, a healthy, fully charged battery reads about 12.6 volts. Around 12.4 is roughly 75% charged, about 12.2 is half, and 12.0 or below is nearly flat. While cranking, it shouldn’t drop below about 9.6 volts. A parts store can also do a free load test.
How to Test a Car Battery with a Multimeter
Photo: Jacek Halicki / Wikimedia Commons, CC BY-SA 4.0
Tools & materials

  • Digital multimeter
  • Gloves and eye protection
  • Wire brush (if terminals are corroded)

Steps

  1. Let the car sit at least an hour with everything off. Overnight gives the truest reading.
  2. Set the meter to DC volts, 20V range.
  3. Red probe on the + terminal, black on the −. Read the voltage.
  4. Read it: 12.6–12.8 V full; ~12.4 V about 75%; ~12.2 V about 50%; ~12.0 V about 25%; under ~11.8 V discharged.
  5. Cranking test: have a helper crank the engine while you watch the meter. If it dips below about 9.6 V, the battery is weak even if the resting number looked fine.
  6. Charging check: with the engine running, the reading should rise noticeably above the resting number. If it doesn’t, the alternator or wiring may be the problem rather than the battery.
  7. If it reads low, charge it fully and re-test the next day. A battery that won’t hold a charge needs replacing.
Safety: Keep tools from bridging the two terminals. Wear eye protection, and don’t smoke or make sparks near a battery.

How to Jump-Start a Car

Keep a set of jumper cables in every vehicle. Sooner or later you or somebody else will need them.

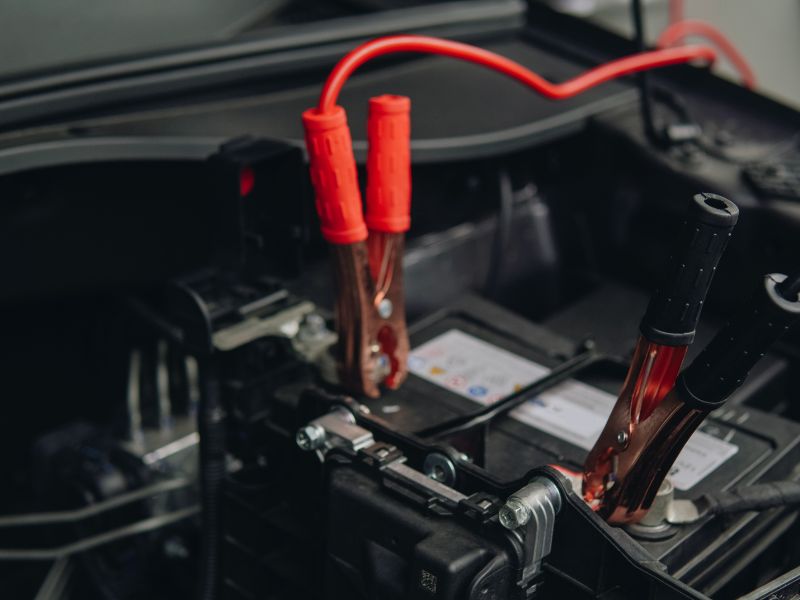
Quick answer Connect in this order: red clamp to the dead battery’s +, red to the good battery’s +, black to the good battery’s −, and the last black clamp to clean unpainted metal on the dead car’s engine, away from the battery. Start the good car, wait a few minutes, start the dead one, then remove the clamps in reverse order.
How to Jump-Start a Car
Photo: Mobiletireservicegta / Wikimedia Commons, CC BY-SA 4.0
Tools & materials

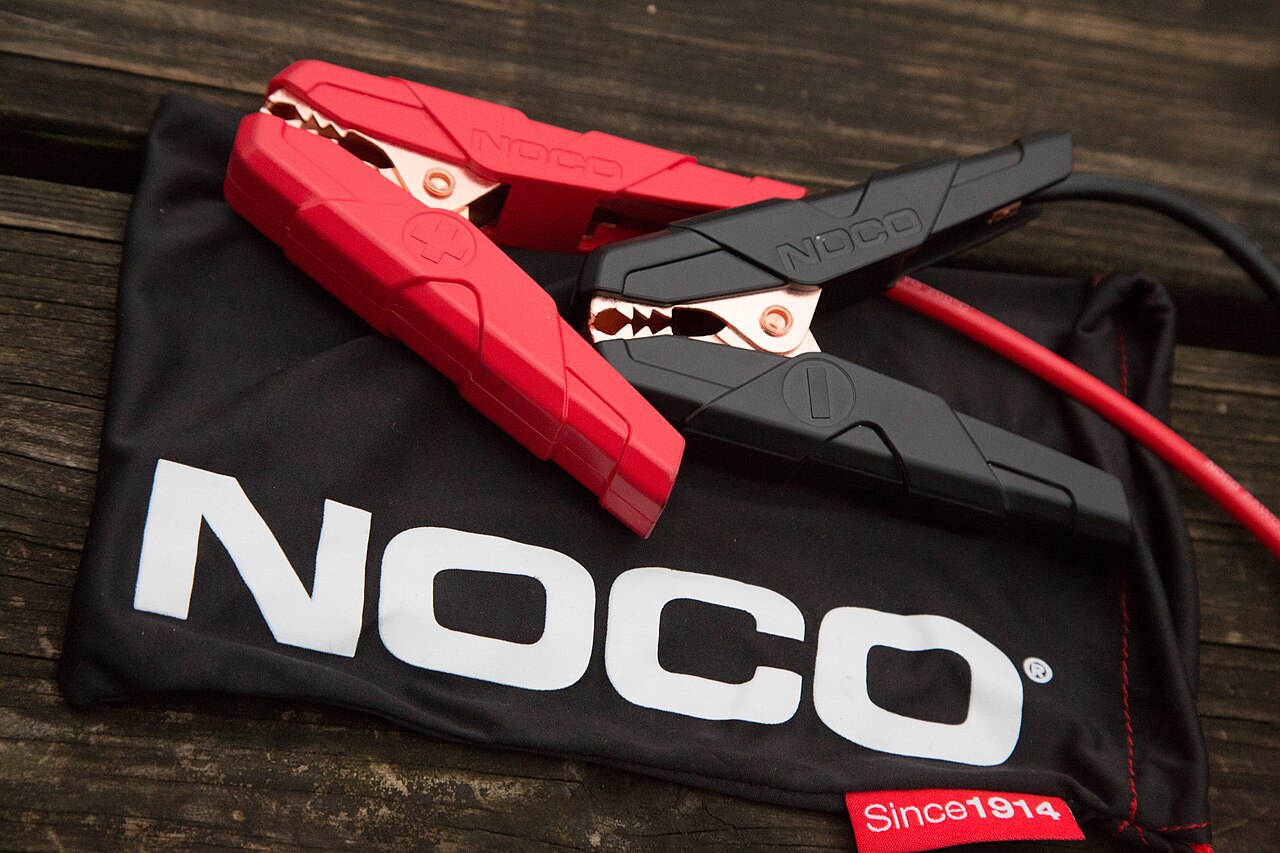
  • Jumper cables (or a charged jump pack)
  • A running vehicle with a similar-voltage battery
  • Gloves and eye protection

Steps

  1. Park the cars close but not touching. Both off, parking brakes on. Check your owner’s manuals; some cars have specific jump points.
  2. Look at the dead battery. If it’s cracked, leaking or bulging, stop. Don’t jump it.
  3. Red clamp on the dead battery’s positive (+) terminal.
  4. Other red clamp on the good battery’s positive (+).
  5. Black clamp on the good battery’s negative (−).
  6. Last black clamp on a clean, unpainted metal bolt or bracket on the dead car’s engine, away from the battery and moving parts.
  7. Start the good car and let it run a few minutes. Then try the dead car.
  8. Once it runs, remove the clamps in reverse order: black from the engine, black from the good battery, red from the good battery, red from the dead battery.
  9. Drive a good while or put it on a charger so it can recharge. Then test the battery (see our battery-testing guide).
How to Jump-Start a Car
Photo: Tony Webster from Minneapolis, Minnesota, United States / Wikimedia Commons, CC BY 2.0
Safety: Batteries can give off explosive hydrogen gas. That’s why the last connection goes to engine metal and not the dead battery. Don’t let the clamps touch each other while any are connected.

How to Change a Flat Tire

Everybody who drives should know how to do this at least once before they need it.

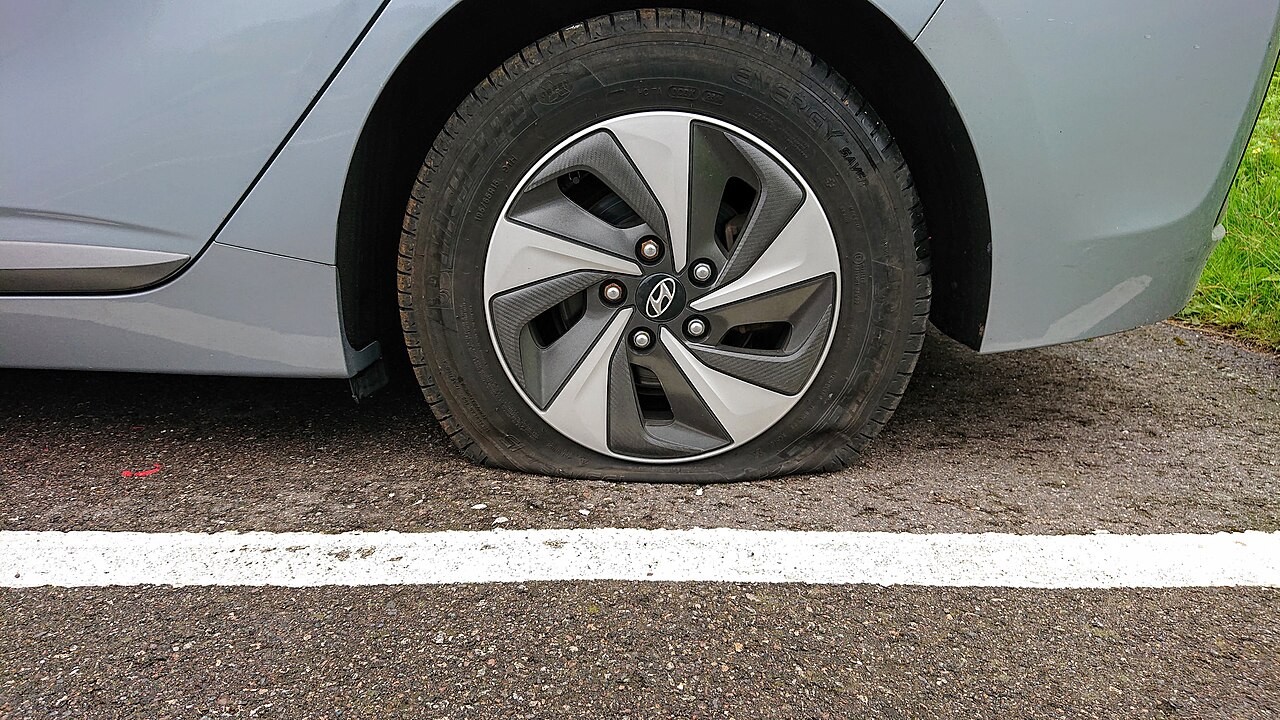
Quick answer Get off the road onto firm, level ground. Put the hazards and parking brake on, and loosen the lug nuts while the tire is still on the ground. Then jack at the marked lift point, swap the wheel, snug the nuts, lower the car, and tighten in a star pattern. Check the nuts again after a few miles.
How to Change a Flat Tire
Photo: Stian Martinsen / Wikimedia Commons, CC BY-SA 4.0
Tools & materials

  • Spare tire (check its air pressure a couple of times a year)
  • Jack and lug wrench from the car
  • Owner’s manual (shows jack points)
  • Wheel chock or a brick
  • Flashlight and gloves

Steps

  1. Pull well off the road on firm, level ground. Hazards on, parking brake on, everyone out and away from traffic.
  2. Chock the wheel diagonally opposite the flat.
  3. Pop off the hubcap if there is one. Loosen each lug nut about a half turn counterclockwise. Don’t remove them yet.
  4. Put the jack at the lift point shown in your manual and raise the car until the flat is a couple of inches off the ground.
  5. Remove the lug nuts (keep them together) and pull the wheel straight off.
  6. Line the spare up with the studs, push it on, and thread the nuts on by hand.
  7. Lower the car until the tire just touches. Tighten the nuts in a star (crisscross) pattern, not around the circle.
  8. Lower it all the way and tighten again in the star pattern. Stow the flat and tools.
  9. Re-check lug tightness after a short drive. Respect the speed and distance limits printed on a compact spare.
How to Change a Flat Tire
Photo: Xwizard35 / Wikimedia Commons, CC BY-SA 4.0
Safety: Never put any part of your body under a car held up only by a jack. If you’re on a narrow shoulder or highway, stay in the car with your belt on and call for roadside help.