Welcome to djgaston.com

Tag: kids

How to Set Up Parental Controls on an iPhone

Handing a kid a phone is a big step. These settings make it a little less nerve-wracking.

Quick answer Set up Family Sharing and give your child their own Child Account. Then, from your own iPhone, go to Settings > Family > your child’s name. From there you can approve apps (Ask to Buy) and websites, set Screen Time schedules and daily time allowances, choose who they can contact, and set age-based content restrictions.

How to Set Up Parental Controls on an iPhone
Photo: Shixart1985 / Wikimedia Commons, CC BY 2.0
What you need

  • Your iPhone and your child’s iPhone, both updated to the latest iOS
  • Family Sharing set up, with your child on their own Apple Account

Steps

  1. Get set up. Turn on Family Sharing and create a Child Account for your kid if they don’t have one. Make sure they aren’t sharing anyone else’s Apple Account, and add yourself to their contacts so their requests reach you.
  2. Open their settings. On your iPhone: Settings > Family > tap your child’s name. Set a Screen Time passcode they don’t know when asked.
  3. Approve app downloads. Tap Apps & Websites > Restrictions > Ask to Buy, and turn on Require Purchase Approval. Their downloads and purchases come to you for a yes or no.
  4. Filter websites. Apps & Websites > Restrictions > Filtering. Choose Limit Adult Websites, or Approved Websites Only so they have to ask for each new site.
  5. Set a schedule. Tap Screen Time Schedule, turn on Schedule, and add schedules (for example school nights) for the days you choose.
  6. Set time limits. Tap Time Allowances, then Add, to set daily limits for things like games or social media.
  7. Control contacts. Tap Allowed Contacts. Choose who they can talk to during Screen Time, and turn on Manage Contacts to approve their contact list.
  8. Turn on Communication Safety. It helps keep kids from viewing or sending photos and videos with detected nudity or violence.
  9. Set content ratings. Tap Content & Privacy Restrictions and pick age ratings for apps, music, movies, TV and books.

Good to know

Some of these settings, like Ask to Buy for kids under 13 and Limit Adult Websites for kids under 18, are on by default for child accounts. Menu names can shift a bit between iOS versions, and Apple’s support site has the current steps.
Crispy Oven Fries

Homemade fries disappear fast around here. These come out crispy without a fryer.

Quick answer Cut russet potatoes into sticks, soak them in cold water at least 30 minutes, then dry them completely. Toss with oil and spread in a single layer with space between them on a hot, oiled sheet pan. Roast at 425°F (dark pans) to 450°F (light pans), flipping once halfway, until golden. Salt right away.
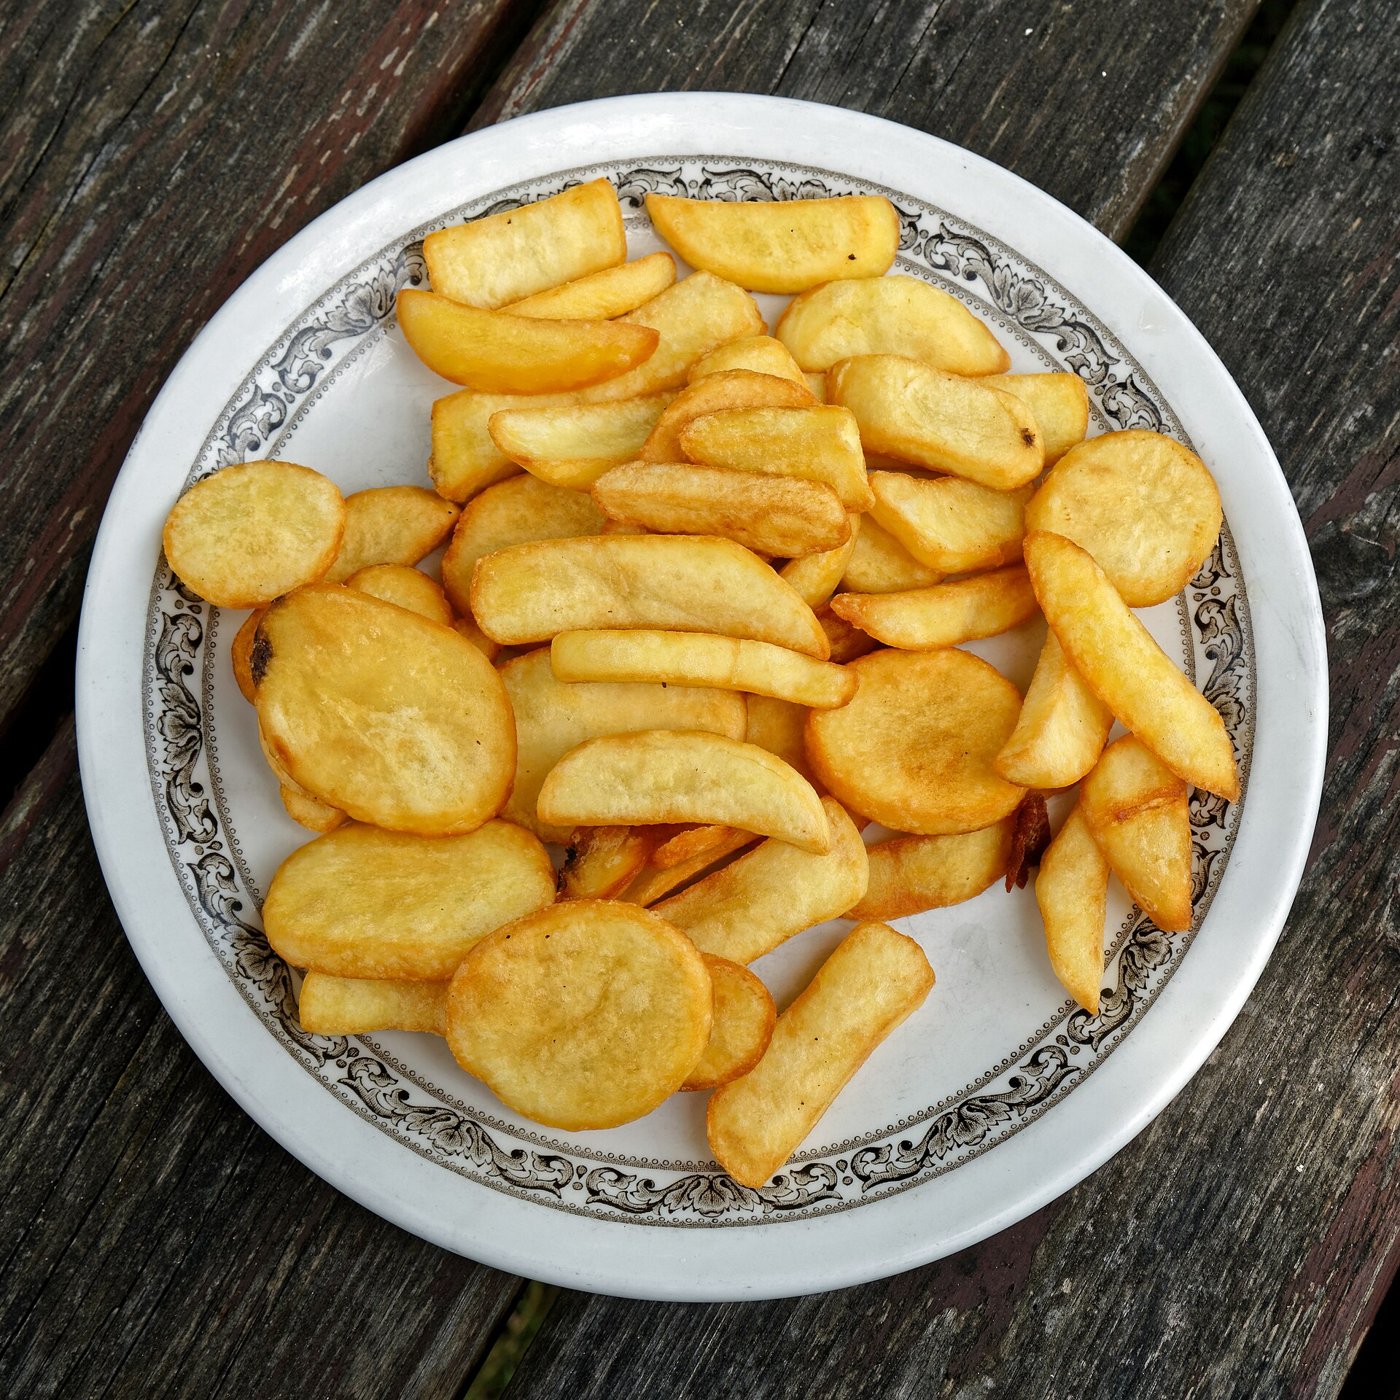
Crispy Oven Fries
Photo: Acabashi / Wikimedia Commons, CC BY-SA 4.0
Ingredients

  • 3 large russet potatoes (about 2 3/4 to 3 pounds), peeled or not
  • 3 to 4 tablespoons high-heat oil (peanut, sunflower, avocado or vegetable)
  • Salt
  • 2 large sheet pans

Directions

  1. Cut the potatoes into sticks. About 1/2 inch wide (pinky size) cooks faster; about 3/4 inch wide (thumb size) makes thick-cut fries.
  2. Soak them in a bowl of cold water for at least 30 minutes, up to overnight in the fridge. This pulls out starch so they crisp.
  3. Heat the oven to 425°F if your pans are dark, 450°F if they’re light. Put the oil on the sheet pans, tilt to coat, and put the pans in to heat.
  4. Dry them well. Drain, rinse, and pat bone-dry with towels. Wet potatoes steam instead of crisping.
  5. Optional for thick fries: boil the sticks in salted water about 5 minutes, just until a knife tip goes in but they hold their shape, then drain and let dry.
  6. Spread them out. Carefully pull out the hot pans, add the potatoes, turn each once to coat with oil, and space them apart in a single layer. Crowded fries come out soggy.
  7. Roast about 20 minutes, flip once, and roast until golden-brown at the edges. Thin fries take about 20 minutes total; thick ones 30 to 40.
  8. Salt them as soon as they come out, and serve hot.
Safety: The oiled pans are very hot. Kids stay back while you add the potatoes and flip them.

Buttermilk Pancakes from Scratch

Saturday morning pancakes are a tradition worth keeping.

Quick answer Whisk 2 cups flour, 2 tablespoons sugar, 1 teaspoon baking powder, 1 teaspoon baking soda and 1/2 teaspoon salt. Whisk 2 cups buttermilk, 1 or 2 eggs and 2 tablespoons melted butter. Stir together until just combined (lumps are fine), rest 10 to 15 minutes, and cook 1/4 cup at a time on a medium-hot griddle until bubbles form, then flip.
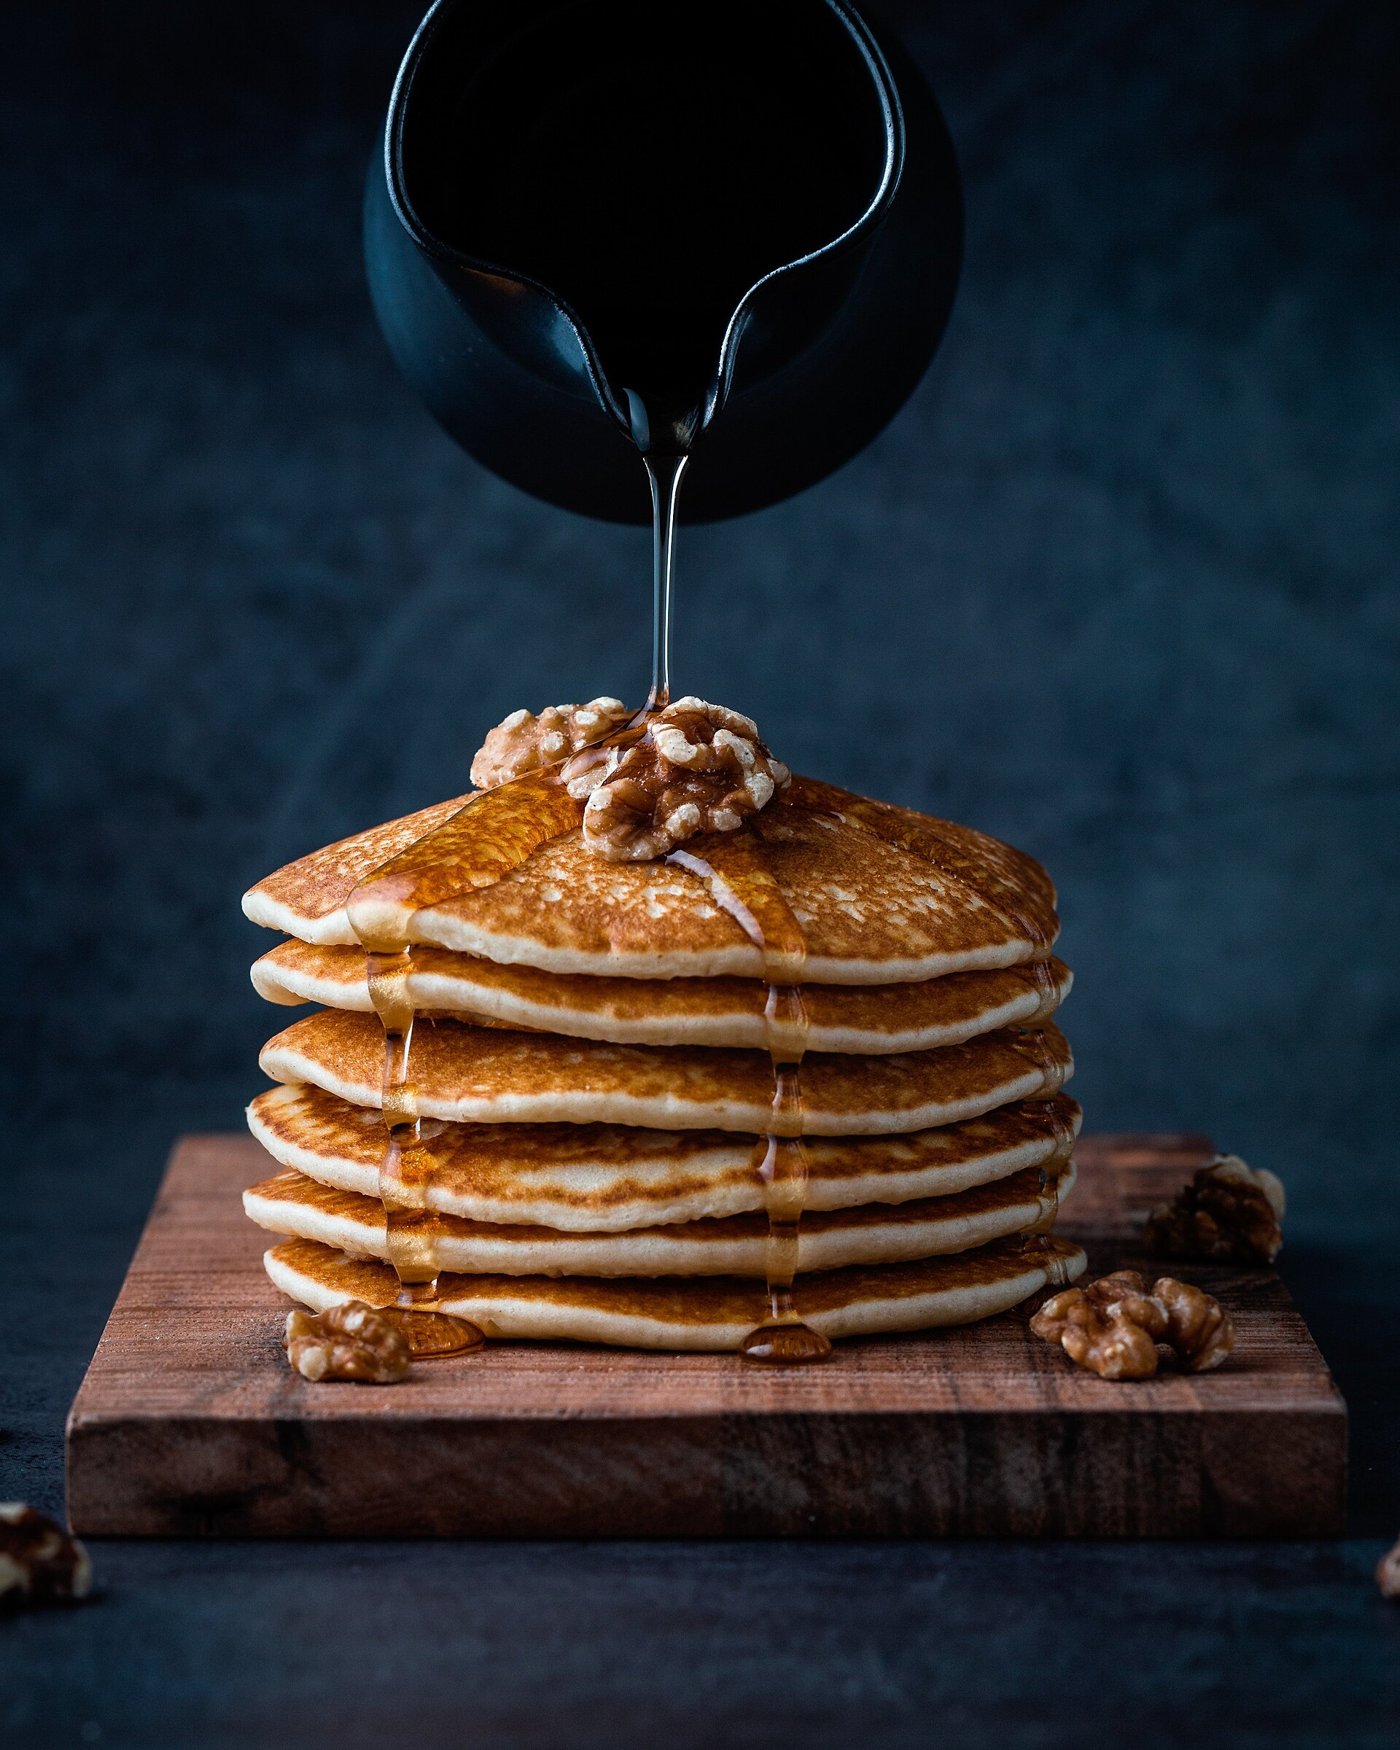
Buttermilk Pancakes from Scratch
Photo: Mae Mu / Wikimedia Commons, CC0
Ingredients

  • 2 cups all-purpose flour
  • 2 tablespoons sugar
  • 1 teaspoon baking powder
  • 1 teaspoon baking soda
  • 1/2 teaspoon salt
  • 2 cups buttermilk
  • 1 or 2 large eggs
  • 2 tablespoons melted butter, plus butter or oil for the pan
  • 1 teaspoon vanilla (optional)

Directions

  1. Mix the dry ingredients in a large bowl.
  2. Mix the wet: whisk the egg(s), then the buttermilk, melted butter and vanilla, in another bowl.
  3. Combine by pouring the wet into the dry and stirring just until mixed. Some lumps are fine; overmixing makes flat, tough pancakes.
  4. Rest the batter 10 to 15 minutes. If it’s too thick to pour, thin with a little more buttermilk.
  5. Heat the pan. Heat a skillet over medium (or medium-low for cast iron) or a griddle to about 350°F, until a drop of water skitters across it. Grease lightly.
  6. Cook 1/4 cup of batter per pancake until bubbles form on top and the bottom is golden, about 1 to 2 minutes. Flip and cook 1 to 2 minutes more.
  7. Serve right away, or keep warm in a 200°F oven while you finish the batch.
Safety: Keep kids back from the hot griddle and the handle turned in.

Tips

Leftovers freeze well. Freeze them the same day and reheat in a low oven or the toaster.

Homemade Stovetop Mac and Cheese

My boys would eat mac and cheese every night if I let them. This one beats the box.

Quick answer Cook 8 ounces of elbow macaroni. In the same pot, melt 2 tablespoons butter, whisk in 2 tablespoons flour for a minute or two, then slowly whisk in 2 cups milk and simmer until it thickens. Off the heat, stir in about 2 cups shredded cheddar until smooth. Toss with the pasta, loosening with a splash of pasta water.
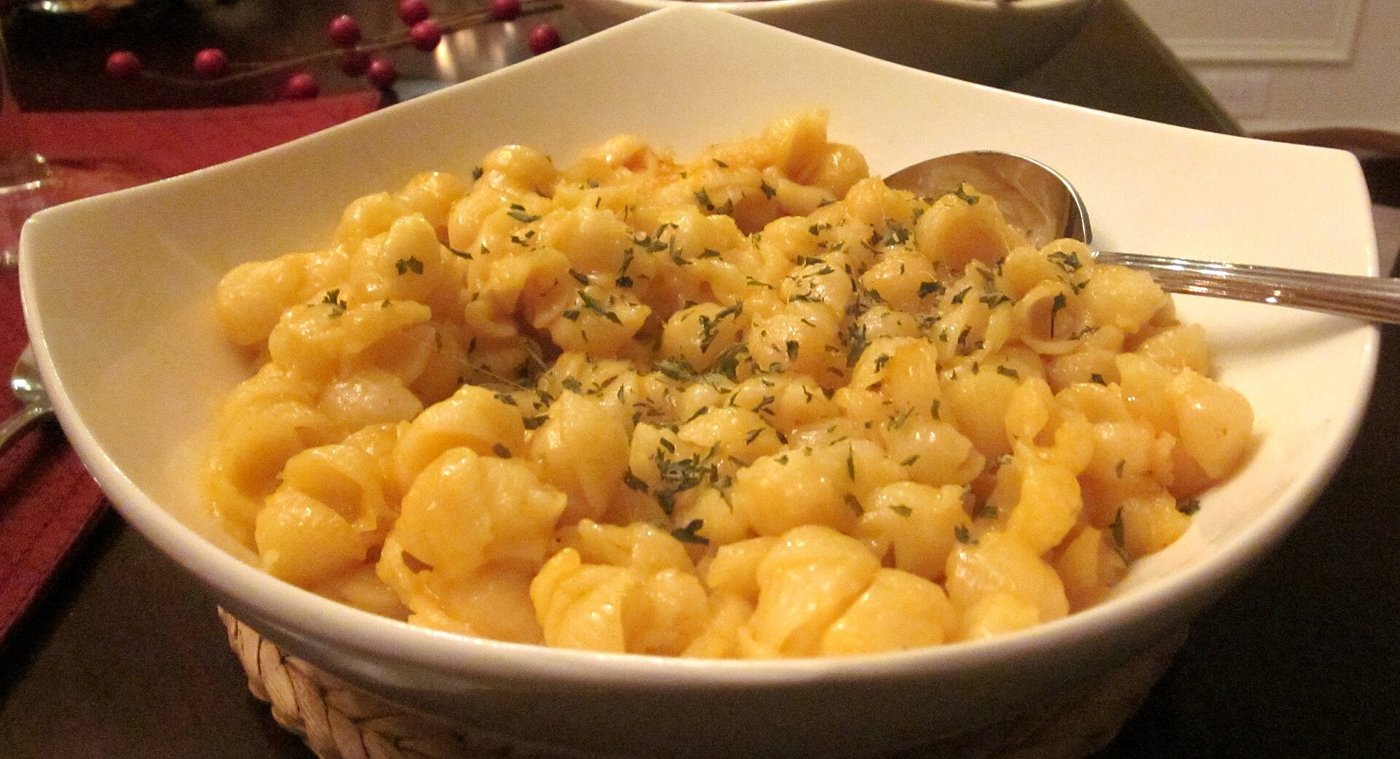
Homemade Stovetop Mac and Cheese
Photo: Sumeet Jain from San Francisco, USA / Wikimedia Commons, CC BY-SA 2.0
Ingredients

  • 8 ounces elbow macaroni (about 2 cups dry)
  • Salt for the pasta water
  • 2 tablespoons butter
  • 2 tablespoons all-purpose flour
  • 2 cups whole milk
  • About 2 cups (8 ounces) shredded cheddar, sharp or mild
  • 2 ounces cream cheese, in small pieces (optional, extra creamy)
  • 1/2 teaspoon salt and a pinch of black pepper
  • A little mustard powder or paprika (optional)

Directions

  1. Cook the pasta in a big pot of salted boiling water according to the package. Save about 1 cup of the cooking water, then drain.
  2. Make the base. In the same pot over medium heat, melt the butter. Whisk in the flour (and mustard powder or paprika, if using) and cook, whisking, 1 to 2 minutes.
  3. Add the milk slowly, whisking so it doesn’t lump. Add the salt and pepper. Bring to a simmer and cook, whisking often, until it thickens enough to coat a spoon.
  4. Add the cheese. Take the pot off the heat. Stir in the cheddar (and cream cheese, if using) a handful at a time until smooth.
  5. Combine. Stir in the macaroni. If it’s too thick, add pasta water a splash at a time. Taste and adjust the salt.
Safety: Let it cool a minute before serving little ones; cheese sauce holds a lot of heat.

Tips

Shred cheese from a block if you can. Pre-shredded cheese doesn’t melt as smoothly.