Welcome to djgaston.com

Tag: plumbing

How to Winterize Outdoor Faucets and Pipes

Arkansas doesn’t freeze often, but when it does, a busted pipe is a mess you don’t want.

Quick answer Before the first freeze, disconnect and drain your hoses. Close the indoor shutoff valve for each outdoor faucet, then open the outside faucet to drain it and leave it open. Insulate pipes in crawl spaces, garages and attics. During hard freezes, let a faucet on exposed pipes drip, open sink cabinets, and keep the heat at least 55°F if you’re away.
How to Winterize Outdoor Faucets and Pipes
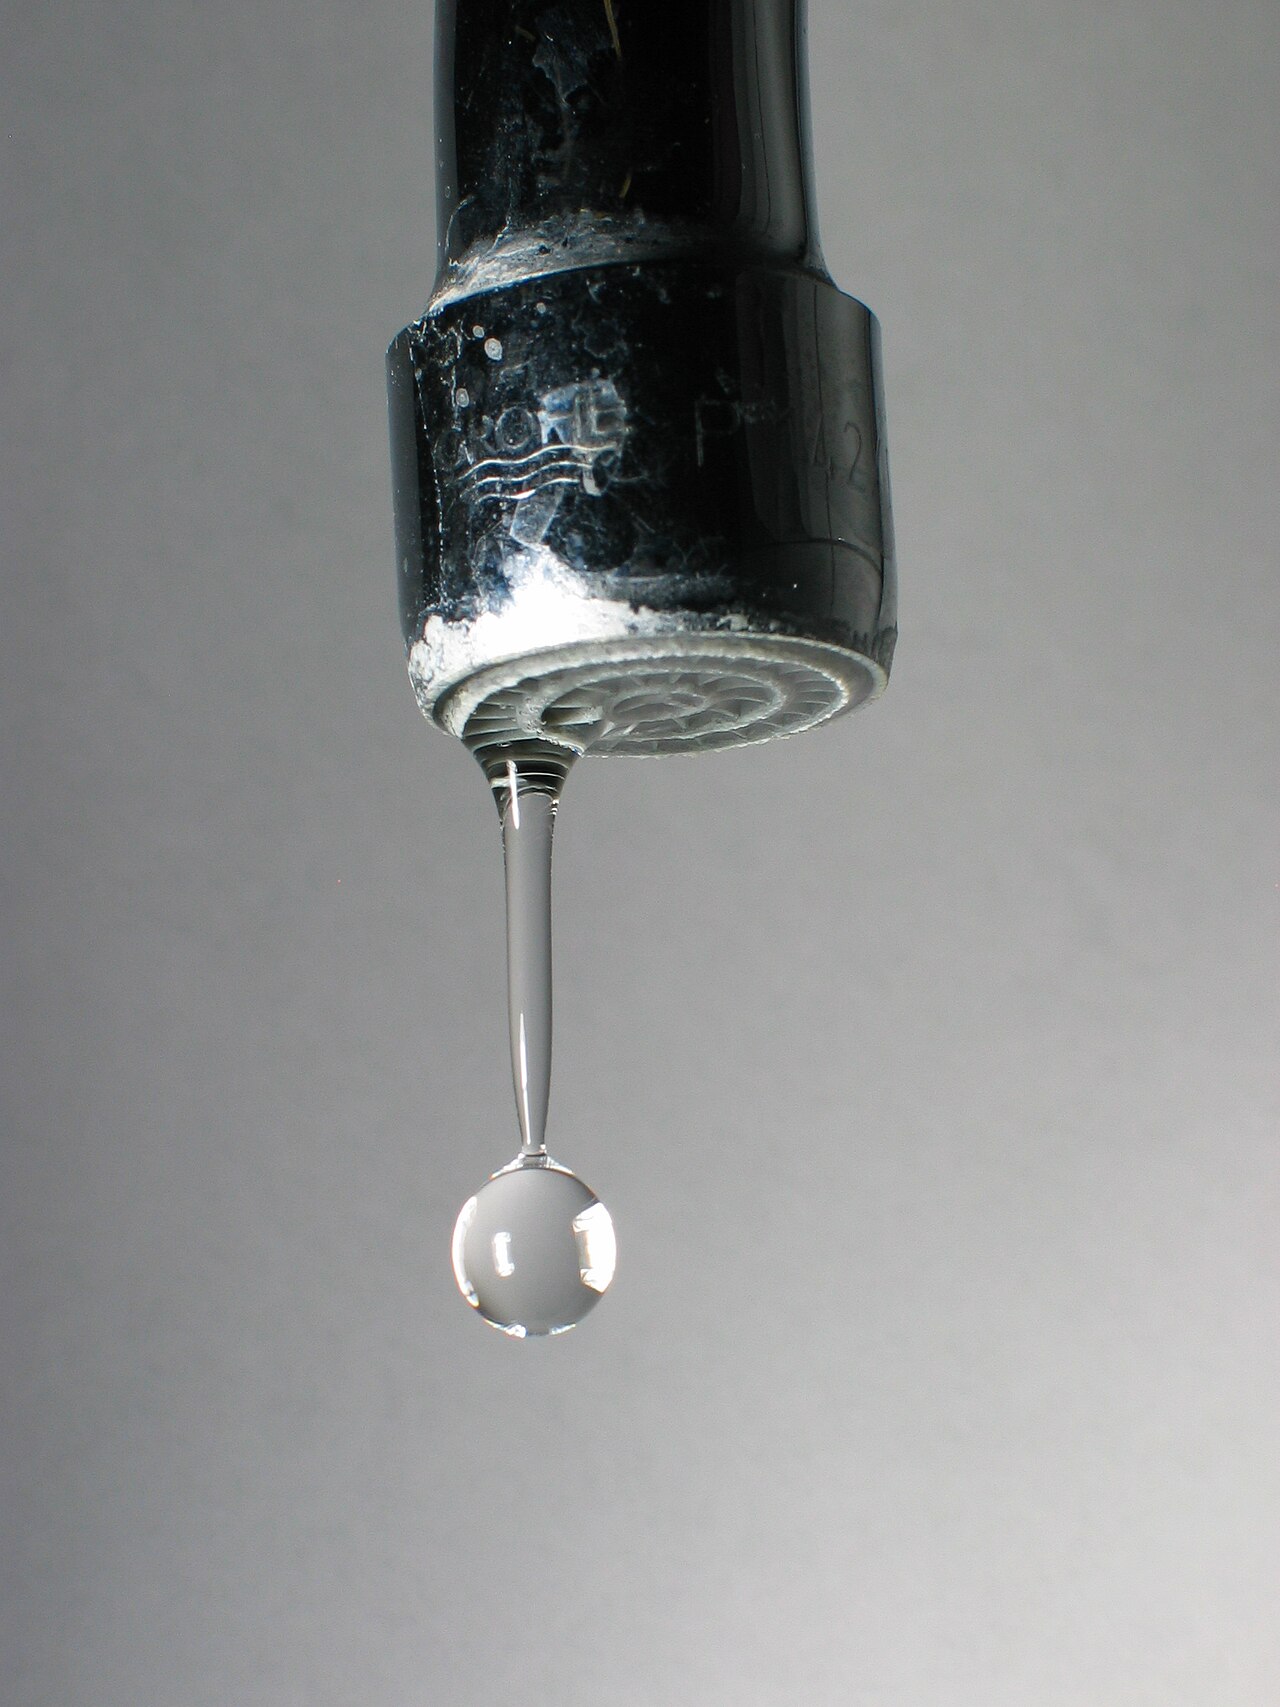
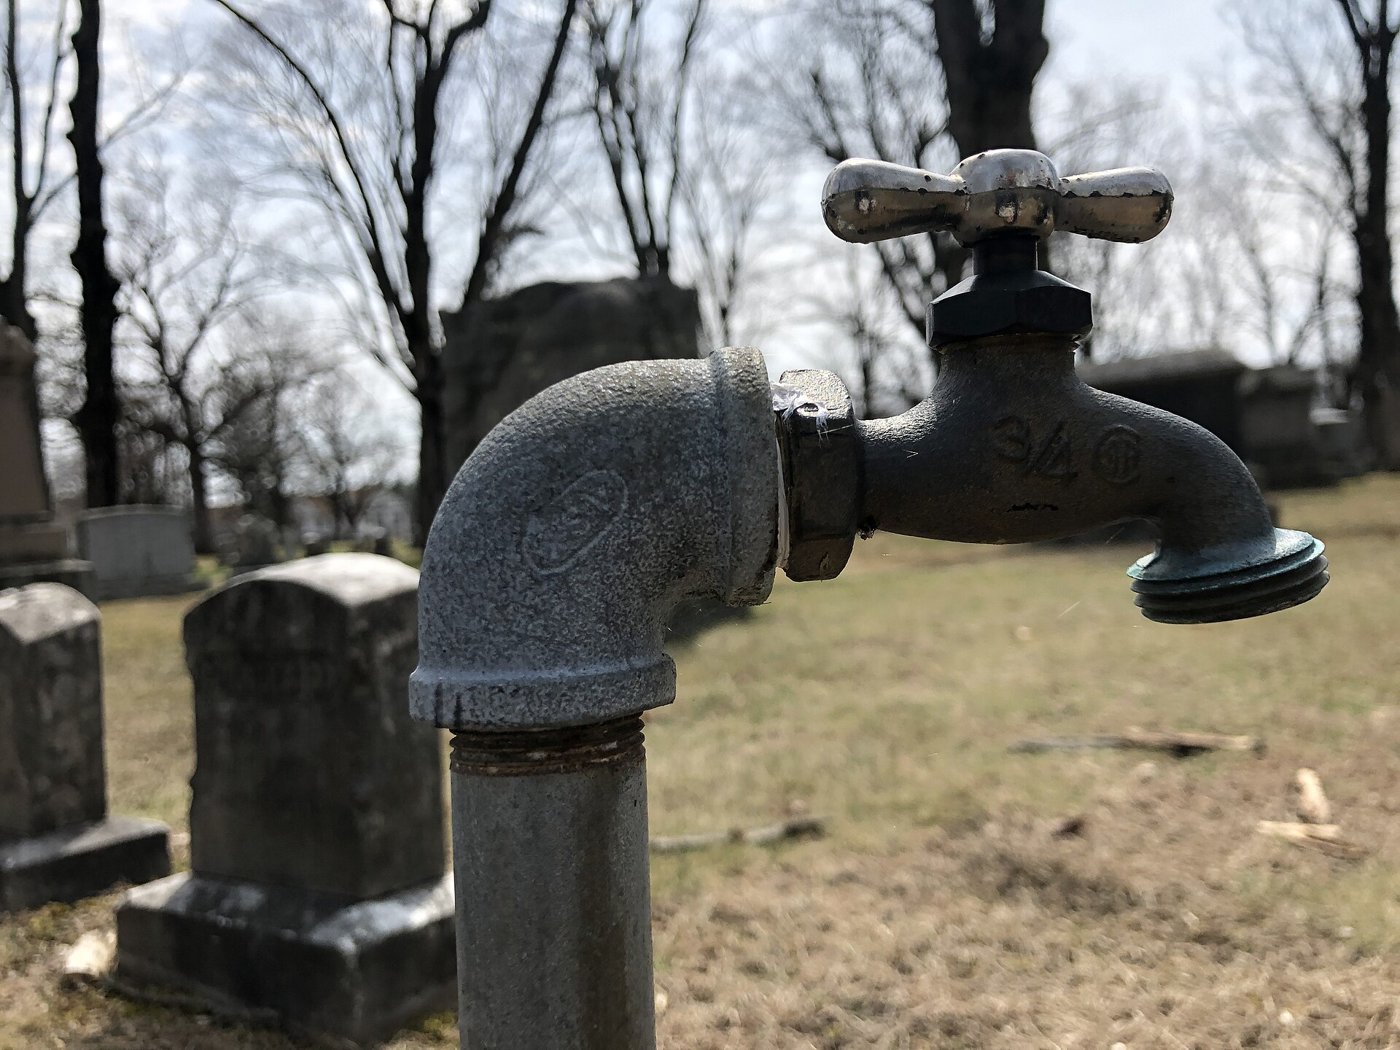
Photo: MarkBuckawicki / Wikimedia Commons, CC0
Tools & materials

  • Pipe sleeves (foam pipe insulation) or UL-listed heat tape
  • Outdoor faucet covers (optional)
  • Flashlight for the crawl space

Steps

  1. Hoses off. Disconnect, drain and store garden hoses.
  2. Shut off the supply. Find the indoor valve that feeds each outdoor faucet (often in a basement, crawl space or utility area) and close it.
  3. Drain the faucet. Open the outside faucet to let the water out, and leave it open so any water left in the line has room to expand.
  4. Insulate. Wrap pipes in unheated spaces like crawl spaces, attics, garages and exterior walls with pipe sleeves or UL-listed heat tape. Add insulation to attics, basements and crawl spaces where you can.
  5. Sprinklers and pools. Drain sprinkler and pool supply lines according to the installer’s directions. Don’t add antifreeze unless directed.
  6. When a hard freeze hits: keep garage doors closed, open kitchen and bathroom cabinet doors (move cleaners out of kids’ reach), let cold water drip from faucets on exposed pipes, and keep the thermostat at the same setting day and night.
  7. Going away? Leave the heat on, set no lower than 55°F.
  8. If a pipe freezes (only a trickle comes out): keep the faucet open and warm the pipe with a hair dryer, heating pad, space heater kept away from anything flammable, or towels soaked in hot water. If you can’t find or reach the frozen spot, or can’t thaw it, call a licensed plumber.
Safety: Never thaw a pipe with a blowtorch, kerosene or propane heater, charcoal stove or any open flame.
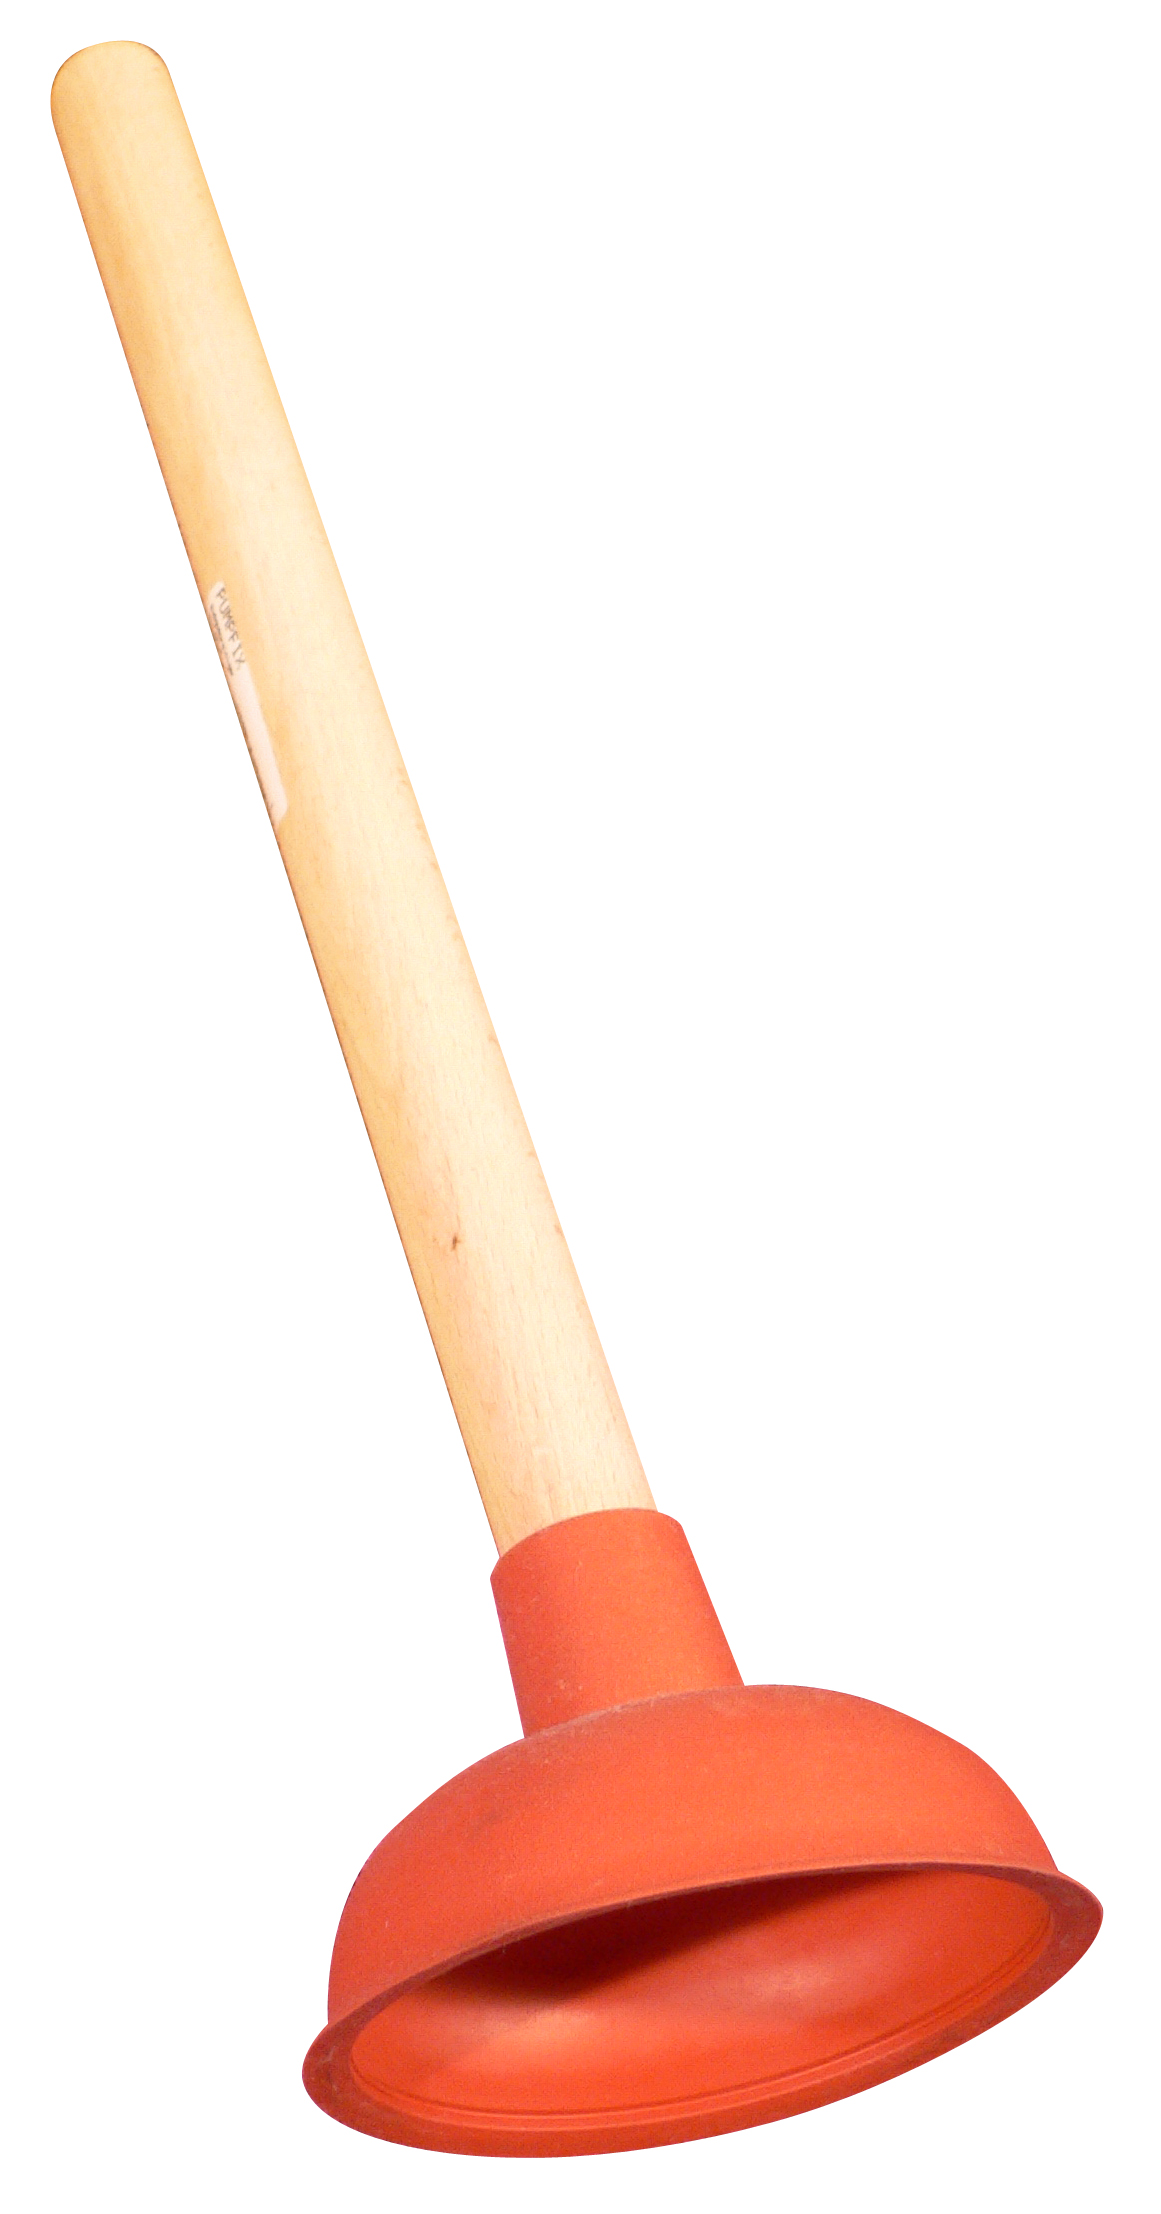
How to Unclog a Drain Without Chemicals

I’d rather grab a plunger than a jug of harsh chemicals. Here’s the order I’d try things in.

Quick answer Pull out any hair you can reach, then use a flat-cup sink plunger with a few inches of water. If that fails, clean the P-trap under the sink, then use a hand drain snake. Use hot tap water, not boiling, if you have plastic pipes or don’t know what you have.
How to Unclog a Drain Without Chemicals
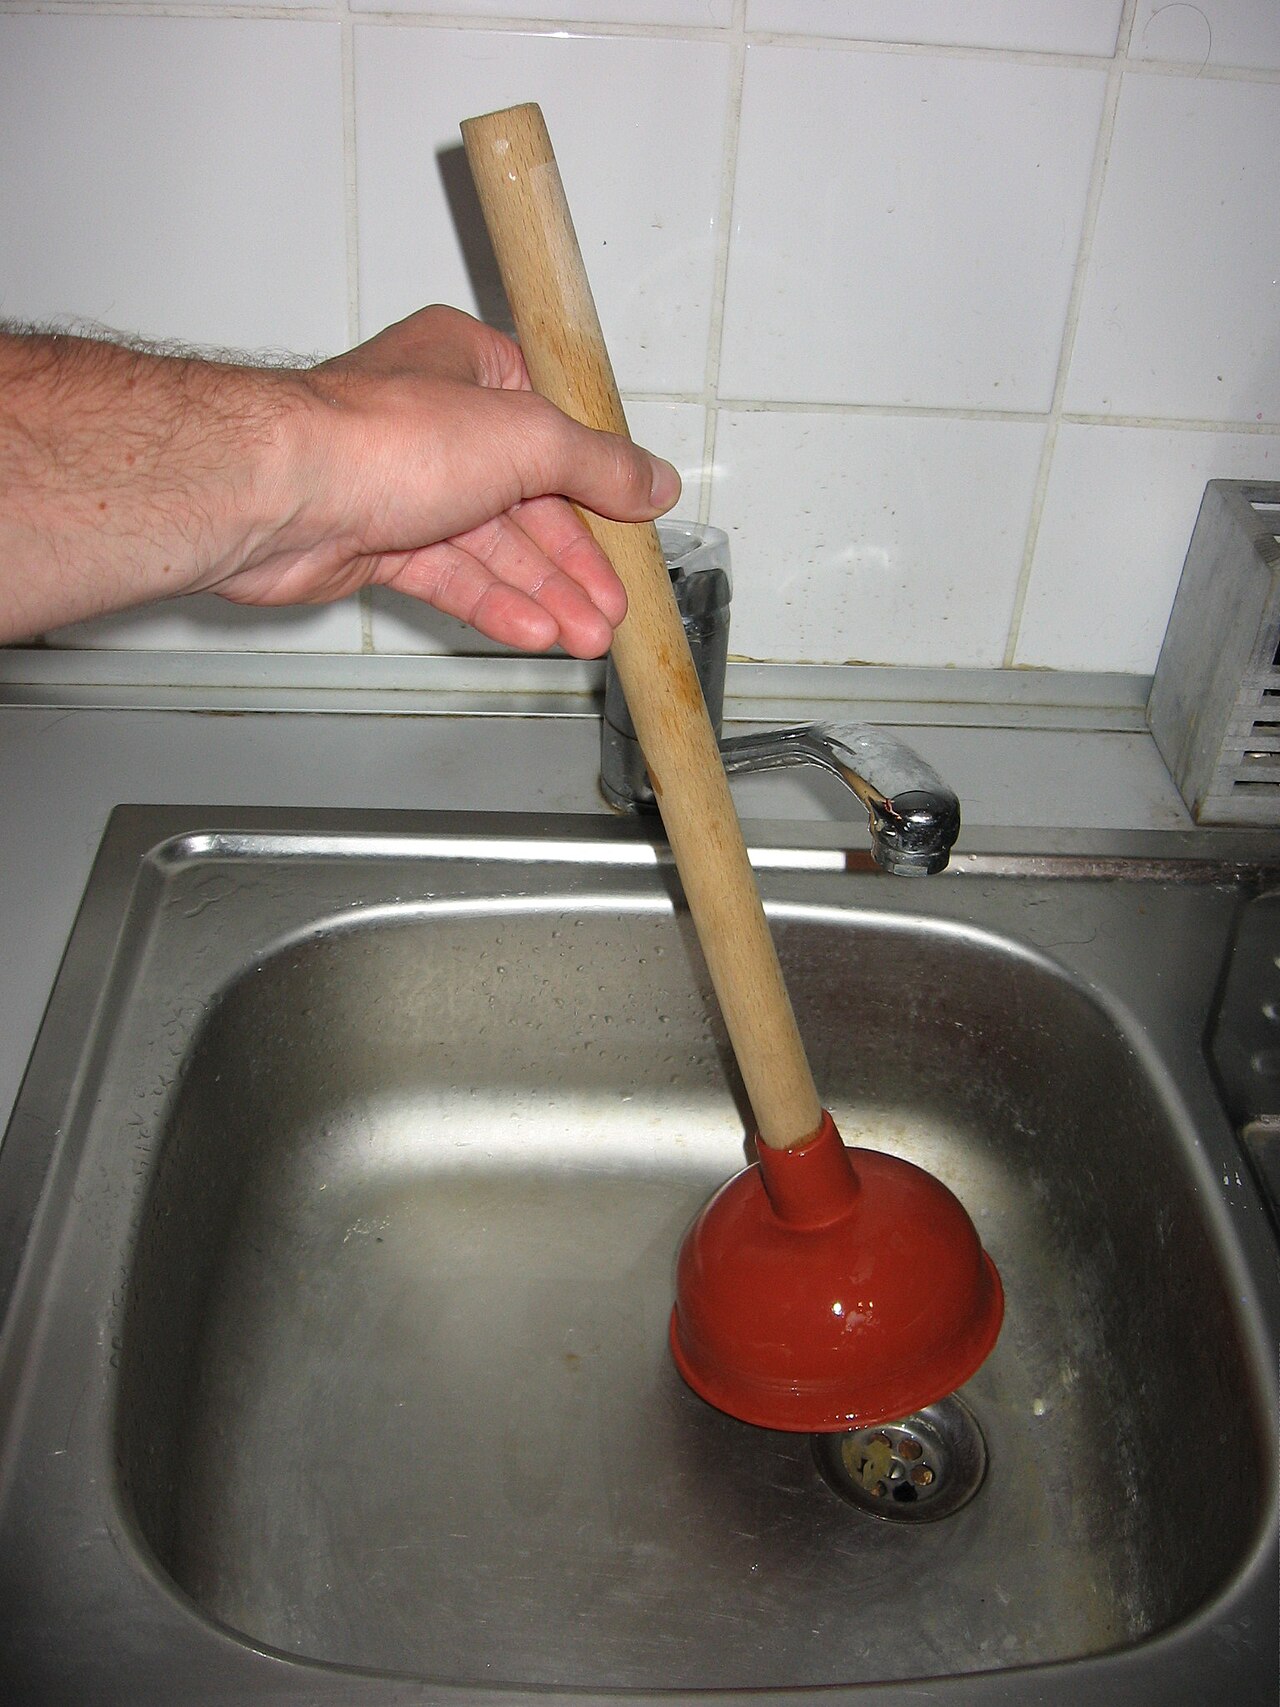
Photo: M.Minderhoud / Wikimedia Commons, CC BY-SA 3.0
Tools & materials

  • Flat-bottom cup plunger (not the flanged toilet kind)
  • Bucket and rubber gloves
  • Channel-lock pliers (for the trap)
  • Hand drain snake (about $25 or less)
  • Wet rag

Steps

  1. Remove the stopper and pull out hair and gunk you can see. A cheap plastic barbed strip works well for this.
  2. Leave a few inches of water in the sink so the plunger can seal. Plug the overflow hole (or the other side of a double sink) with a wet rag.
  3. Plunge straight up and down firmly several times, then pull off quickly. Repeat a few rounds.
  4. Clean the trap: set a bucket under the U-shaped pipe, unscrew the two slip nuts, dump and rinse the trap, and reinstall it hand-tight plus a little.
  5. Snake it: feed the cable into the pipe until you feel resistance, lock it, and crank while pushing gently. Pull back slowly. You’re trying to hook the clog and bring it out, not ram it further.
  6. Run hot tap water for a few minutes to flush what’s left.
  7. For a slow (not stopped) kitchen drain, hot water can move grease. Baking soda and vinegar can freshen a drain but won’t clear a real clog.
How to Unclog a Drain Without Chemicals
Photo: Frank C. Müller / Wikimedia Commons, CC BY-SA 2.0 de
Safety: If anyone already poured chemical drain cleaner in, do not plunge or snake it. It can splash onto skin and eyes. Tell the plumber what was used. If more than one drain backs up, the problem is likely in the main line; call a pro.

How to Fix a Leaky Faucet

A dripping faucet is one of those sounds you can’t unhear at night. Let’s shut it up for good.

Quick answer Shut off the valves under the sink, take the handle off, and replace whatever is worn. On a two-handle faucet that’s usually the rubber washer. On a single-handle faucet it’s usually the cartridge or its O-rings. Bring the old part to the store so you get an exact match.
How to Fix a Leaky Faucet
Photo: User:Dschwen / Wikimedia Commons, CC BY-SA 2.5
Tools & materials

  • Screwdriver and/or Allen key
  • Adjustable wrench (wrap the jaws in tape to protect the finish)
  • Replacement washer, O-rings or cartridge for your faucet model
  • Plumber’s grease
  • Towel and a sink stopper

Steps

  1. Turn both shut-off valves under the sink clockwise until they stop. Open the faucet to drain the pressure.
  2. Plug the drain and lay a towel in the sink so small parts can’t escape.
  3. Pry off the decorative cap if there is one, remove the handle screw, and lift off the handle.
  4. Two-handle (compression) faucet: unscrew the packing nut and remove the stem. Remove the screw at the bottom of the stem and replace the rubber seat washer, plus the O-ring or packing if it’s worn. Feel the valve seat inside the faucet. If it’s pitted, it needs a seat wrench and a new seat.
  5. Single-handle (cartridge) faucet: remove the retaining nut or clip and pull the cartridge straight out. Note which way it faces. Replace the O-rings, or the whole cartridge if it’s cracked or worn.
  6. Lay parts out in the order they came off. Use a dab of plumber’s grease on new O-rings and reassemble.
  7. Turn the water on slowly, run hot and cold, and check for drips at the spout and around the handle.
Safety: Can’t tell which side drips on a two-handle faucet? Close just the hot valve. If the drip stops, it’s the hot side.

Why bother

A drip of one drop per second wastes roughly 192 gallons a month, according to the City of Rio Rancho water guide.

How to Fix a Running Toilet

Running toilets drive me nuts. The good news is this is usually a cheap, 20-minute fix.

Quick answer Most running toilets have a worn flapper or a water level set too high. Lift the tank lid: if water is spilling into the overflow tube, lower the float. If not, replace the flapper (bring the old one to the store so you match it).
How to Fix a Running Toilet
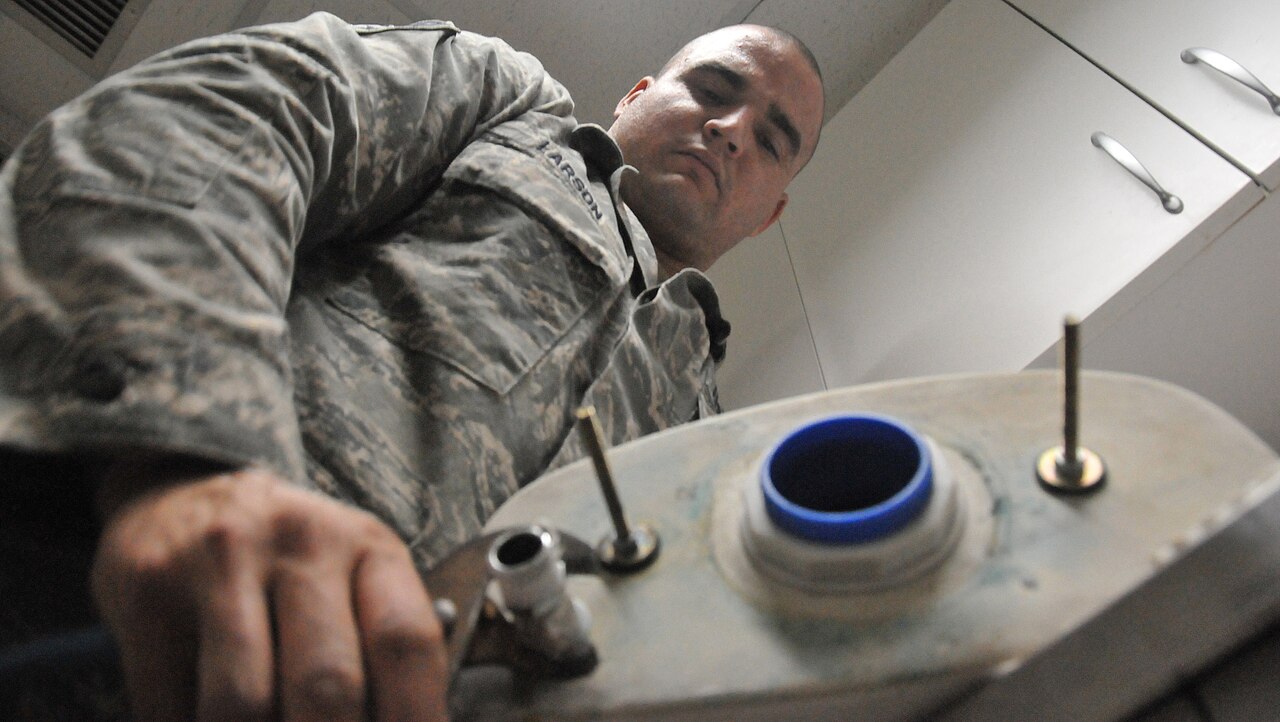
Photo: Tech. Sgt. Terrica Jones / Wikimedia Commons, Public domain
Tools & materials

  • Replacement flapper matched to your toilet (or a fill valve if that’s the problem)
  • Adjustable wrench
  • Sponge and towel
  • Pencil

Steps

  1. Take the tank lid off and set it somewhere it can’t fall. Watch what happens after a flush.
  2. Check the water level. When the tank finishes filling, the water should sit about 1/2 to 1 inch below the top of the overflow tube. If it’s running into the tube, lower the float: on a ball float, turn the adjusting screw on top of the fill valve (usually clockwise); on a cup float, squeeze the clip and slide the float down.
  3. Check the chain. It should have just a little slack when the flapper is closed. Too tight holds the flapper open; too long can get trapped under it.
  4. Test the flapper. Mark the water line with a pencil, shut off the supply valve behind the toilet, and wait 25 minutes or more. If the level drops, water is leaking past the flapper.
  5. Replace the flapper. Shut off the water, flush to drain the tank, unhook the chain and slip the old flapper off its ears. Wipe mineral grit off the valve seat, fit the new one, and reattach the chain with a little slack.
  6. Turn the water back on, let it fill, and flush a few times to check the seal and the level.
  7. Still filling nonstop? Lift the float by hand while it’s filling. If the water doesn’t stop, the fill valve is worn. Replace it following the instructions on the new valve’s package.
Safety: Turn the supply valve clockwise to close it. If that valve leaks or won’t turn, shut off the house main instead of forcing it.

Good to know

A flapper is a cheap part that wears out over time. Some water utilities suggest replacing it about every five years, before it starts leaking.