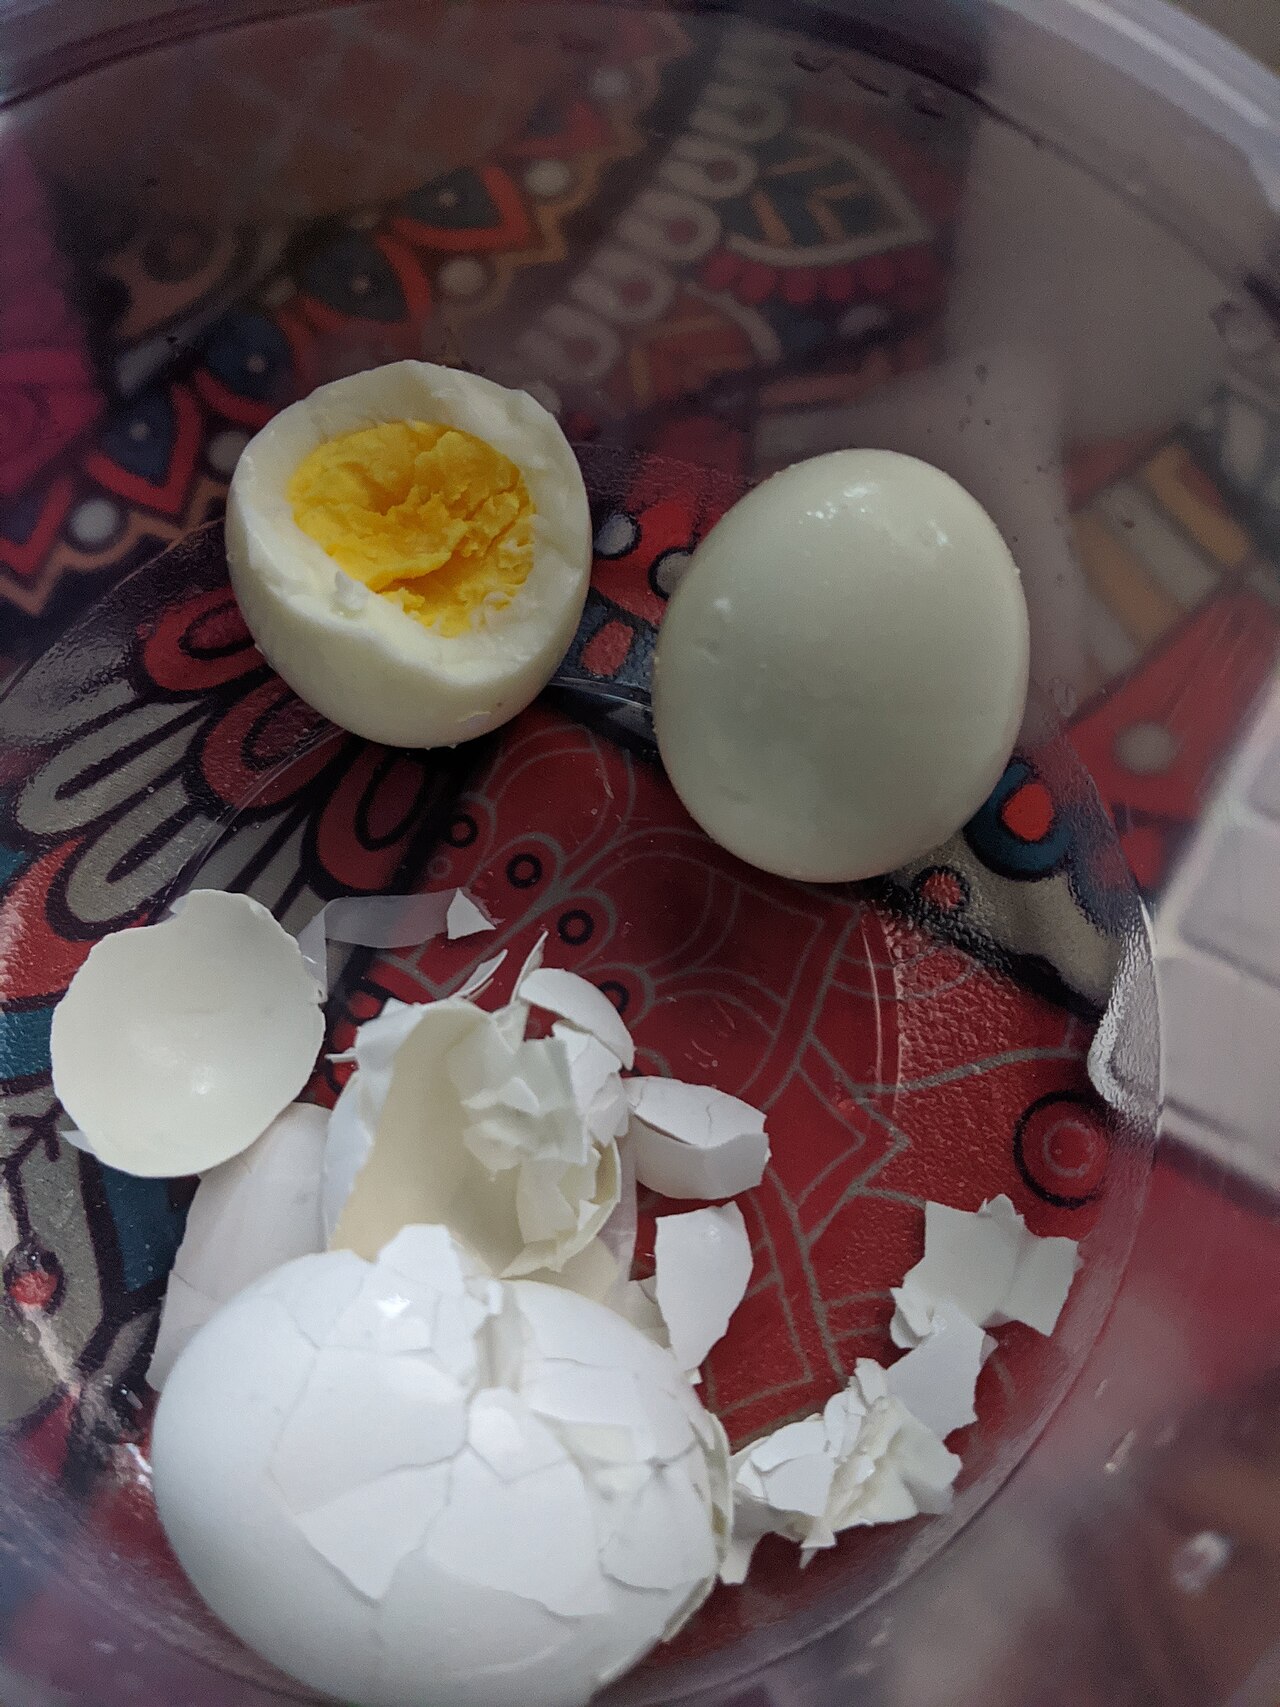
This is my go-to way to make hard-boiled eggs. Simple, and it just works.
Quick answer Put the eggs in a pot and cover them with cold water by an inch. Bring it to a boil, take it off the heat, cover, and let them stand 12 minutes for large eggs (15 for extra-large). Then put them straight into ice water for about 10 minutes.
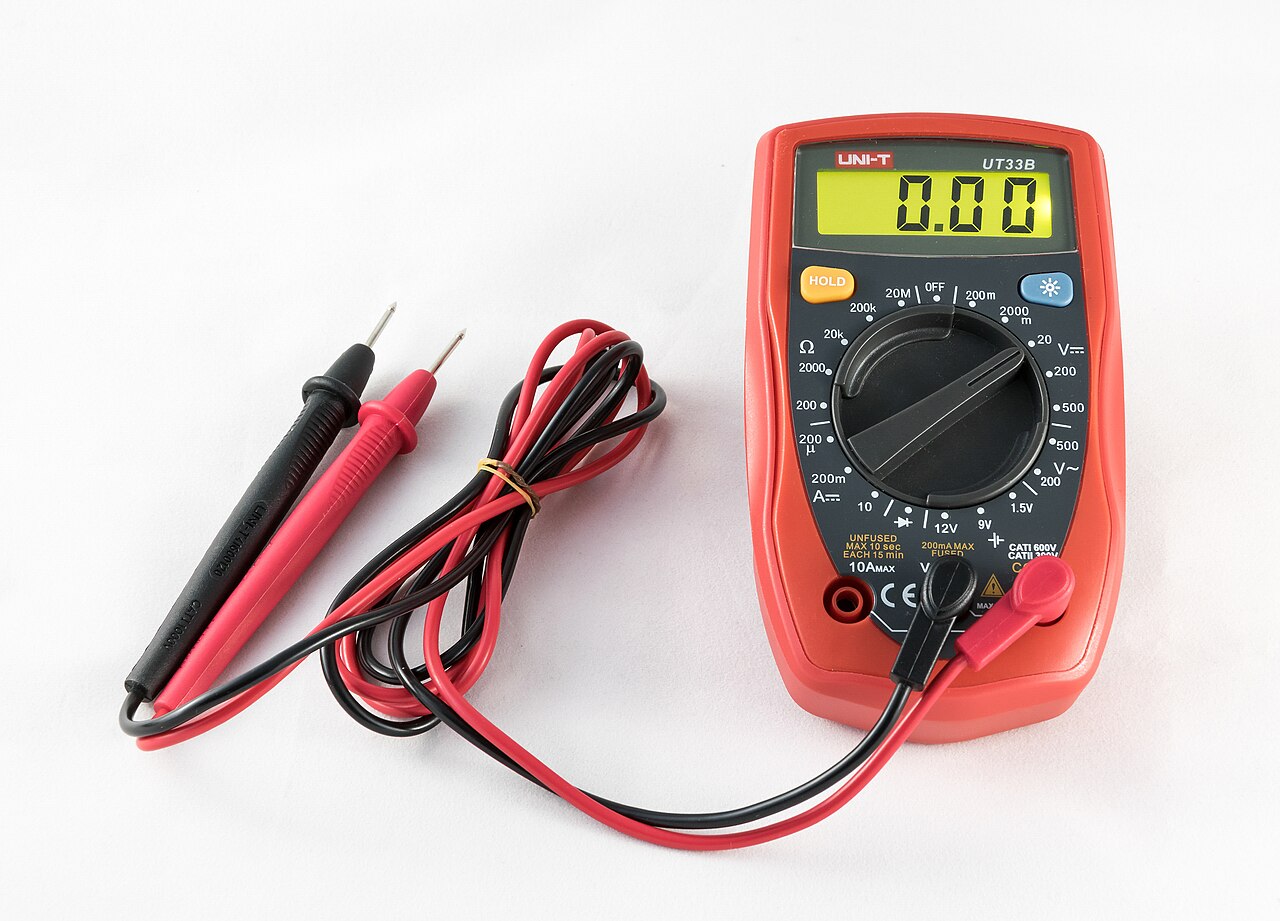
A cheap multimeter is one of the best tools you can own. Here’s how to use it on a battery.
Quick answer With the engine off and everything shut off, a healthy, fully charged battery reads about 12.6 volts. Around 12.4 is roughly 75% charged, about 12.2 is half, and 12.0 or below is nearly flat. While cranking, it shouldn’t drop below about 9.6 volts. A parts store can also do a free load test.
Let the car sit at least an hour with everything off. Overnight gives the truest reading.
Set the meter to DC volts, 20V range.
Red probe on the + terminal, black on the −. Read the voltage.
Read it: 12.6–12.8 V full; ~12.4 V about 75%; ~12.2 V about 50%; ~12.0 V about 25%; under ~11.8 V discharged.
Cranking test: have a helper crank the engine while you watch the meter. If it dips below about 9.6 V, the battery is weak even if the resting number looked fine.
Charging check: with the engine running, the reading should rise noticeably above the resting number. If it doesn’t, the alternator or wiring may be the problem rather than the battery.
If it reads low, charge it fully and re-test the next day. A battery that won’t hold a charge needs replacing.
Safety: Keep tools from bridging the two terminals. Wear eye protection, and don’t smoke or make sparks near a battery.
Keep a set of jumper cables in every vehicle. Sooner or later you or somebody else will need them.
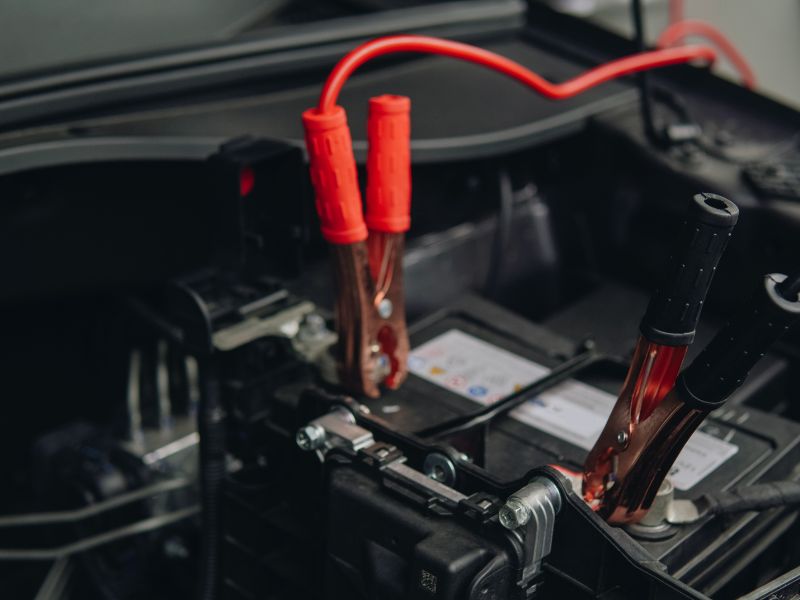
Quick answer Connect in this order: red clamp to the dead battery’s +, red to the good battery’s +, black to the good battery’s −, and the last black clamp to clean unpainted metal on the dead car’s engine, away from the battery. Start the good car, wait a few minutes, start the dead one, then remove the clamps in reverse order.
Park the cars close but not touching. Both off, parking brakes on. Check your owner’s manuals; some cars have specific jump points.
Look at the dead battery. If it’s cracked, leaking or bulging, stop. Don’t jump it.
Red clamp on the dead battery’s positive (+) terminal.
Other red clamp on the good battery’s positive (+).
Black clamp on the good battery’s negative (−).
Last black clamp on a clean, unpainted metal bolt or bracket on the dead car’s engine, away from the battery and moving parts.
Start the good car and let it run a few minutes. Then try the dead car.
Once it runs, remove the clamps in reverse order: black from the engine, black from the good battery, red from the good battery, red from the dead battery.
Drive a good while or put it on a charger so it can recharge. Then test the battery (see our battery-testing guide).
Safety: Batteries can give off explosive hydrogen gas. That’s why the last connection goes to engine metal and not the dead battery. Don’t let the clamps touch each other while any are connected.
Everybody who drives should know how to do this at least once before they need it.
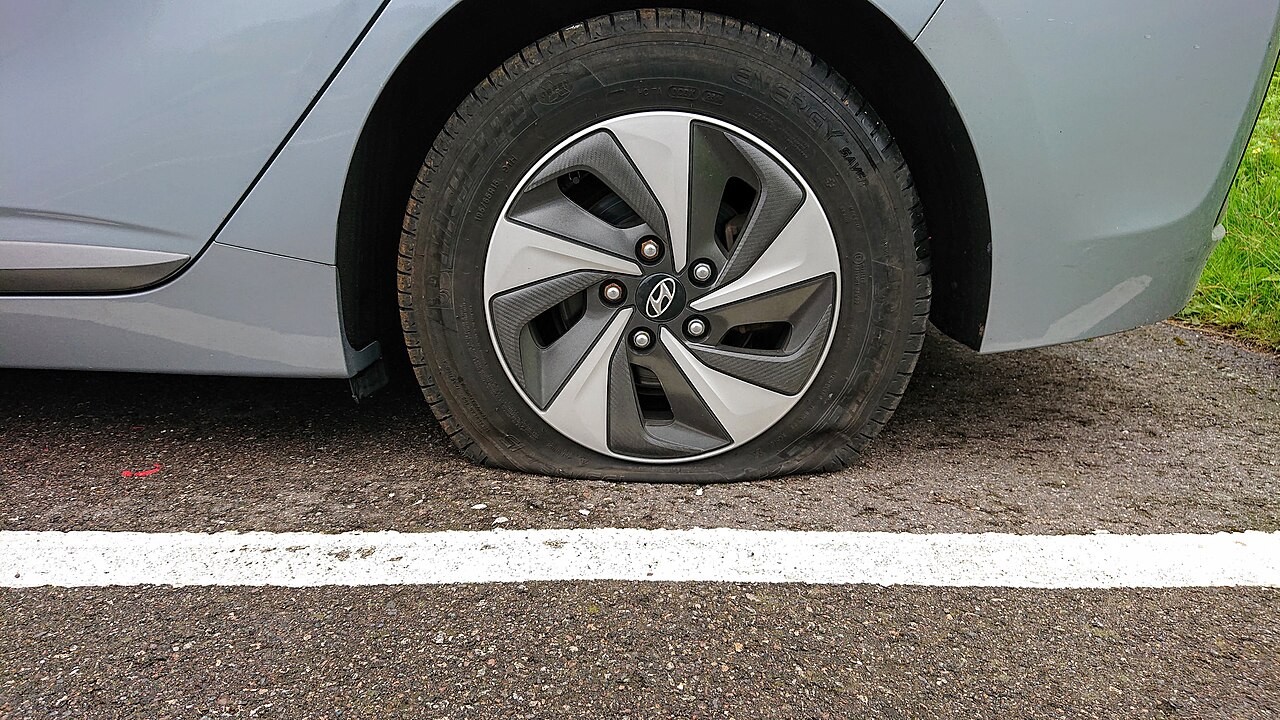
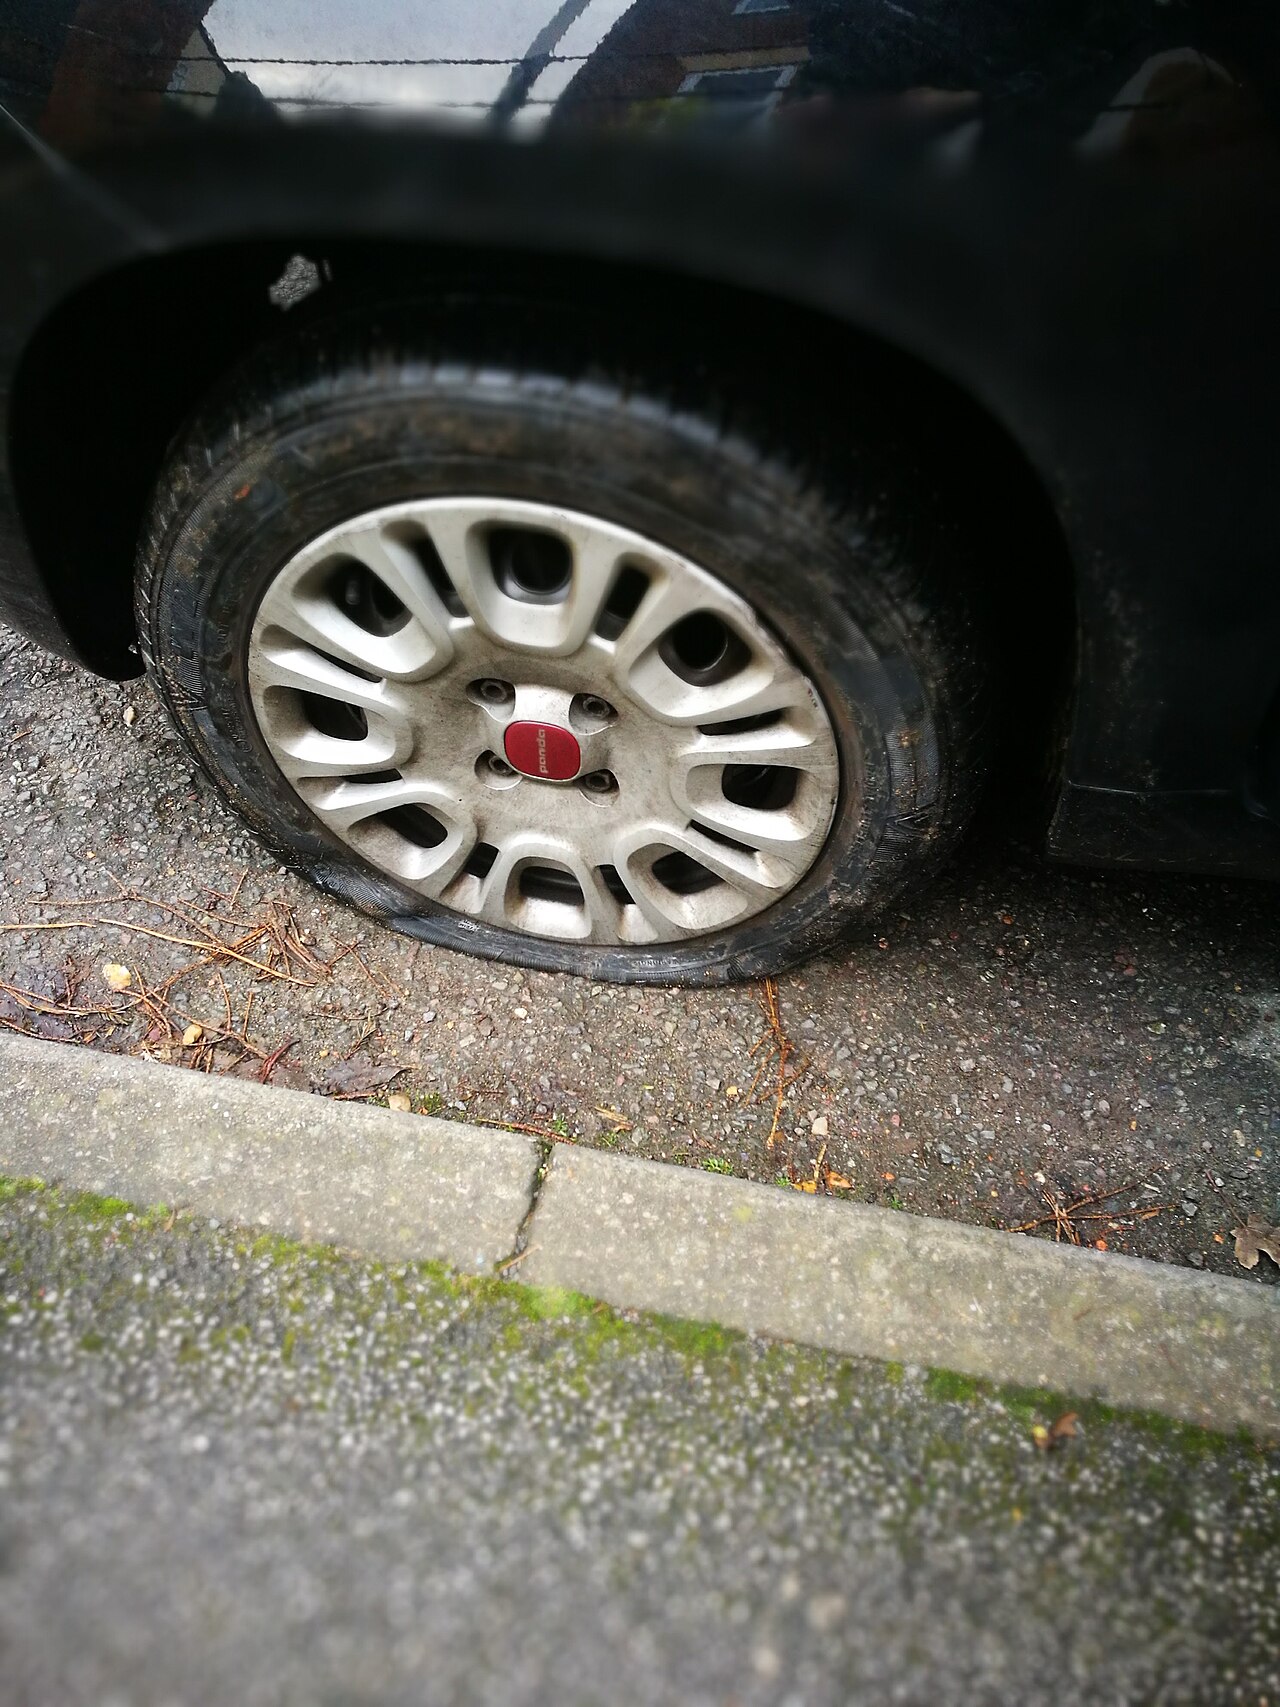
Quick answer Get off the road onto firm, level ground. Put the hazards and parking brake on, and loosen the lug nuts while the tire is still on the ground. Then jack at the marked lift point, swap the wheel, snug the nuts, lower the car, and tighten in a star pattern. Check the nuts again after a few miles.
Safety: Never put any part of your body under a car held up only by a jack. If you’re on a narrow shoulder or highway, stay in the car with your belt on and call for roadside help.
This is one of those chores that’s easy to forget and really worth doing.
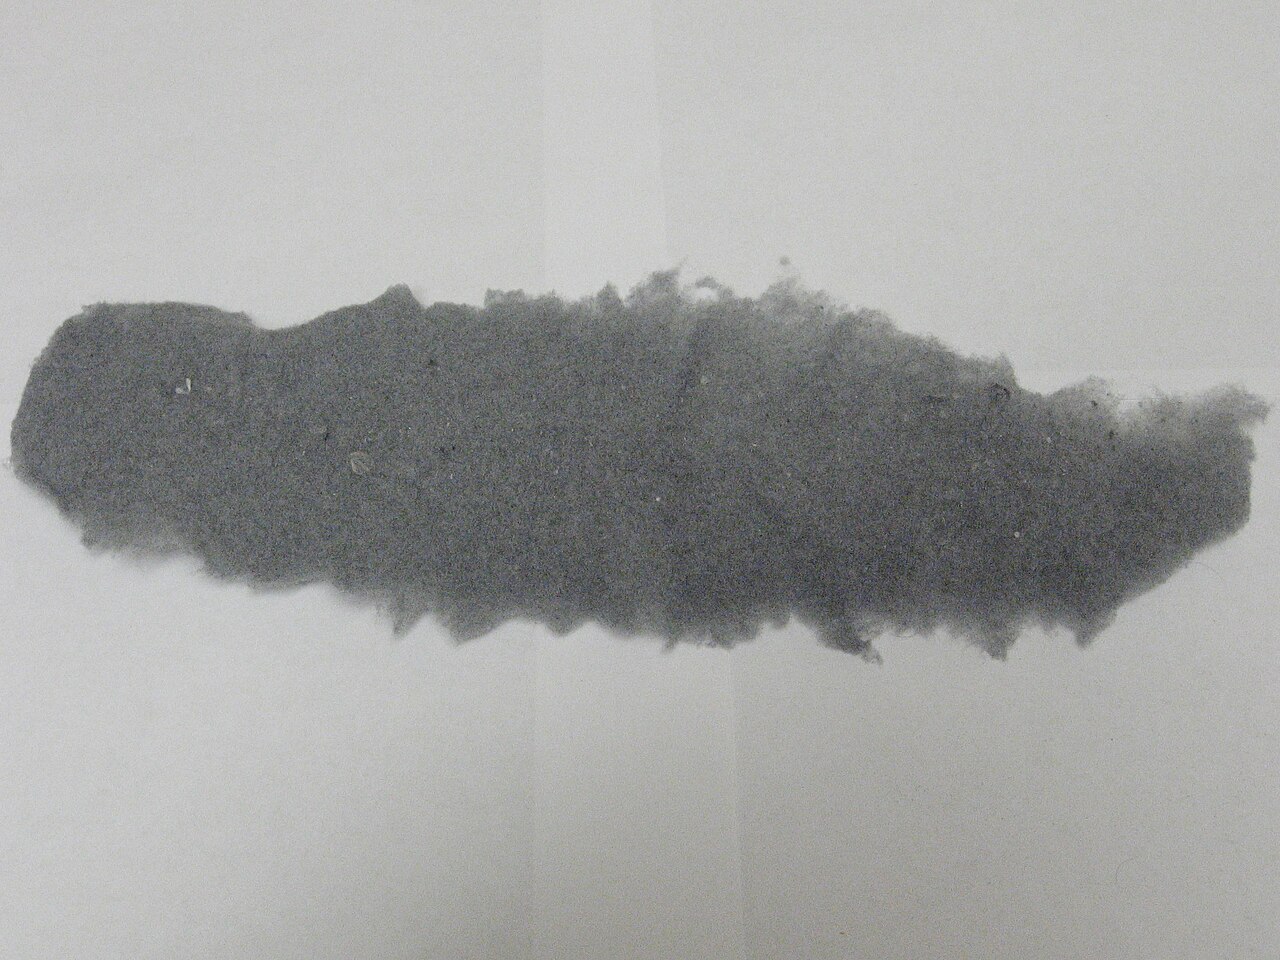
Quick answer Unplug the dryer (and shut off the gas if it’s a gas dryer), pull it out, disconnect the duct, and run a dryer-vent brush through the duct and out to the outside flap. Clean the lint screen every load and the vent at least once a year, or sooner if clothes take longer to dry.
Dryer vent brush kit (flexible rods that chain together)
Vacuum with a hose attachment
Screwdriver or nut driver
Foil tape (not cloth duct tape)
Rigid or semi-rigid metal duct if replacing plastic or foil
Steps
Unplug the dryer. On a gas dryer, close the gas valve and be gentle with the gas line.
Pull the dryer out and loosen the clamp holding the duct to the back.
Vacuum the lint from the dryer’s outlet and from inside the duct ends.
Feed the brush through the duct toward the outside, spinning it the direction the kit says, and pull lint back out. Work from both ends if you can.
Go outside and clear the vent hood. Make sure the flap opens freely and isn’t screened (screens catch lint).
Replace any plastic or crushed foil duct with metal duct, keeping runs short and bends few.
Reconnect, push the dryer back without kinking the duct, and run it on air. Check that air blows strongly outside.
Safety: In 2014–2018, US fire departments responded to an estimated 13,820 home fires a year that involved dryers, and failure to clean was the leading cause (NFPA). Don’t run the dryer when you’re away or asleep.
I’d rather grab a plunger than a jug of harsh chemicals. Here’s the order I’d try things in.
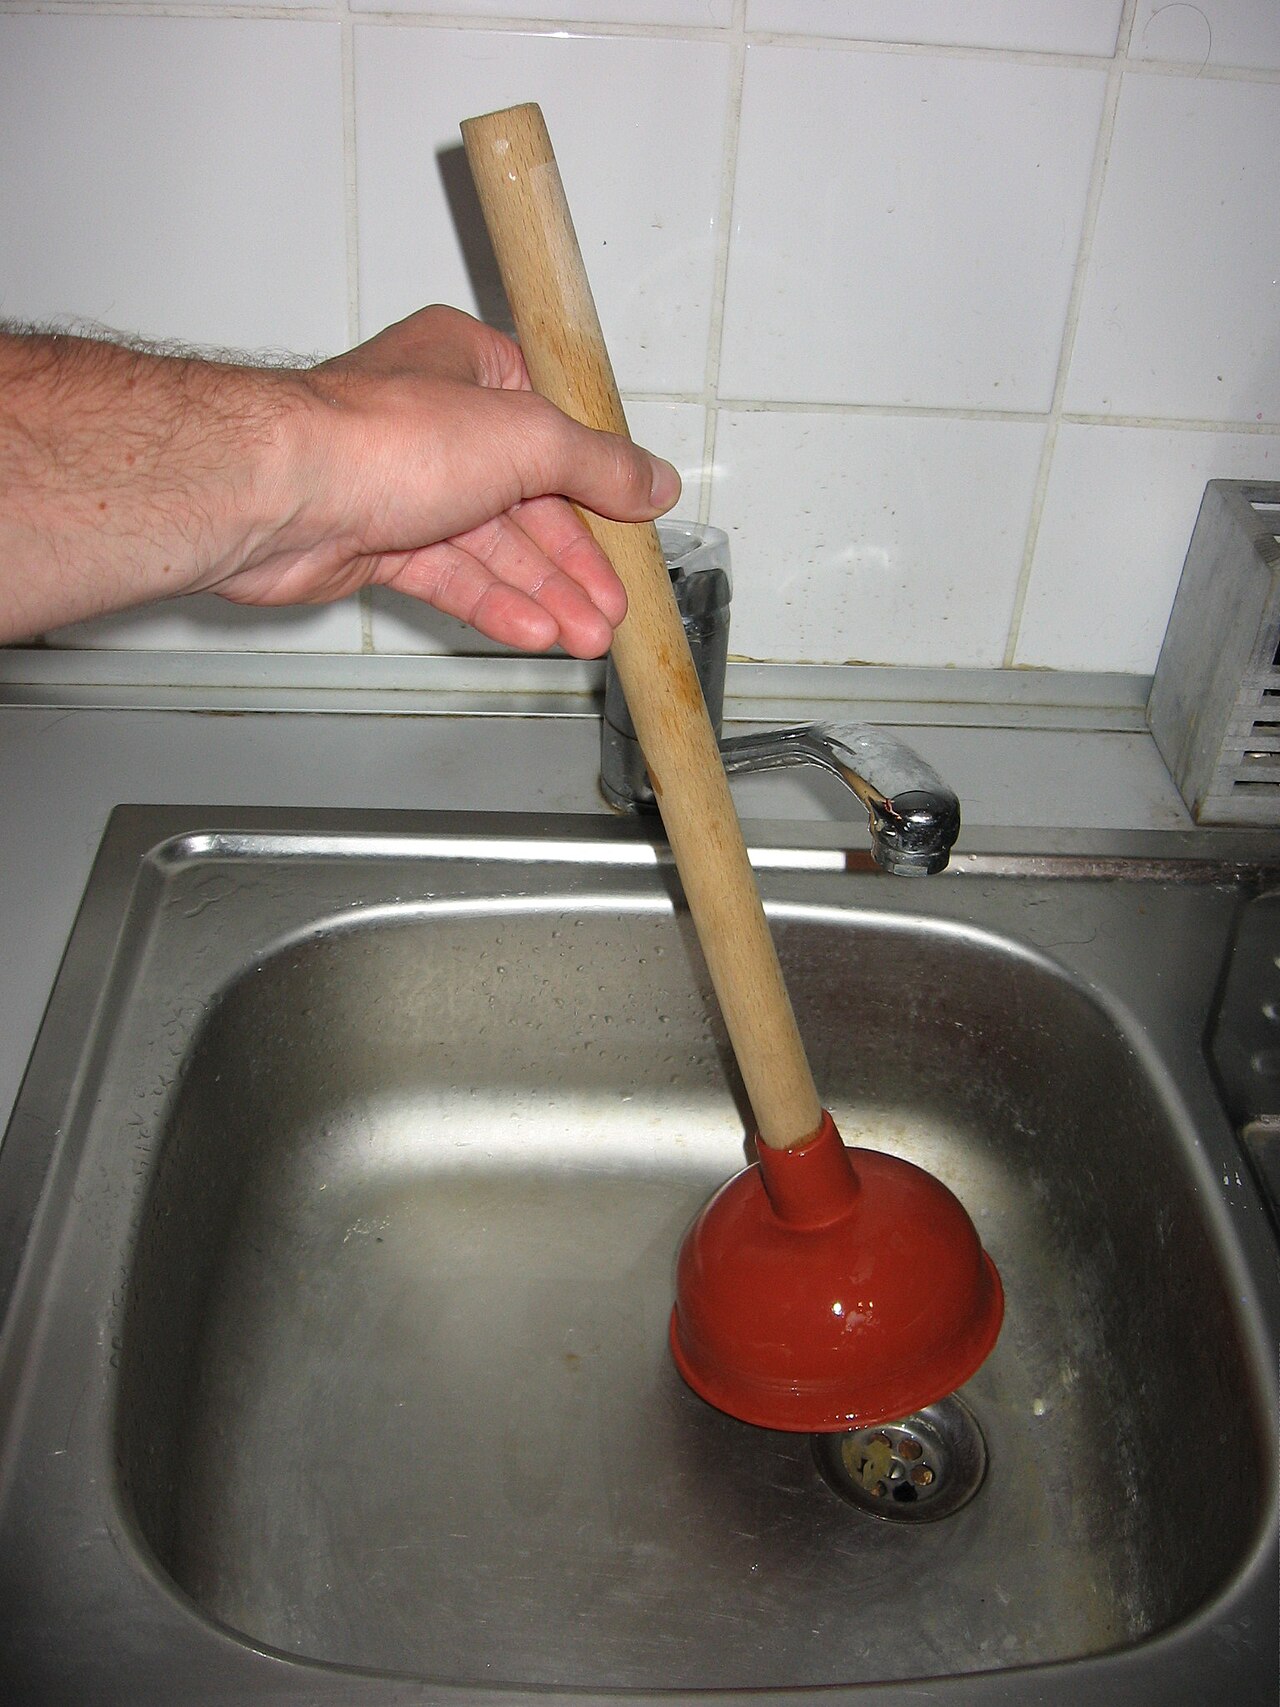
Quick answer Pull out any hair you can reach, then use a flat-cup sink plunger with a few inches of water. If that fails, clean the P-trap under the sink, then use a hand drain snake. Use hot tap water, not boiling, if you have plastic pipes or don’t know what you have.
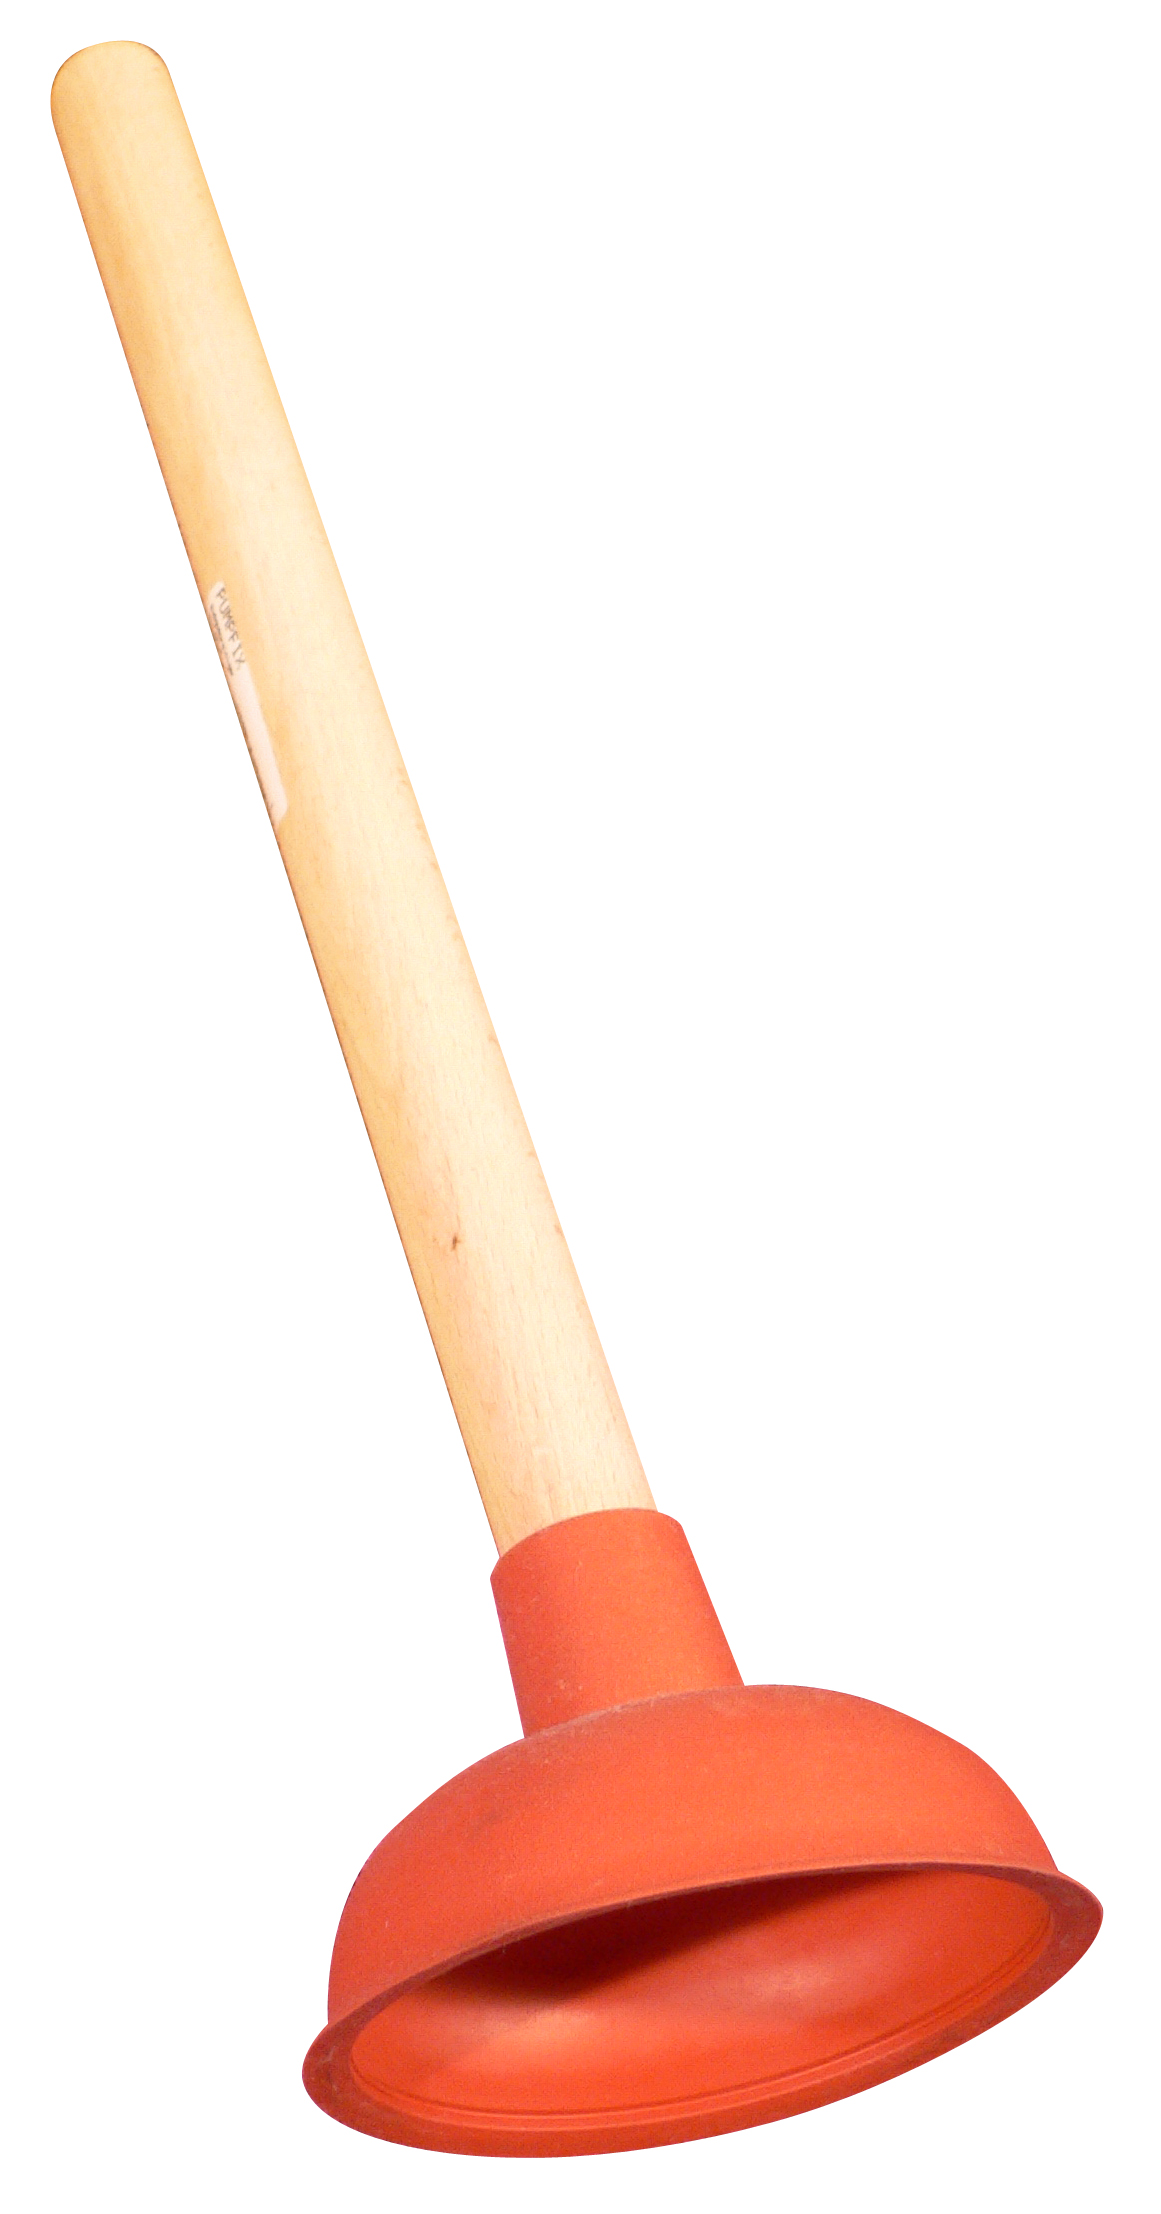
Flat-bottom cup plunger (not the flanged toilet kind)
Bucket and rubber gloves
Channel-lock pliers (for the trap)
Hand drain snake (about $25 or less)
Wet rag
Steps
Remove the stopper and pull out hair and gunk you can see. A cheap plastic barbed strip works well for this.
Leave a few inches of water in the sink so the plunger can seal. Plug the overflow hole (or the other side of a double sink) with a wet rag.
Plunge straight up and down firmly several times, then pull off quickly. Repeat a few rounds.
Clean the trap: set a bucket under the U-shaped pipe, unscrew the two slip nuts, dump and rinse the trap, and reinstall it hand-tight plus a little.
Snake it: feed the cable into the pipe until you feel resistance, lock it, and crank while pushing gently. Pull back slowly. You’re trying to hook the clog and bring it out, not ram it further.
Run hot tap water for a few minutes to flush what’s left.
For a slow (not stopped) kitchen drain, hot water can move grease. Baking soda and vinegar can freshen a drain but won’t clear a real clog.
Safety: If anyone already poured chemical drain cleaner in, do not plunge or snake it. It can splash onto skin and eyes. Tell the plumber what was used. If more than one drain backs up, the problem is likely in the main line; call a pro.
Holes in drywall happen. Doorknobs, furniture, life. Done right, nobody will ever know.
Quick answer Fill holes under 1/2 inch with spackle. Cover holes from 1/2 inch to about 6 inches with a self-adhesive mesh or metal patch, then two or three thin coats of compound. Bigger holes need a drywall piece cut to fit. Feather the edges, sand, prime, and paint.
Knock off loose paper and crumbs and wipe the area clean.
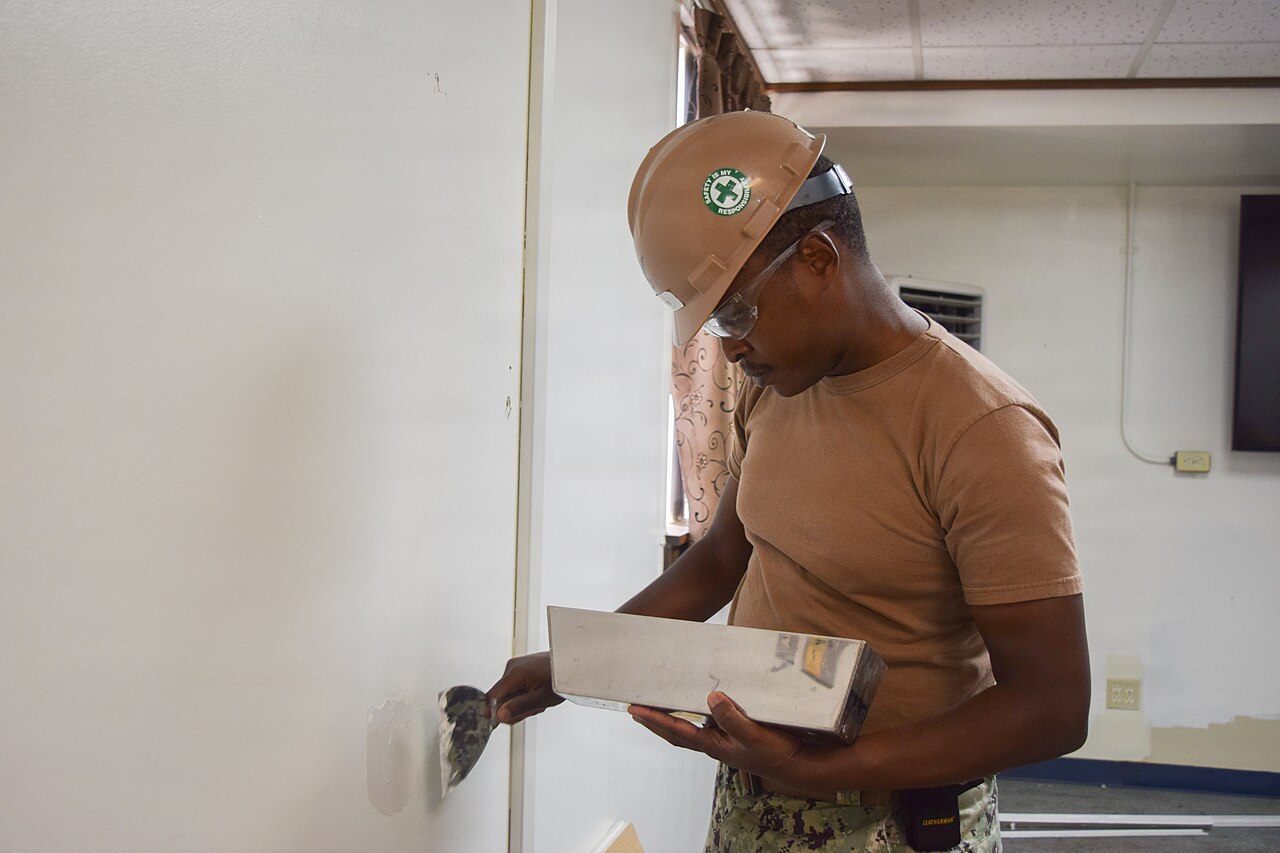
Small holes: press spackle in with a putty knife (or your finger), slightly overfilled since it shrinks. Scrape level.
Medium holes: center a self-adhesive patch over the hole and press it flat.
Spread a thin coat of compound over the patch in a crisscross pattern, spreading it 1–2 inches beyond the edges. Press harder at the outer edges to feather them thin.
Let it dry completely. Don’t keep fussing with wet compound; two or three strokes and leave it.
Sand lightly until smooth. Don’t sand through to the mesh. Wipe off the dust.
Add a second (and third if needed) thin coat, wider each time, sanding between coats.
Prime the patch, then paint. Unprimed compound shows through as a dull spot.
Safety: Before cutting into a wall for a larger patch, use a stud finder and check for wires and pipes. Turn off power to that area if you’re unsure.
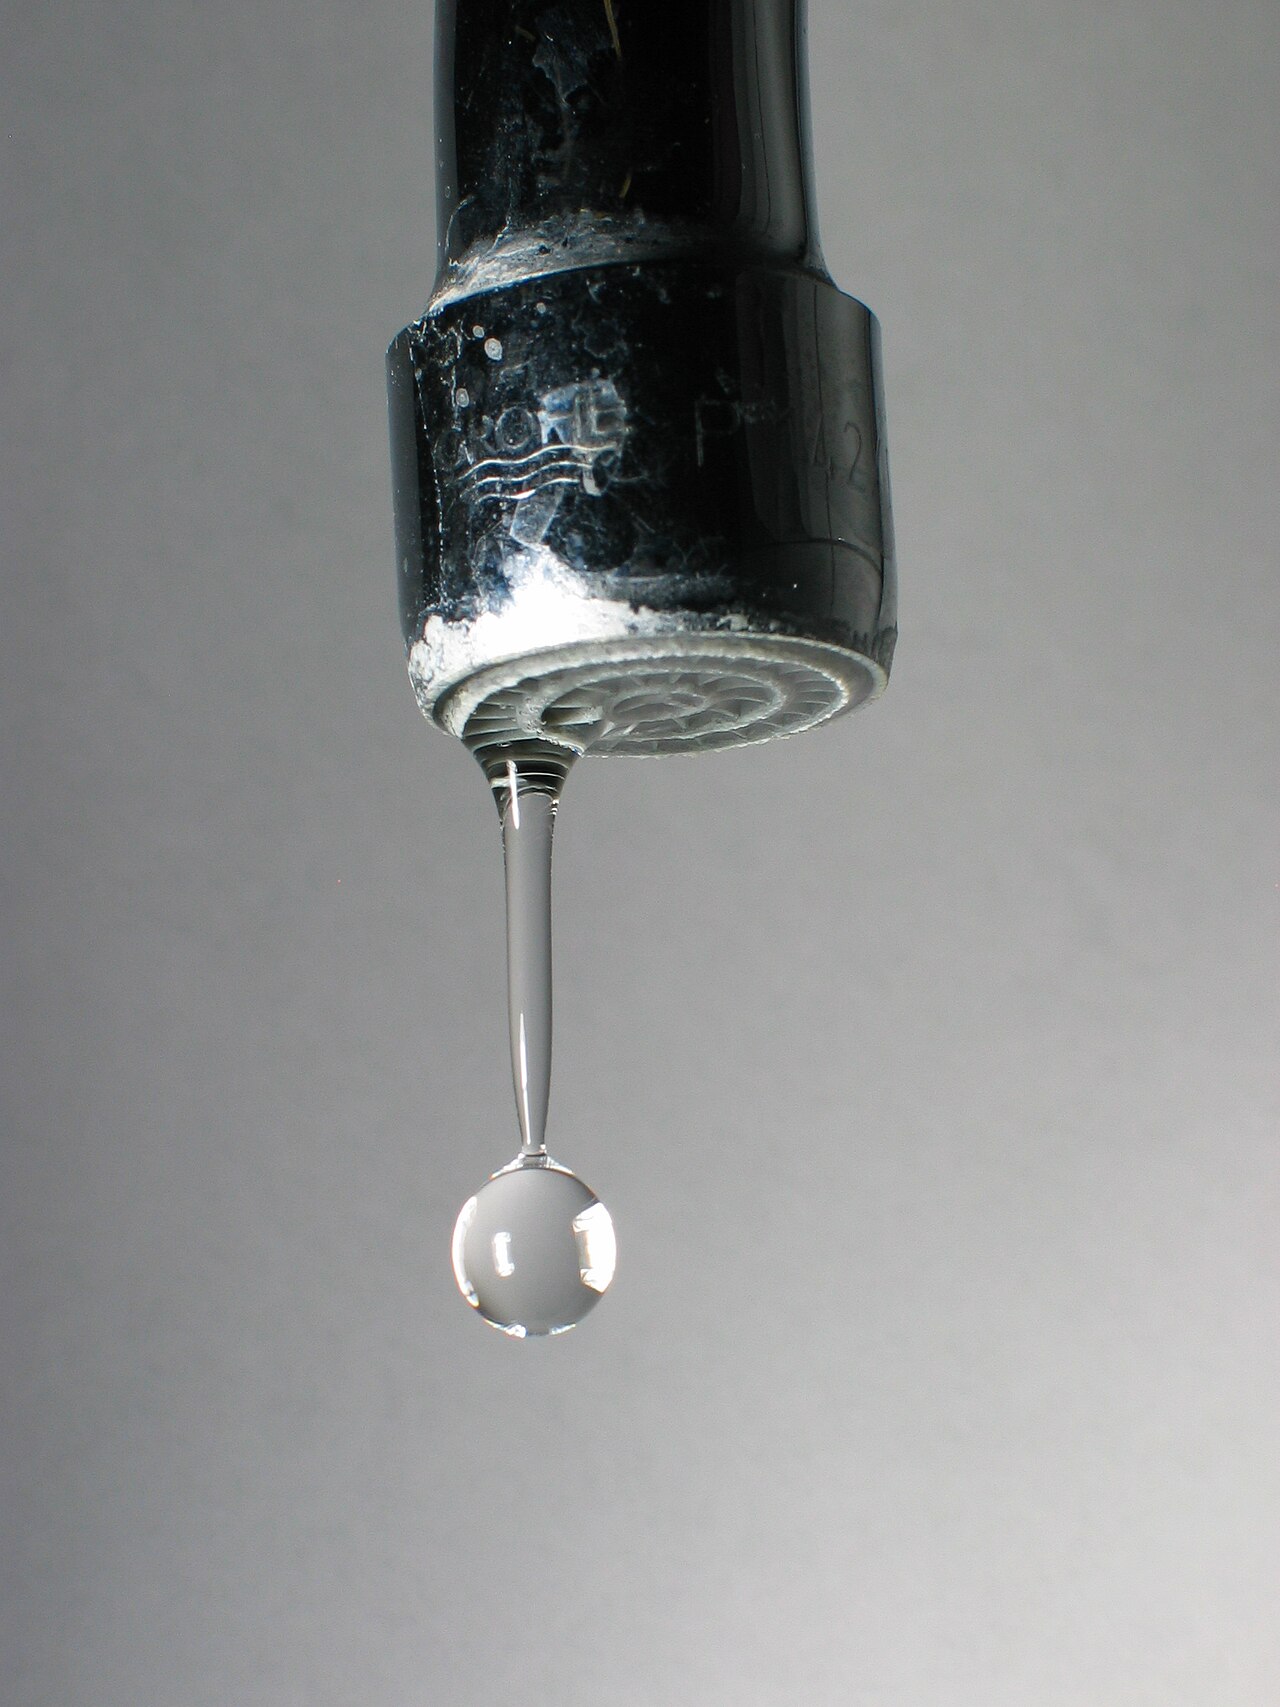
A dripping faucet is one of those sounds you can’t unhear at night. Let’s shut it up for good.
Quick answer Shut off the valves under the sink, take the handle off, and replace whatever is worn. On a two-handle faucet that’s usually the rubber washer. On a single-handle faucet it’s usually the cartridge or its O-rings. Bring the old part to the store so you get an exact match.
Adjustable wrench (wrap the jaws in tape to protect the finish)
Replacement washer, O-rings or cartridge for your faucet model
Plumber’s grease
Towel and a sink stopper
Steps
Turn both shut-off valves under the sink clockwise until they stop. Open the faucet to drain the pressure.
Plug the drain and lay a towel in the sink so small parts can’t escape.
Pry off the decorative cap if there is one, remove the handle screw, and lift off the handle.
Two-handle (compression) faucet: unscrew the packing nut and remove the stem. Remove the screw at the bottom of the stem and replace the rubber seat washer, plus the O-ring or packing if it’s worn. Feel the valve seat inside the faucet. If it’s pitted, it needs a seat wrench and a new seat.
Single-handle (cartridge) faucet: remove the retaining nut or clip and pull the cartridge straight out. Note which way it faces. Replace the O-rings, or the whole cartridge if it’s cracked or worn.
Lay parts out in the order they came off. Use a dab of plumber’s grease on new O-rings and reassemble.
Turn the water on slowly, run hot and cold, and check for drips at the spout and around the handle.
Safety: Can’t tell which side drips on a two-handle faucet? Close just the hot valve. If the drip stops, it’s the hot side.
Why bother
A drip of one drop per second wastes roughly 192 gallons a month, according to the City of Rio Rancho water guide.
Running toilets drive me nuts. The good news is this is usually a cheap, 20-minute fix.
Quick answer Most running toilets have a worn flapper or a water level set too high. Lift the tank lid: if water is spilling into the overflow tube, lower the float. If not, replace the flapper (bring the old one to the store so you match it).
Replacement flapper matched to your toilet (or a fill valve if that’s the problem)
Adjustable wrench
Sponge and towel
Pencil
Steps
Take the tank lid off and set it somewhere it can’t fall. Watch what happens after a flush.
Check the water level. When the tank finishes filling, the water should sit about 1/2 to 1 inch below the top of the overflow tube. If it’s running into the tube, lower the float: on a ball float, turn the adjusting screw on top of the fill valve (usually clockwise); on a cup float, squeeze the clip and slide the float down.
Check the chain. It should have just a little slack when the flapper is closed. Too tight holds the flapper open; too long can get trapped under it.
Test the flapper. Mark the water line with a pencil, shut off the supply valve behind the toilet, and wait 25 minutes or more. If the level drops, water is leaking past the flapper.
Replace the flapper. Shut off the water, flush to drain the tank, unhook the chain and slip the old flapper off its ears. Wipe mineral grit off the valve seat, fit the new one, and reattach the chain with a little slack.
Turn the water back on, let it fill, and flush a few times to check the seal and the level.
Still filling nonstop? Lift the float by hand while it’s filling. If the water doesn’t stop, the fill valve is worn. Replace it following the instructions on the new valve’s package.
Safety: Turn the supply valve clockwise to close it. If that valve leaks or won’t turn, shut off the house main instead of forcing it.
Good to know
A flapper is a cheap part that wears out over time. Some water utilities suggest replacing it about every five years, before it starts leaking.