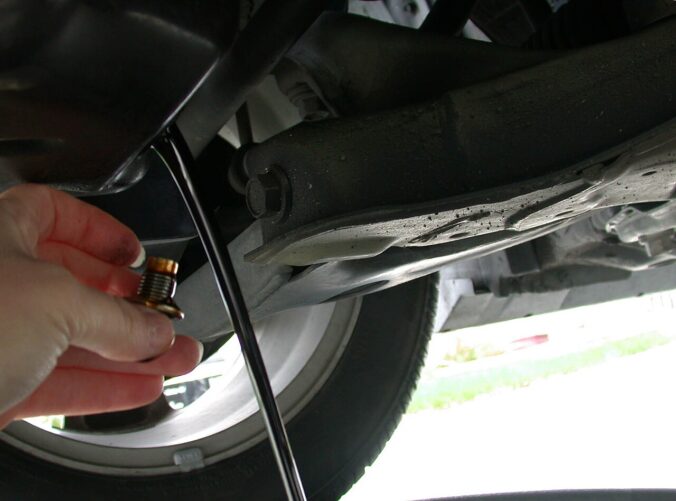
I was 16 the first time I changed my own oil, on my ’87 Jeep YJ Wrangler with the 4.2 inline-six. I crawled under it, found a plug, pulled it, and watched fluid pour out. My first thought was, “Why is the oil red?” It wasn’t oil. I had drained the transmission fluid. Someone stopped me before I did any damage, but that’s how a lot of us learned back then: there was no YouTube, so you learned the hard way or you learned from someone who already had. This guide is the “someone” part, so you can skip the hard way.

What you’ll need
- The right oil: the viscosity (like 5W-30) and spec your owner’s manual calls for, and enough to cover the capacity “with filter”
- A new oil filter that fits your engine (the parts store can look it up by year, make, model and engine)
- A new drain plug washer or gasket, if your plug uses one
- A wrench or socket that fits the drain plug (a 6-point socket is less likely to round it off) and, ideally, a torque wrench
- An oil filter wrench that fits your filter
- A drain pan big enough to hold more than your engine’s capacity
- A funnel, rags or shop towels, and disposable gloves
- A floor jack and a pair of rated jack stands, or drive-up ramps, plus wheel chocks (only if you need the extra room underneath)
- Sealed containers to carry the old oil to recycling (the empty new-oil jugs work great)
Step 1: Get the numbers before you start
Everything you need is in the owner’s manual, usually in a “capacities” or “maintenance” section. Write these down:
- Oil viscosity and spec. Use what the manufacturer says. On the jug, the round API “donut” symbol shows the viscosity grade and the API service category. The API “starburst” on the front means the oil meets the current ILSAC engine protection and fuel economy standard. Many manuals call for one or both.
- Oil capacity with filter change. This is how much it takes to refill, in quarts.
- Drain plug torque, if the manual lists it.
- Change interval. Follow the manual or the vehicle’s oil-life monitor. Many have a “severe service” schedule for towing, dusty roads, lots of short trips or extreme heat or cold, and a lot of trucks out here fit that description.
No manual? Most manufacturers post owner’s manuals free on their websites, and any parts store can look up the filter and capacity for your engine.
Step 2: Park it and get under it safely
Pick flat, hard ground like a driveway or a garage floor, not grass, gravel or a slope. Run the engine for a few minutes so the oil warms up and drains faster, then shut it off. Warm is the goal, not hot. Oil and exhaust parts right after a long drive can burn you.
A lot of trucks and SUVs sit high enough that you can reach the drain plug and filter without lifting anything. If you need more room:
- Set the parking brake and chock the wheels that stay on the ground. Put an automatic in Park, or a manual in gear.
- Lift at the manufacturer’s jacking points (they’re shown in the owner’s manual), with a jack rated for the vehicle’s weight.
- Set it down on jack stands rated for the load, on solid level ground, then pull the jack out of the way. Or drive up onto ramps.
- Give it a shove before you crawl under. If anything moves, fix it first.
Never get under a vehicle that’s held up only by a jack, and never use cinder blocks, bricks or wood as stands. NIOSH, Canada’s workplace safety agency and Australia’s product safety regulator all say the same thing: a jack lifts, stands hold.
Step 3: Find the right plug (don’t be 16-year-old me)
This is where I went wrong, so take a minute here. Under most vehicles there are a few things with drain plugs:
- The engine oil pan sits at the very bottom of the engine, usually toward the front of the vehicle. The drain plug is a single bolt, often near the lowest corner of the pan. That’s the one you want.
- The transmission sits behind the engine. An automatic usually has a wider, flatter pan with a lot of small bolts around the edge, and some have a drain plug too. Automatic transmission fluid is usually dyed red.
- Four-wheel-drive trucks also have a transfer case behind the transmission, and the axles have their own plugs. None of those are engine oil.
Follow the oil pan up with your eyes: it bolts straight to the bottom of the engine block. If you’re not sure, the oil filter is usually close to it, and your owner’s manual or a quick look at a diagram for your exact engine will settle it. If you pull a plug and the fluid coming out is red or pinkish, stop and put the plug back in. It’s not engine oil. If you drain the transmission and then pour 5 quarts of new oil into the engine, you end up with an overfilled engine and a transmission that’s low on fluid, which is how a free oil change gets expensive fast.
Step 4: Drain the old oil
- Loosen the oil fill cap on top of the engine. It lets air in so the oil drains more smoothly.
- Put the drain pan under the plug, a little toward the direction the plug faces. Oil comes out at an angle at first, then falls straight down as it slows, so be ready to slide the pan.
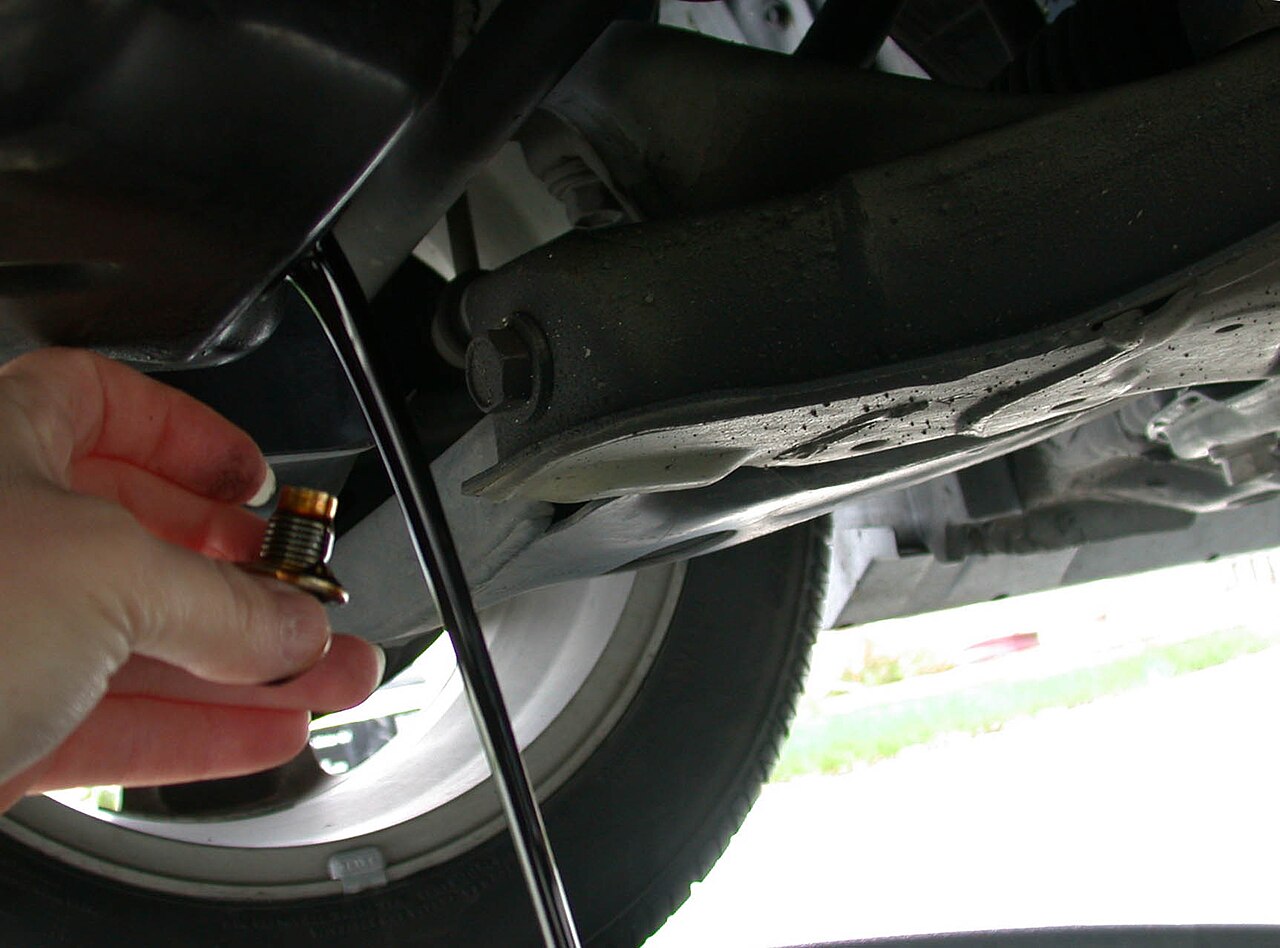
- Break the plug loose with your wrench (lefty-loosey), then spin it the last few turns by hand while pushing it in toward the pan. When it comes free, pull it away quickly. Wear gloves. Warm oil is messy.
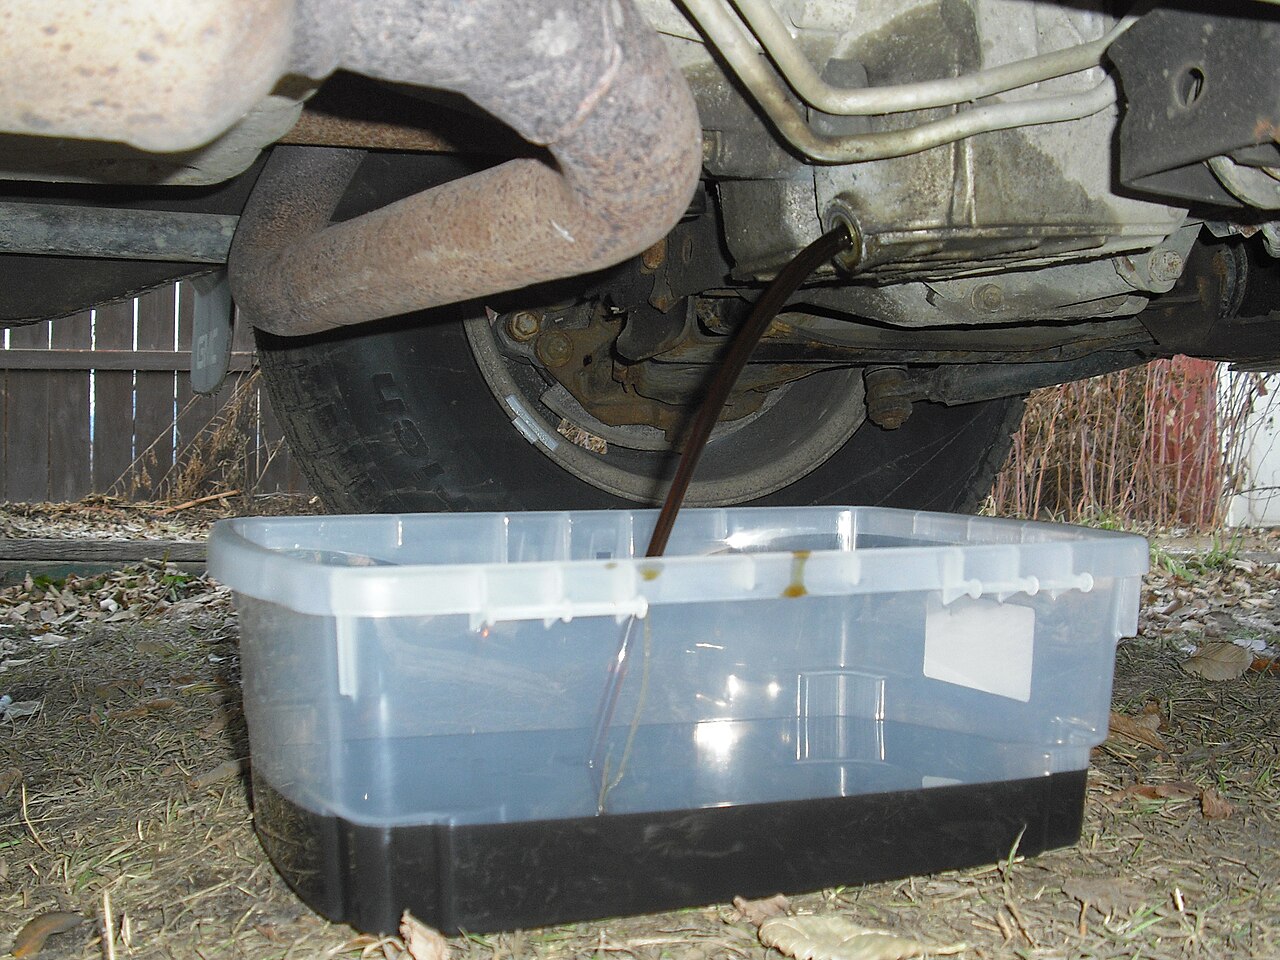
- Let it drain until it slows to an occasional drip, usually several minutes.
- Clean the plug and check the washer. Many drain plugs use a crush washer (copper, aluminum or fiber) or a rubber gasket. Crush washers are meant to be used once, and they’re cheap, so swap it.
- Reinstall the plug by hand first so you don’t cross-thread it, then tighten it to the torque in your manual. Without a torque wrench, snug it firmly, but don’t lean on it with everything you’ve got. An oil pan is often aluminum or thin steel, and stripping the threads turns a $40 job into a repair.

Step 5: Change the filter
- Move the drain pan under the filter. It’s full of oil and it will spill when it comes off.
- Unscrew the old filter with a filter wrench (lefty-loosey), then by hand. Keep it upright as you lower it and pour what’s in it into the pan.
- Check that the old gasket came off with it. Sometimes the rubber ring sticks to the engine. If you put a new filter on over an old gasket, it will leak badly, fast. Wipe the mounting surface clean.
- Oil the new gasket. Dip a finger in new oil and wipe a thin film on the rubber ring so it seals and comes off easier next time.
- Screw it on by hand until the gasket touches, then tighten it the extra amount printed on the filter or its box (often about three-quarters of a turn). Hand-tight is the norm. Don’t use the wrench to crank it down.
Some newer engines use a cartridge filter that sits in a plastic or metal housing with a cap and its own O-ring. Those work a little differently, so follow the instructions that come with the cartridge and replace the O-ring it ships with.
Step 6: Refill and check
- Double-check that the drain plug is in and tight and the filter is on.
- Pour in new oil through a funnel, about half a quart less than the listed capacity.
- Put the fill cap back on, then start the engine and let it idle for a minute. The oil pressure light should go out within a few seconds. If it doesn’t, shut it off and find out why.
- Look underneath for drips at the plug and the filter while it runs.
- Shut it off, wait a few minutes, then pull the dipstick, wipe it, push it all the way back in and pull it again. Add a little at a time until it reads at the full mark. Don’t overfill.
- Reset the oil-life monitor if your vehicle has one (the owner’s manual shows how), and write down the date and mileage.
Check the dipstick again after your next drive and look at the spot where you park for a day or two. A fresh drip under the plug or filter usually means a missing washer, a doubled-up filter gasket or something that isn’t tight.
Step 7: Recycle the old oil and filter
Pour the used oil into sealed containers. The empty jugs from the new oil are perfect. Don’t mix it with antifreeze, gas, solvent or anything else, since mixed oil often can’t be recycled. Let the old filter drain into the pan for a while, then bag it.
The EPA says the used oil from a single oil change can contaminate a million gallons of fresh water, so never dump it on the ground, down a drain or in the trash. Most auto parts stores take used motor oil and filters for free (call ahead, because some limit how much you can bring at once), and Earth911’s recycling search will find other drop-off spots near you. Motor oil doesn’t wear out, it just gets dirty, so it can be re-refined into new oil.
Common mistakes
- Draining the wrong fluid. Ask me how I know. Find the engine oil pan before you pull anything.
- Overtightening the drain plug and stripping the oil pan threads.
- Reusing a crush washer, which can leave a slow drip.
- Double-gasketing the filter because the old ring stuck to the engine.
- Forgetting the oil. It happens. Starting an engine with the plug in but no new oil can do serious damage fast. Fill it before you turn the key.
- Overfilling. Fill a bit short of the listed capacity and top off using the dipstick.
- Wrong viscosity or spec. Match the manual. Cheap oil with the right spec beats fancy oil with the wrong one.
- Working under a vehicle on just a jack. Never worth it.
Is it worth doing yourself?
For most people, yes. Once you’ve done it a couple of times, it’s about a half-hour job, you know exactly what went into your engine, and you get a regular look underneath, where you’ll spot leaks, torn boots and loose parts before they become problems. While you’re under there, it’s a good time to check the rest of your fluids, take a look at your tires with my guide to reading a tire sidewall, and, with winter coming, test your battery before a cold morning does it for you. If it does let you down anyway, here’s how to jump-start a car safely.
Sources
- U.S. EPA, “Managing, Reusing, and Recycling Used Oil” (one oil change contaminating a million gallons of fresh water, recycling oil and filters): epa.gov
- American Petroleum Institute, “Motor Oil Guide” (the API donut and starburst symbols): api.org
- NIOSH, “Be an Ace with Jacks” tip sheet (chock the wheels, use lift points and rated jack stands): stacks.cdc.gov
- Canadian Centre for Occupational Health and Safety, “Garages: Working Under Vehicles”: ccohs.ca
- Australian Competition and Consumer Commission, “DIY car safety”: productsafety.gov.au
- Earth911 recycling search: earth911.com
Follow Danny on X: @djgaston19
From https://www.djgaston.com/change-your-own-oil/ · Updated November 16, 2026